Lazy Daisy Stitch
Lazy Daisy Stitch
A flower made of radial chain stitches.
What is a Lazy Daisy Stitch?
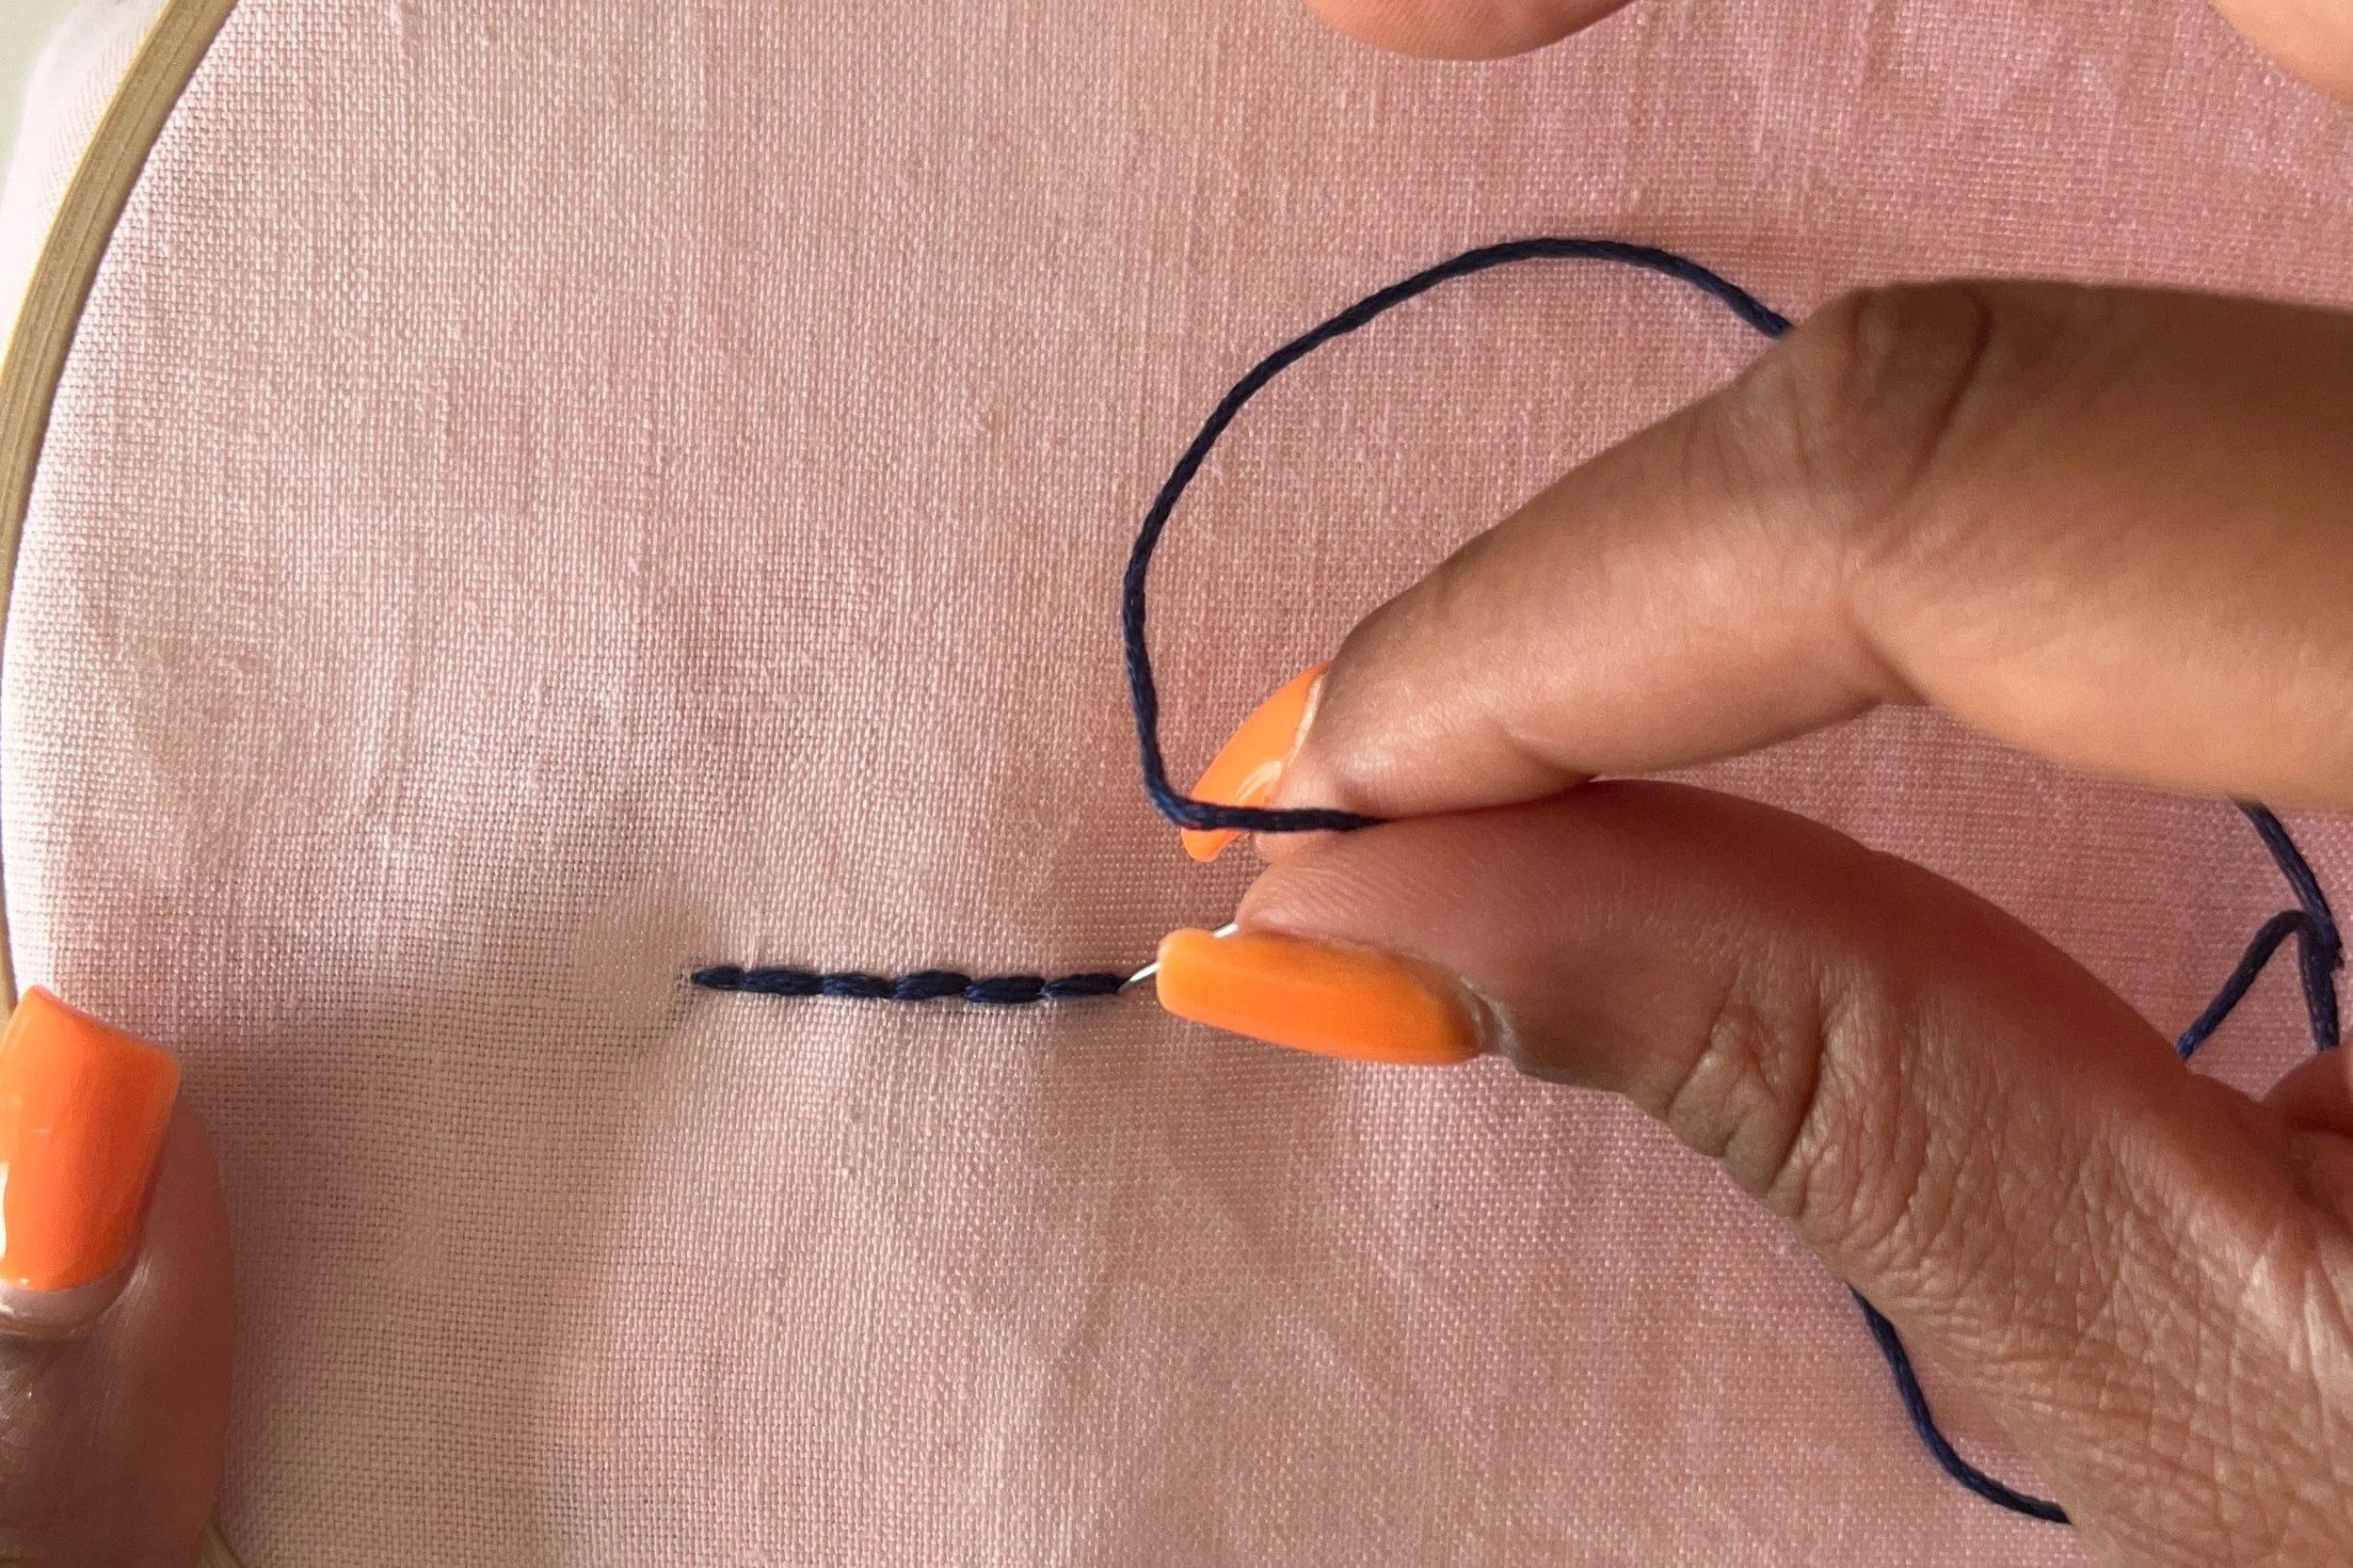
Backstitch embroidery is one of the most essential techniques in the world of needlework. While many stitches may come and go depending on trends and artistic styles, the backstitch remains a cornerstone of both functional and decorative embroidery. Its precision and strength make it invaluable for outlining, lettering, and creating intricate designs. In this comprehensive guide, we'll explore everything you need to know about the backstitch, from its history and applications to mastering the technique and using it in creative embroidery projects.
How to Create a Lazy Daisy Stitch
Materials You Will Need
Embroidery hoop for maintaining tension
Embroidery thread (floss) in your chosen color
Embroidery needle
Scissors
Steps to Make a Lazy Daisy Stitch
Step 1 Prepare the Fabric: Stretch your fabric tightly in an embroidery hoop to prevent puckering.
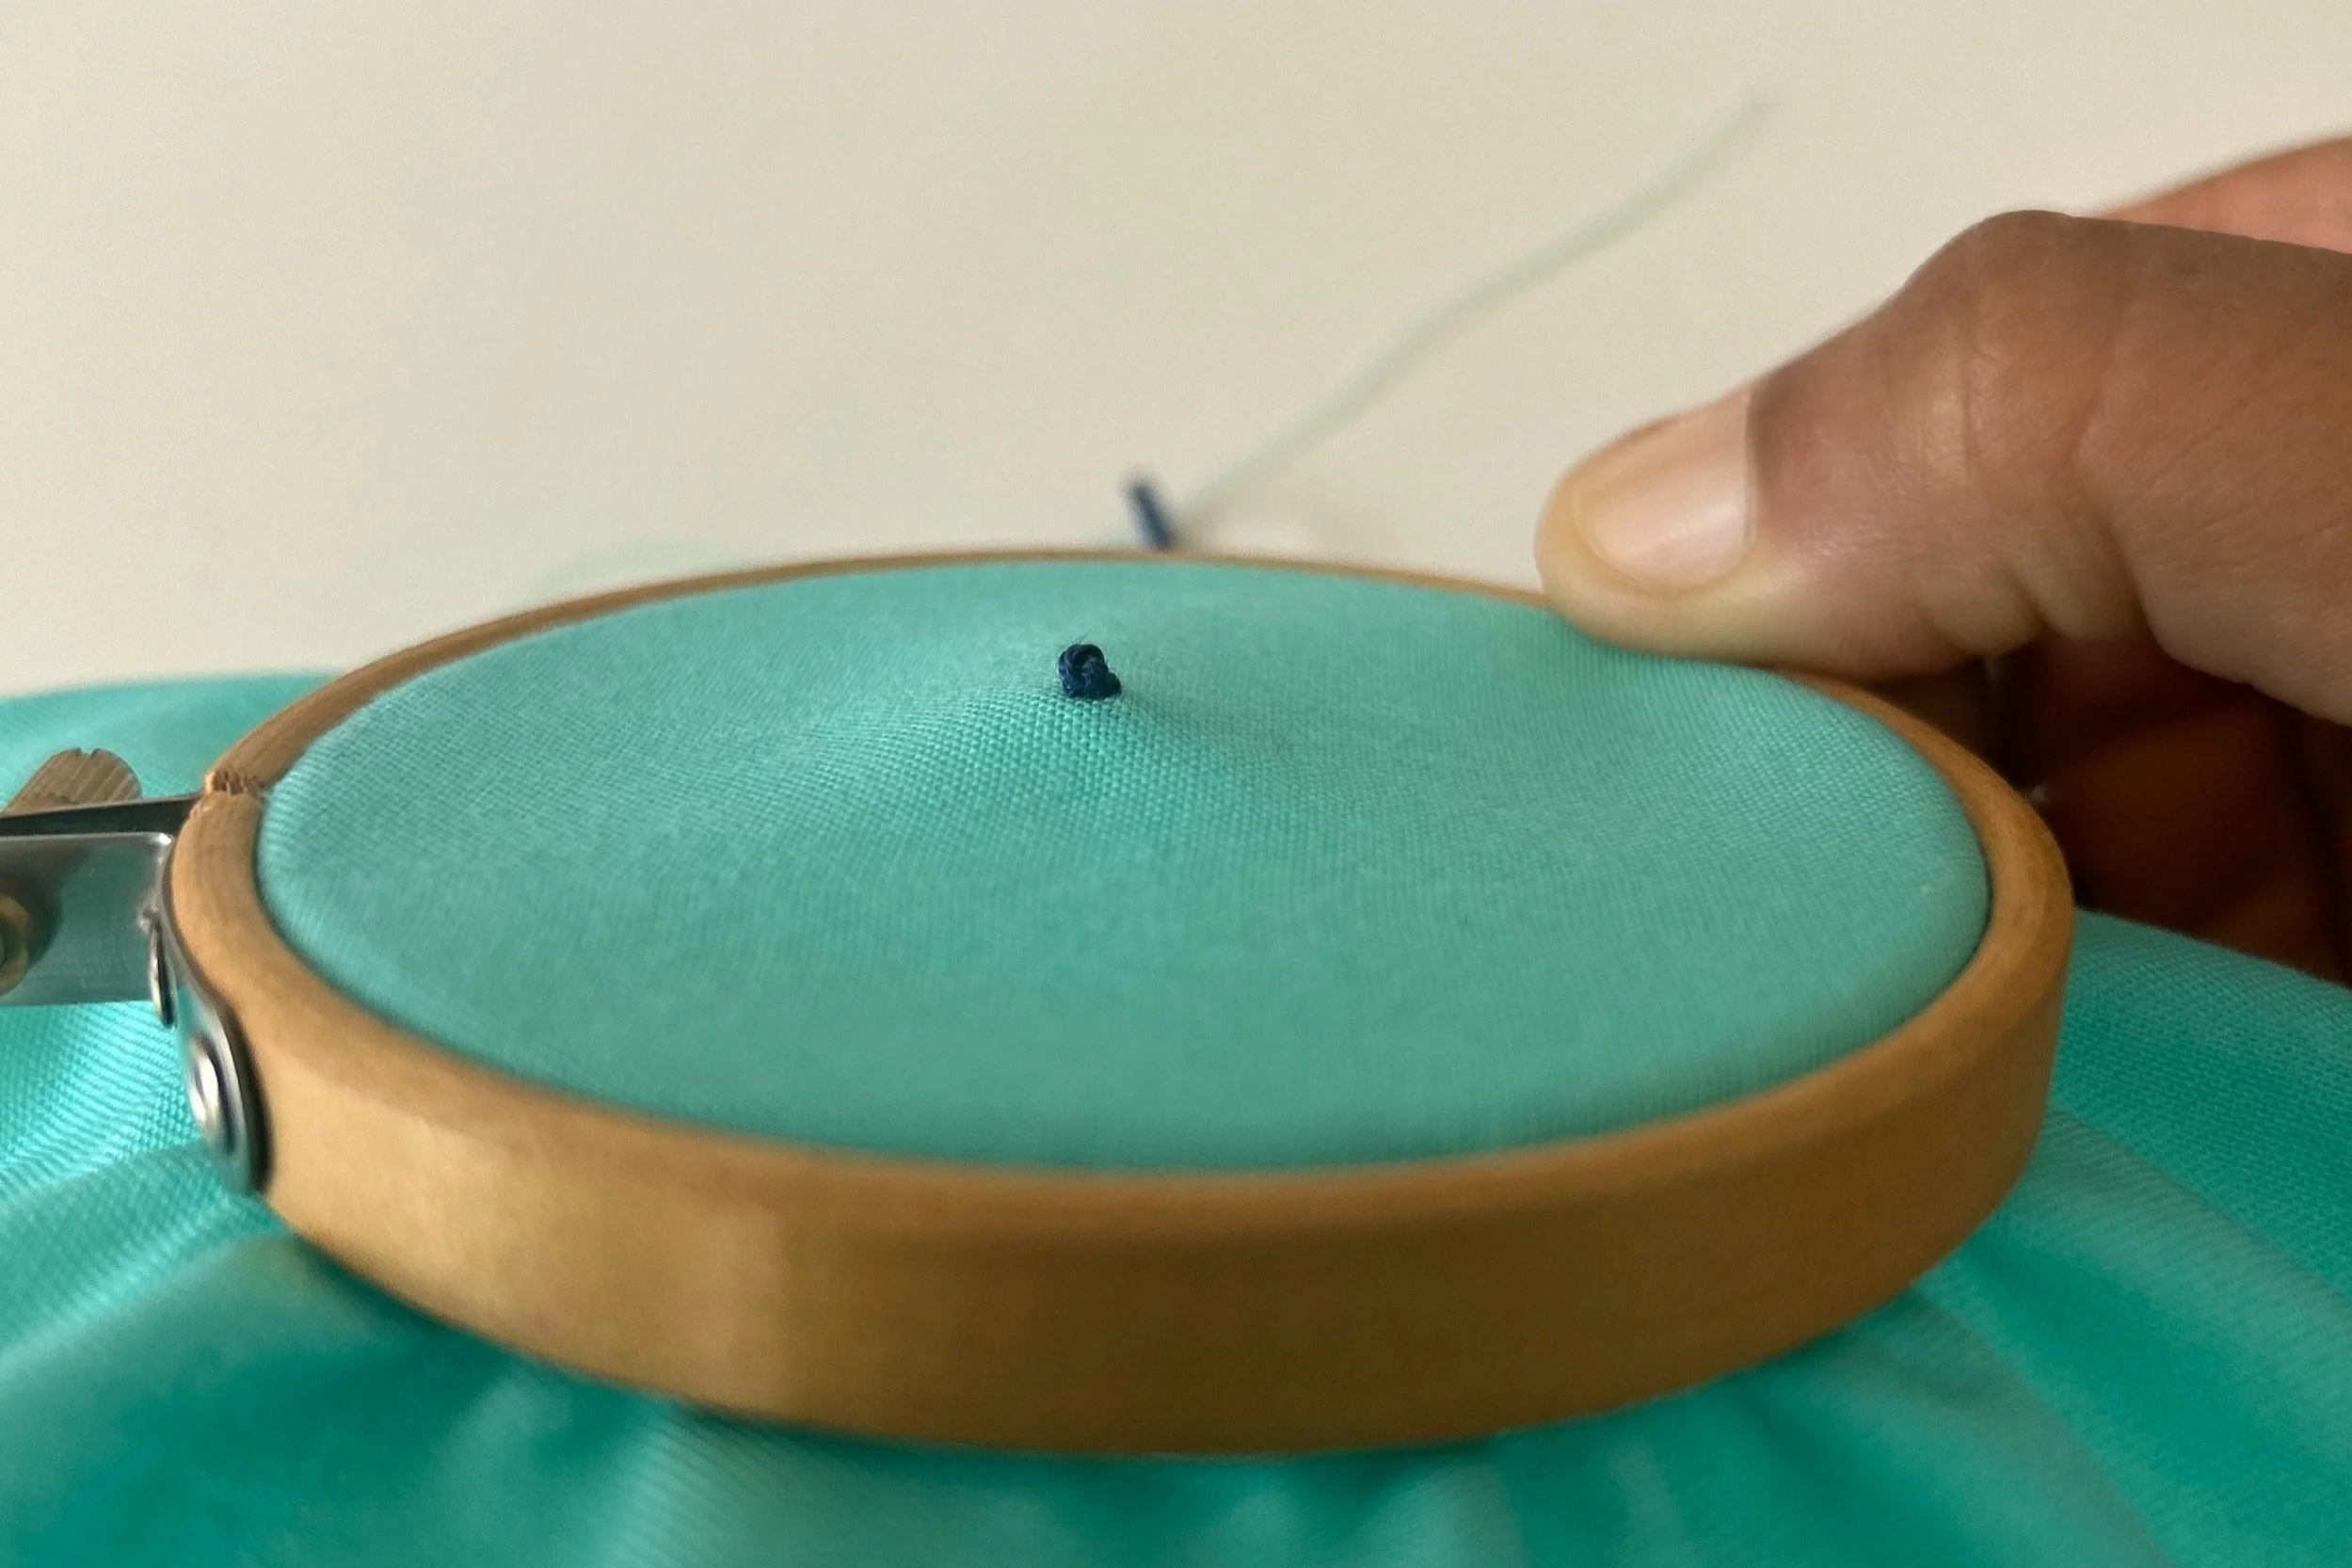
Step 2 Thread the Needle: Use a 6-strand cotton embroidery floss or split it into fewer strands for finer stitches. Tie a knot at the end of the thread.
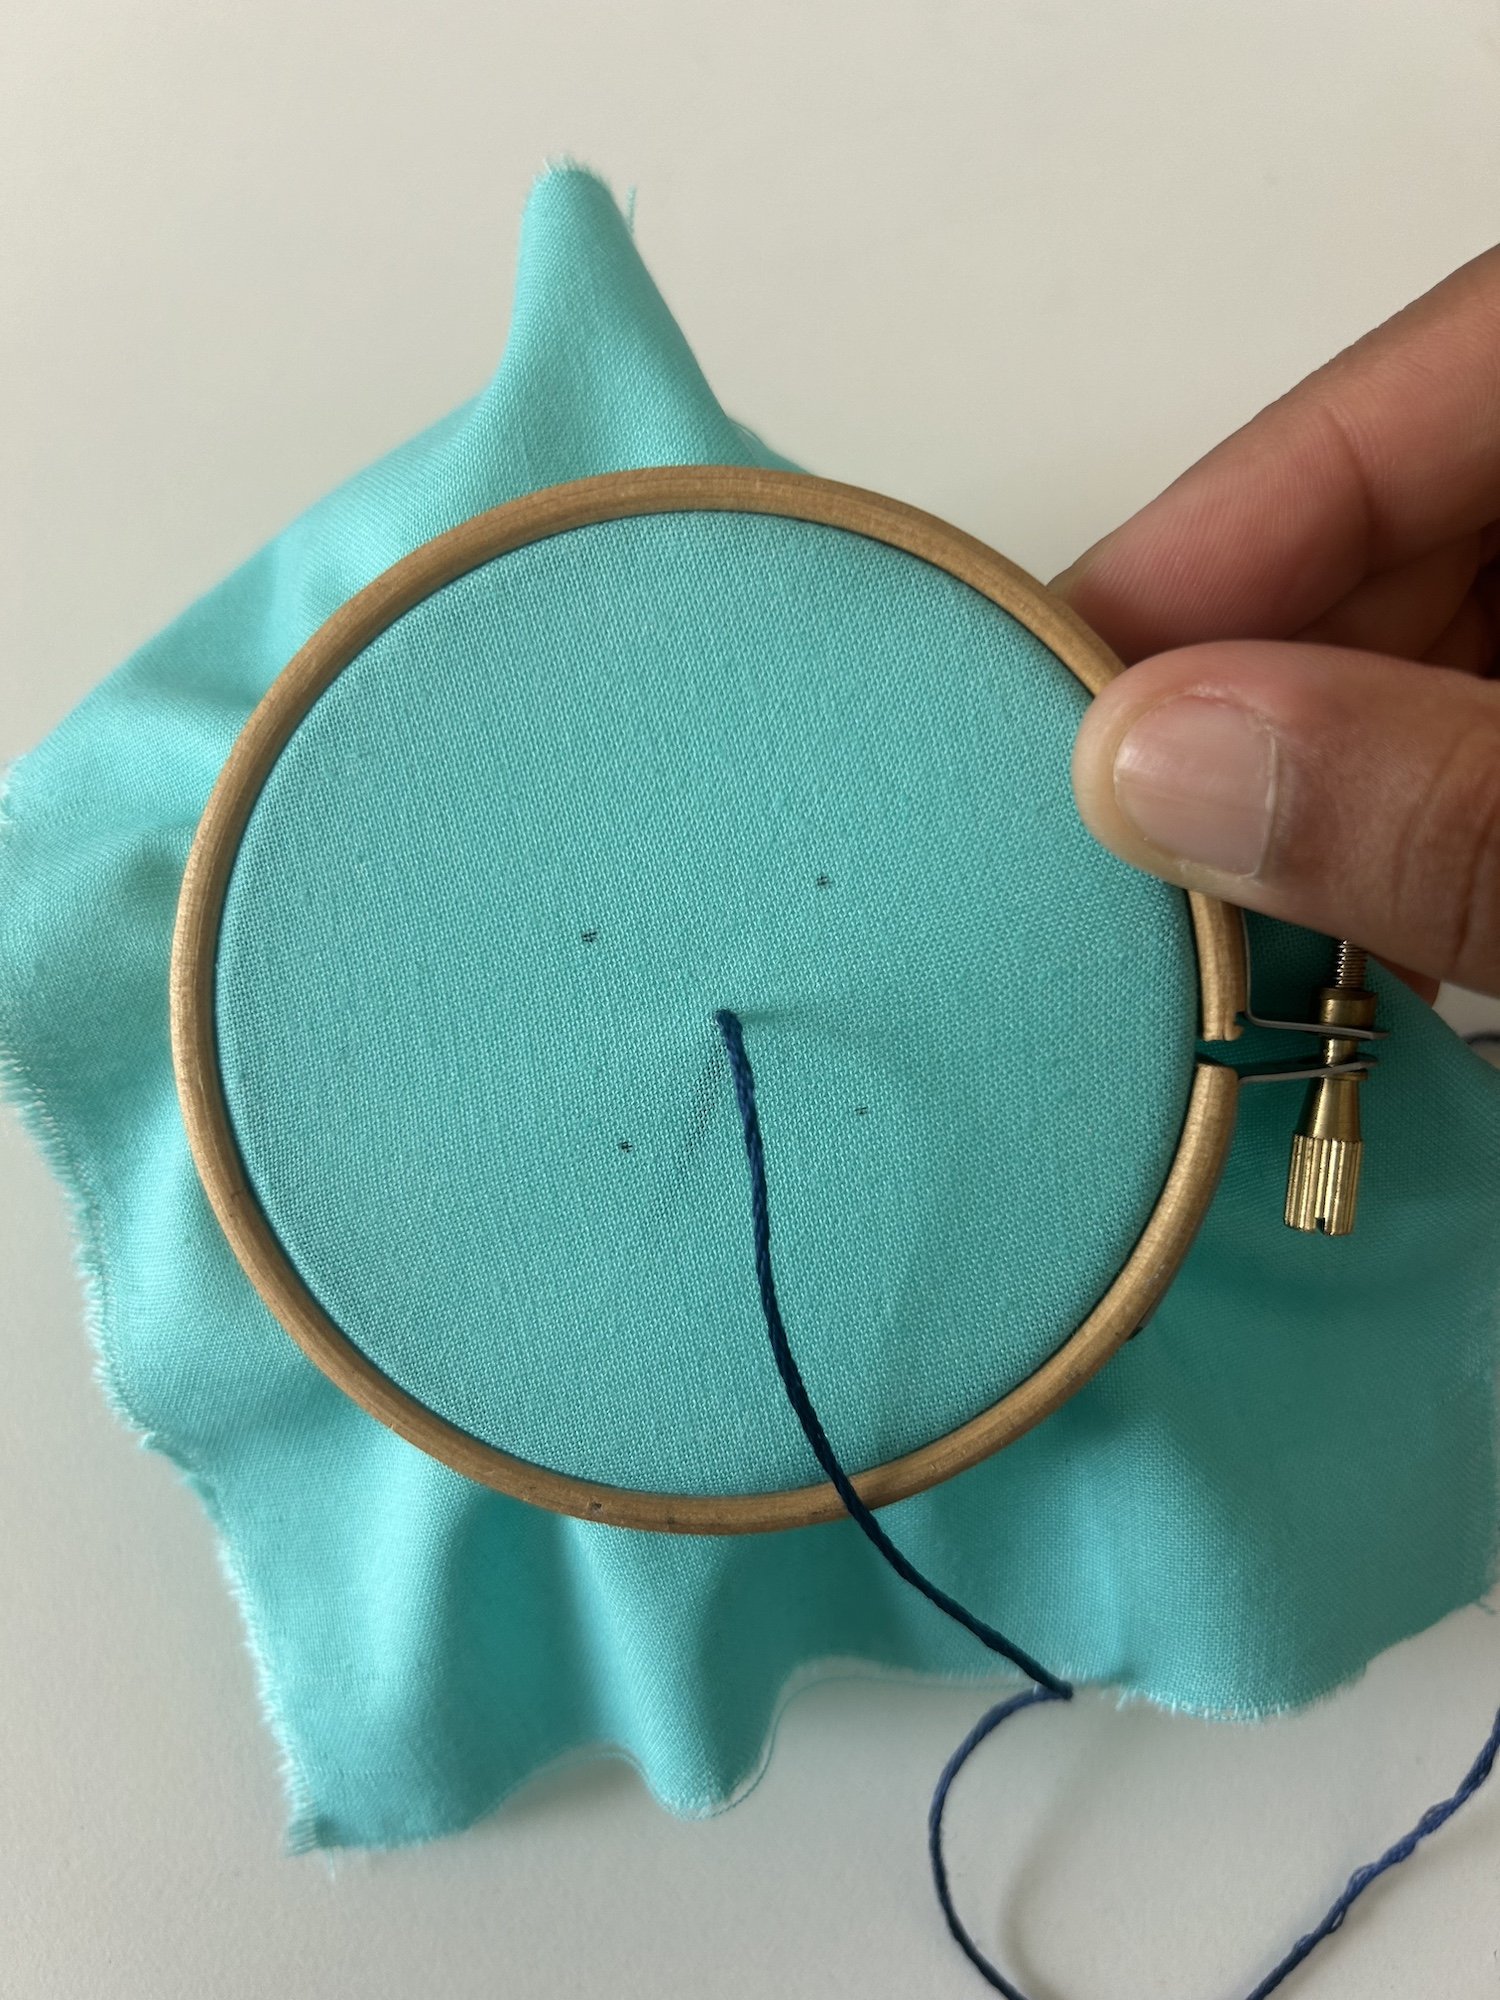
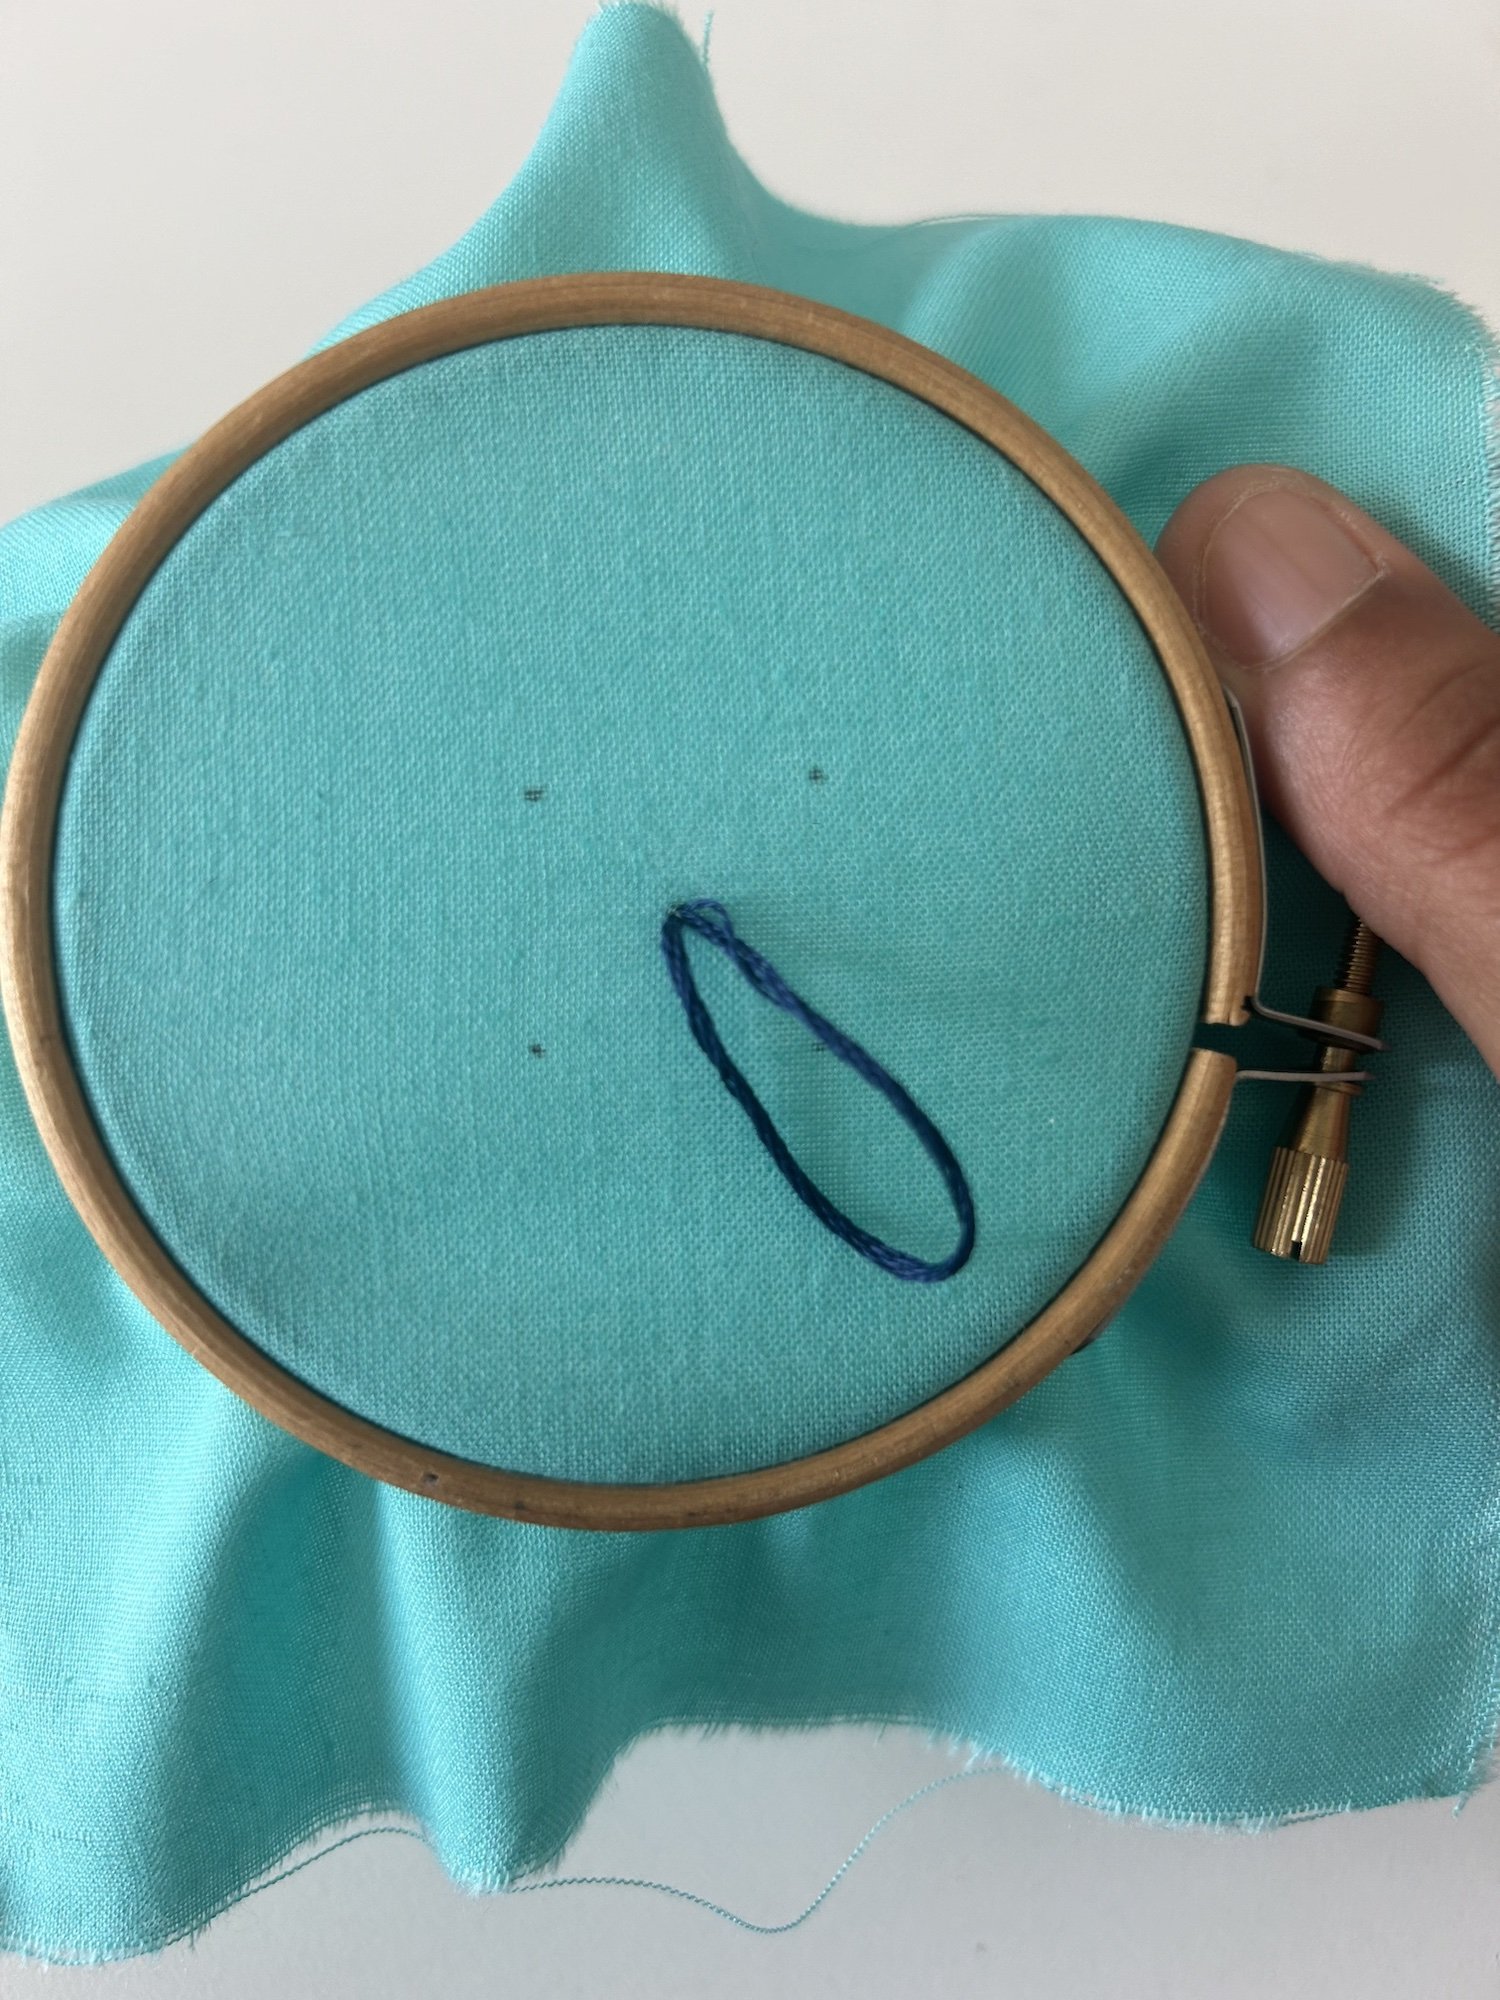
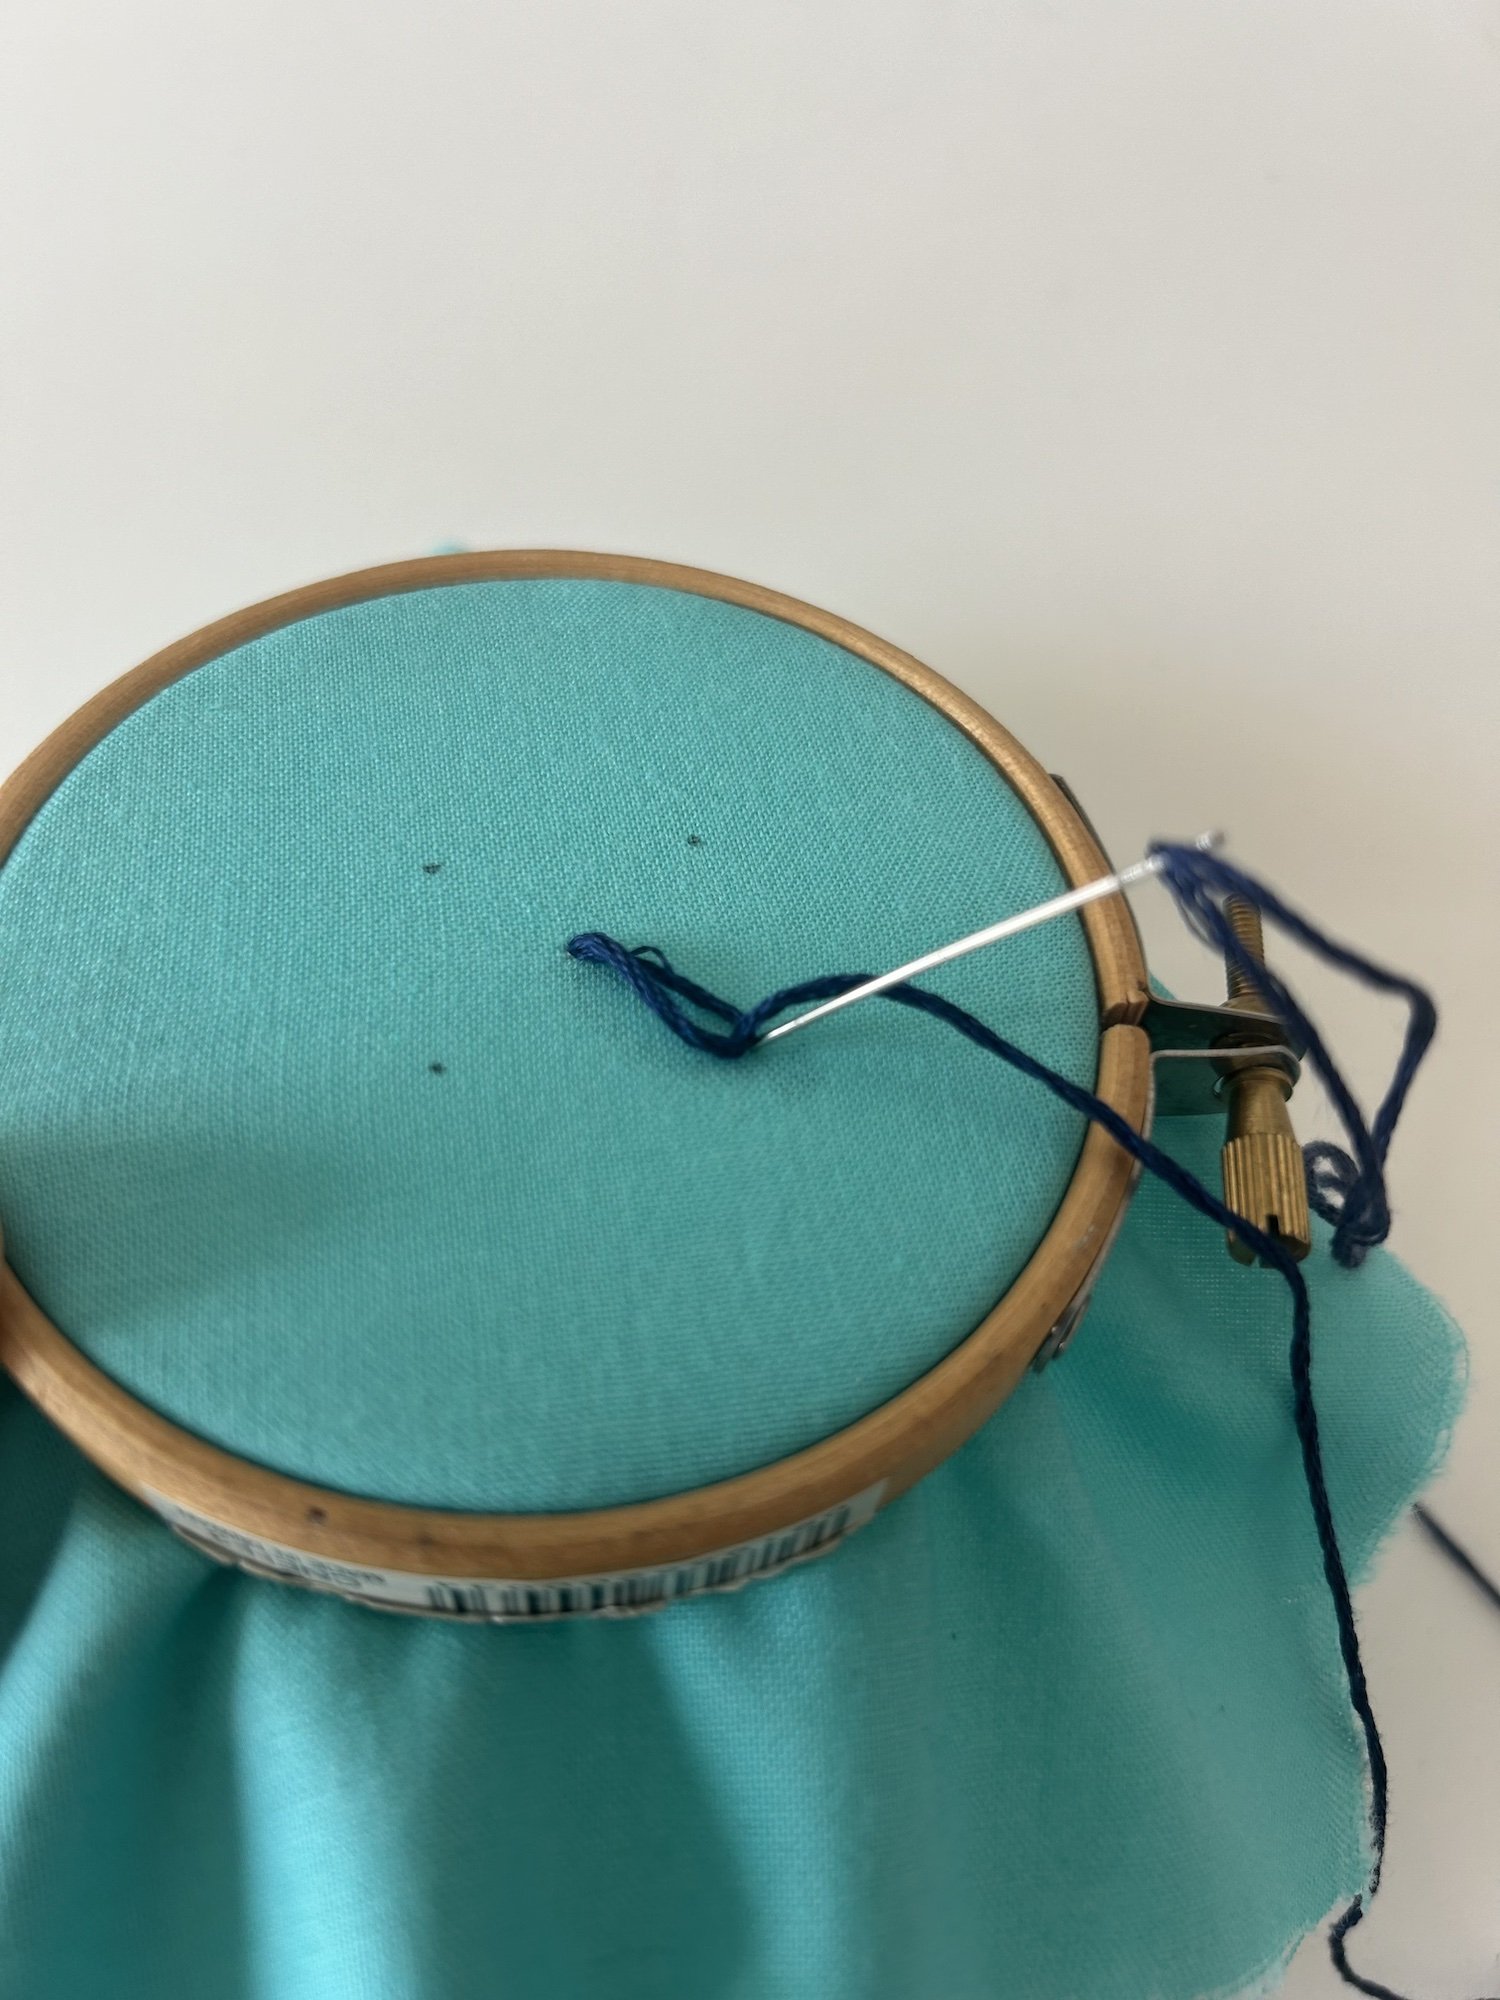
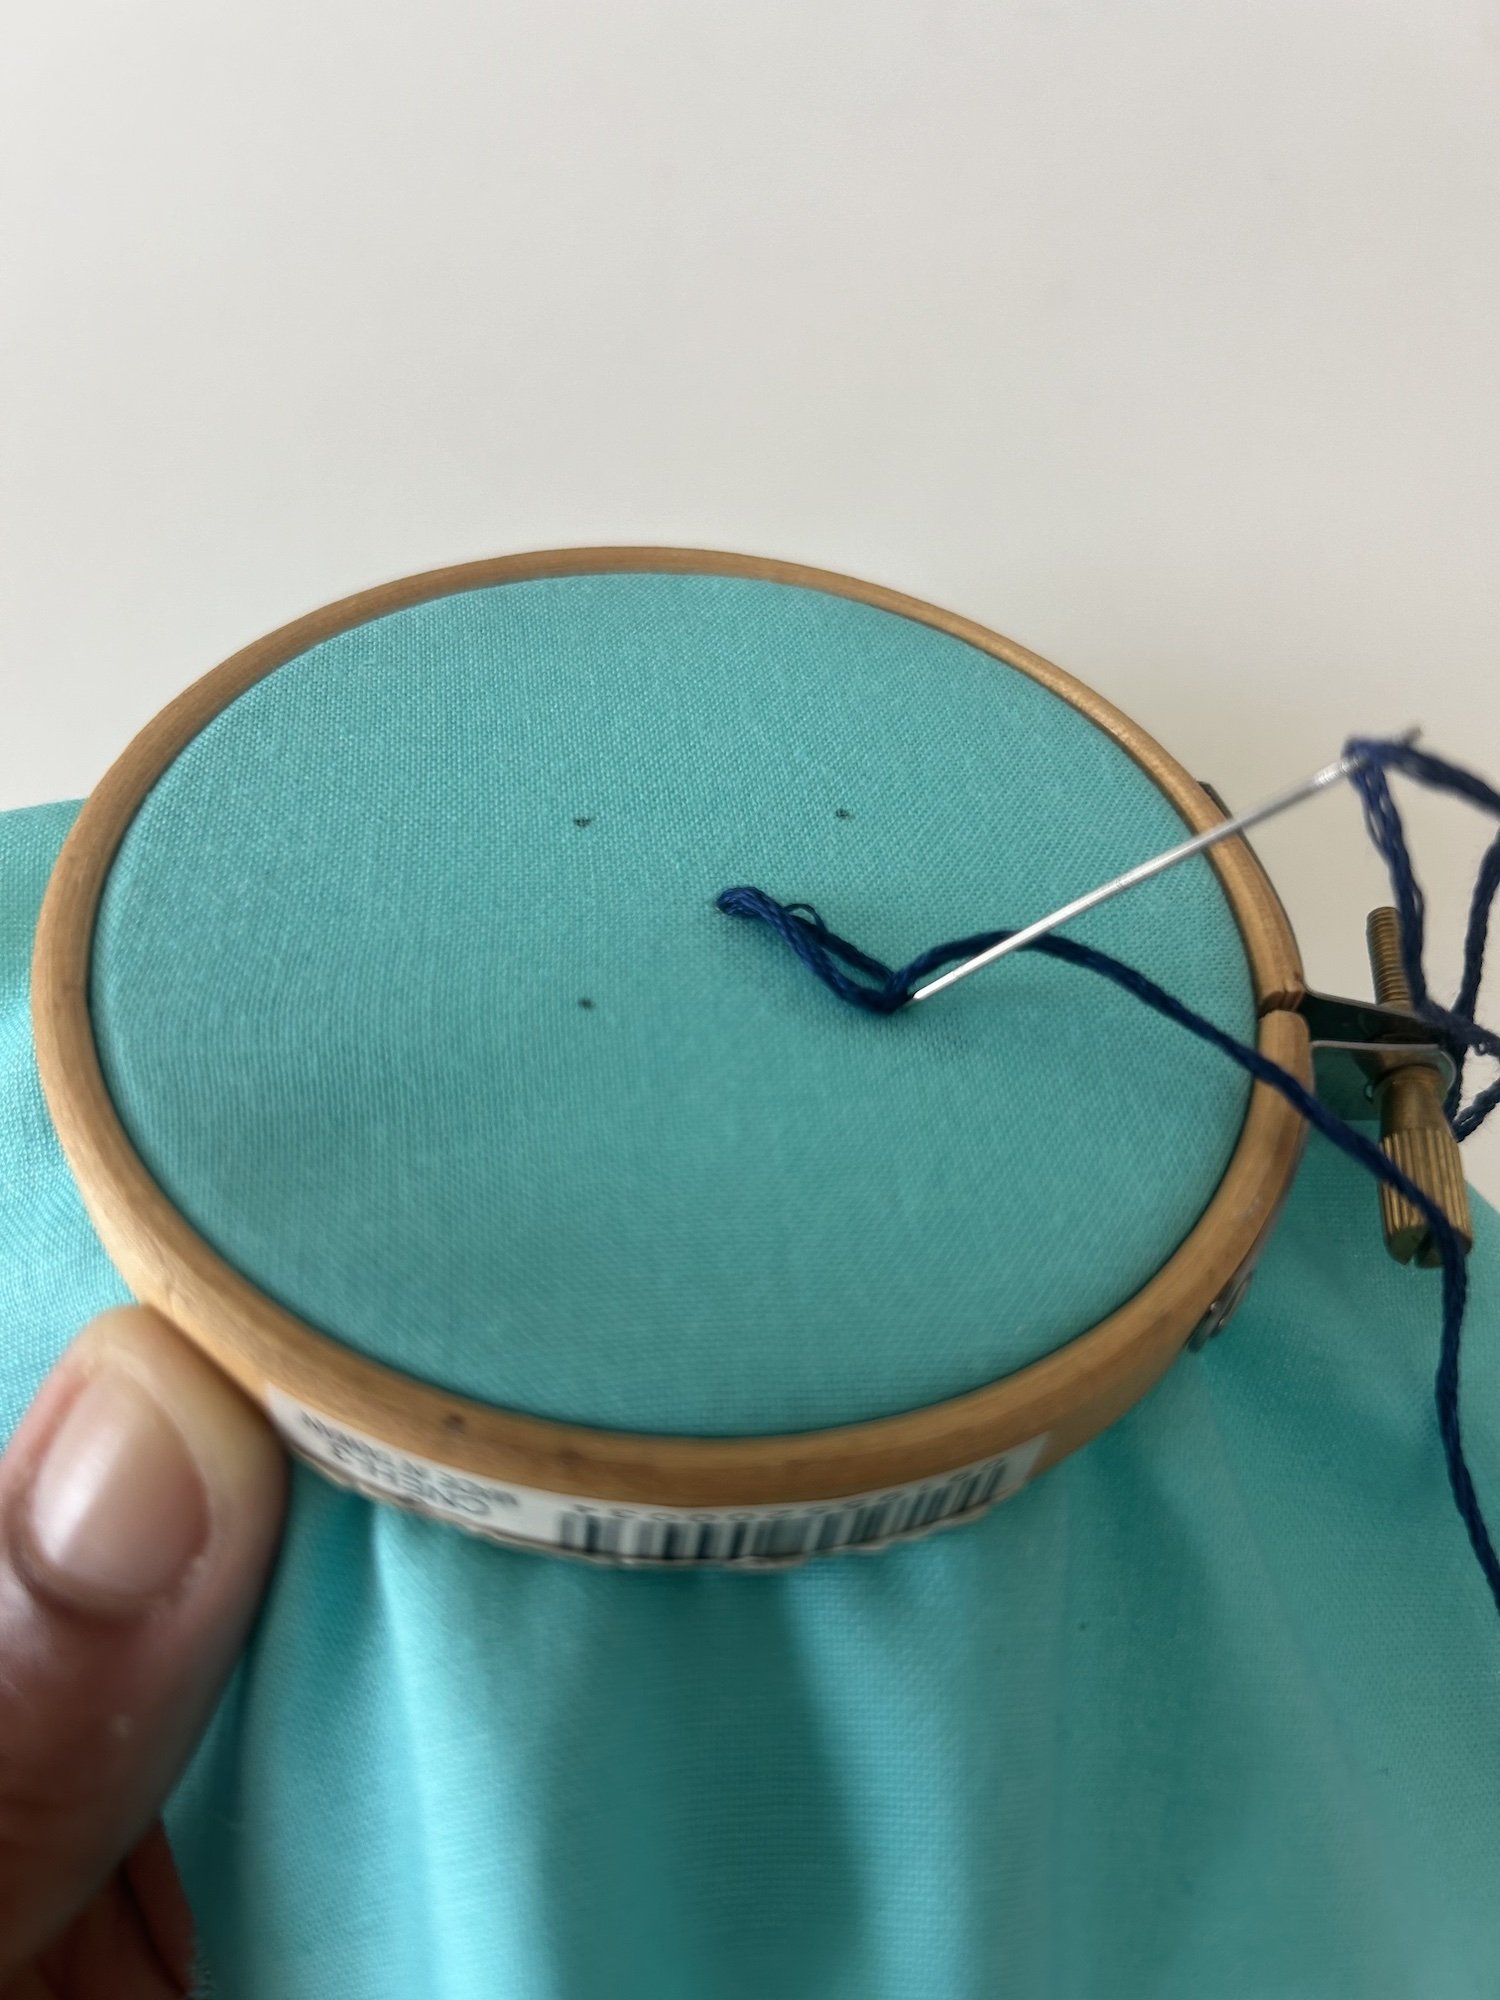
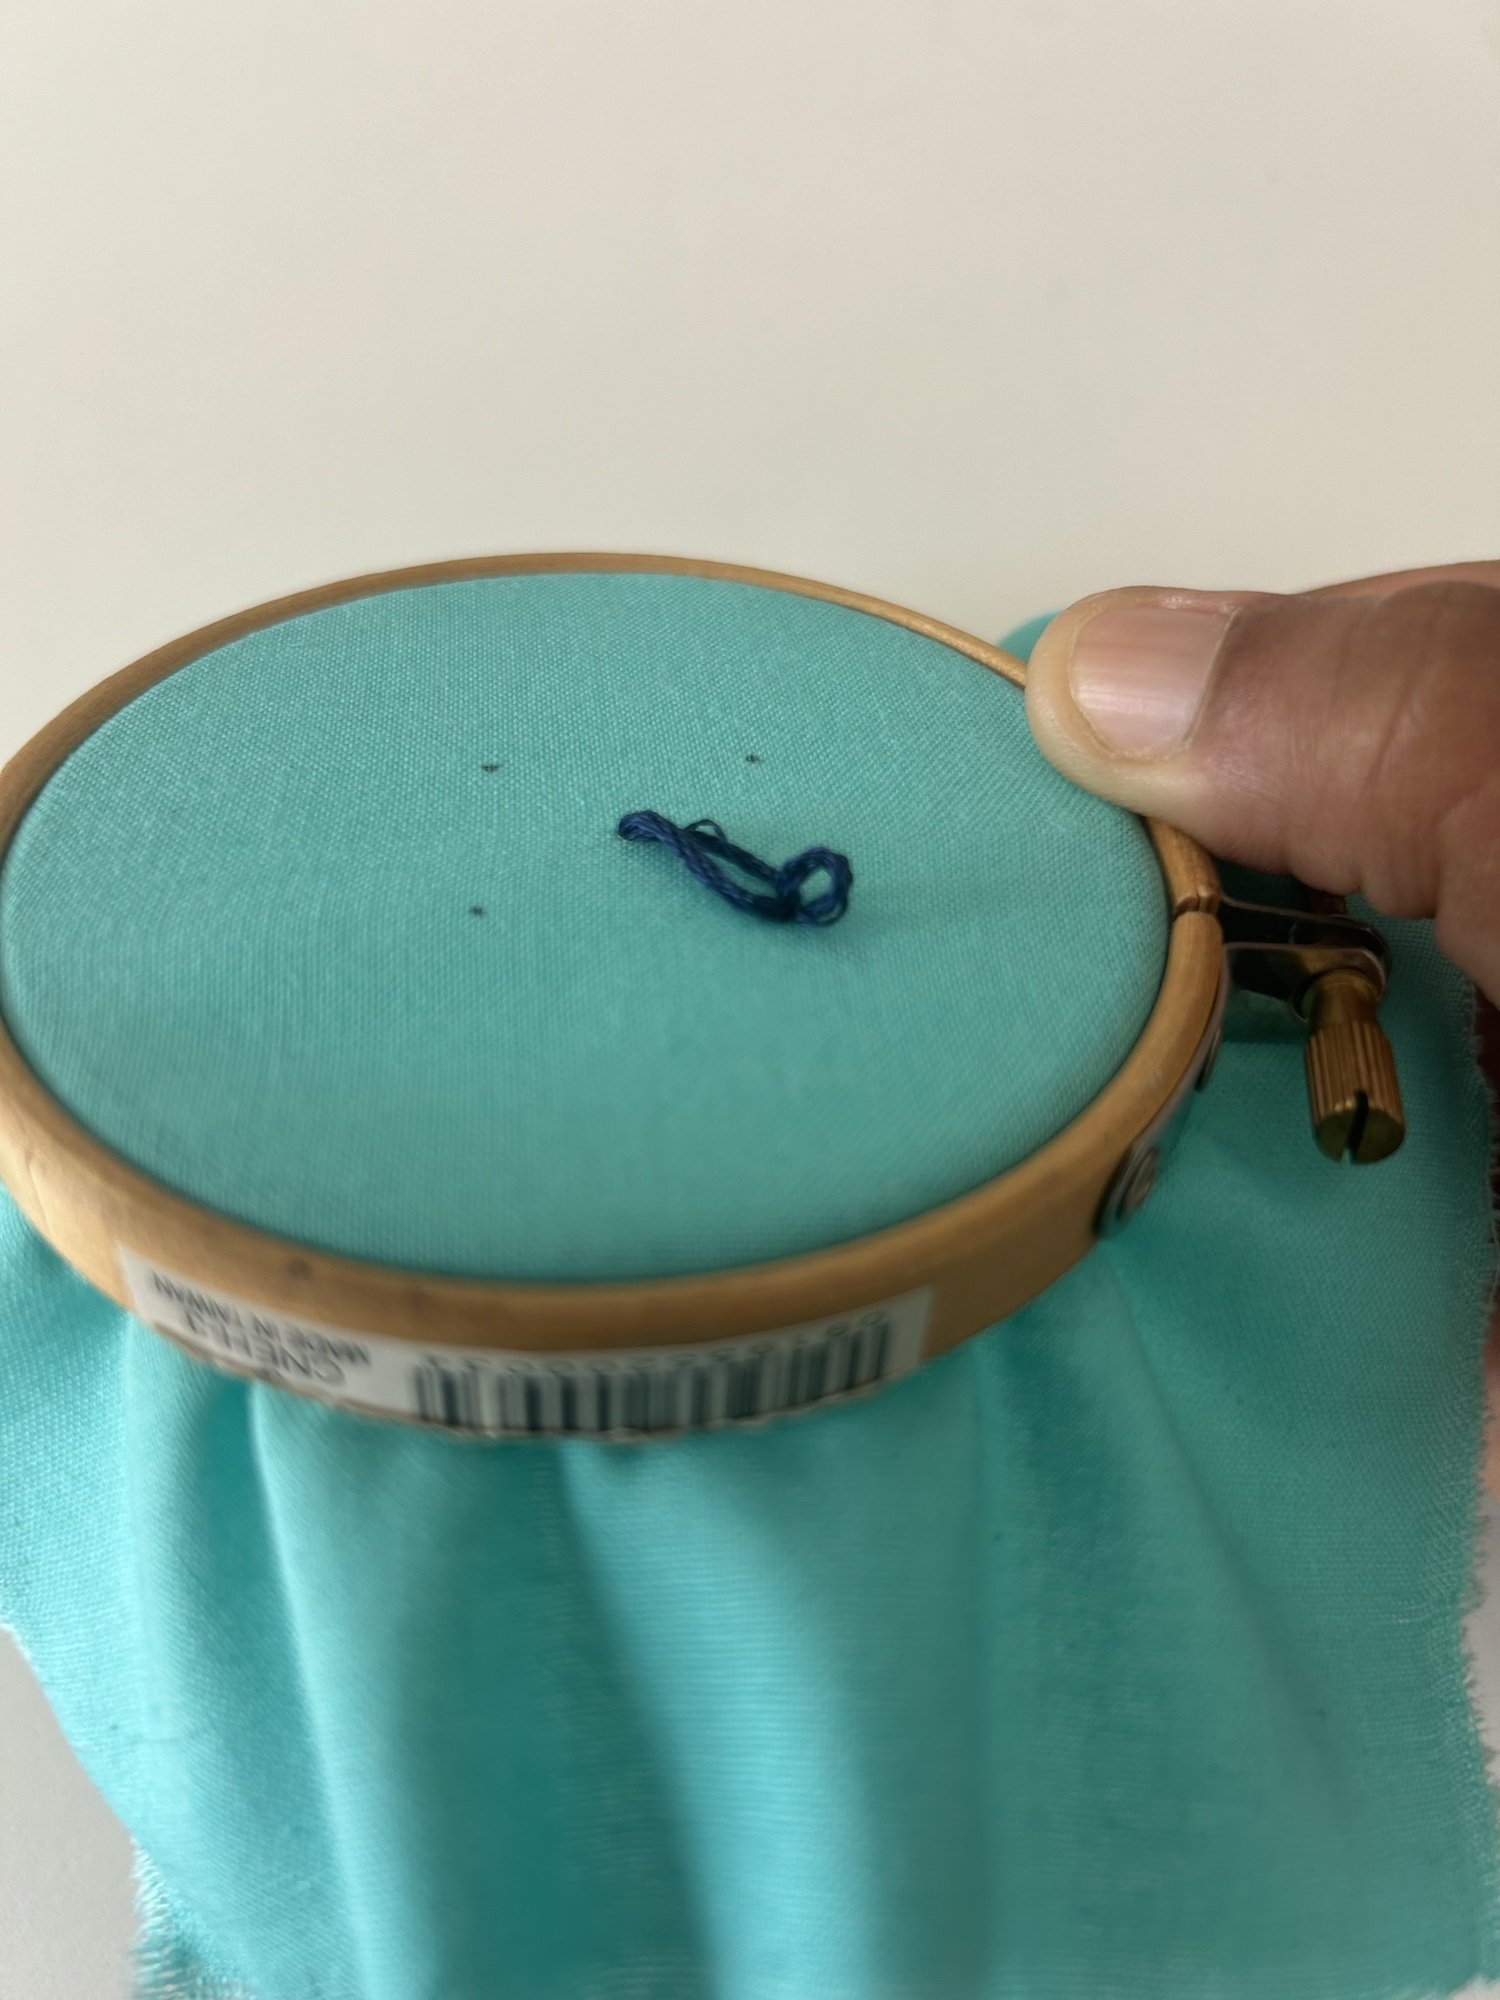
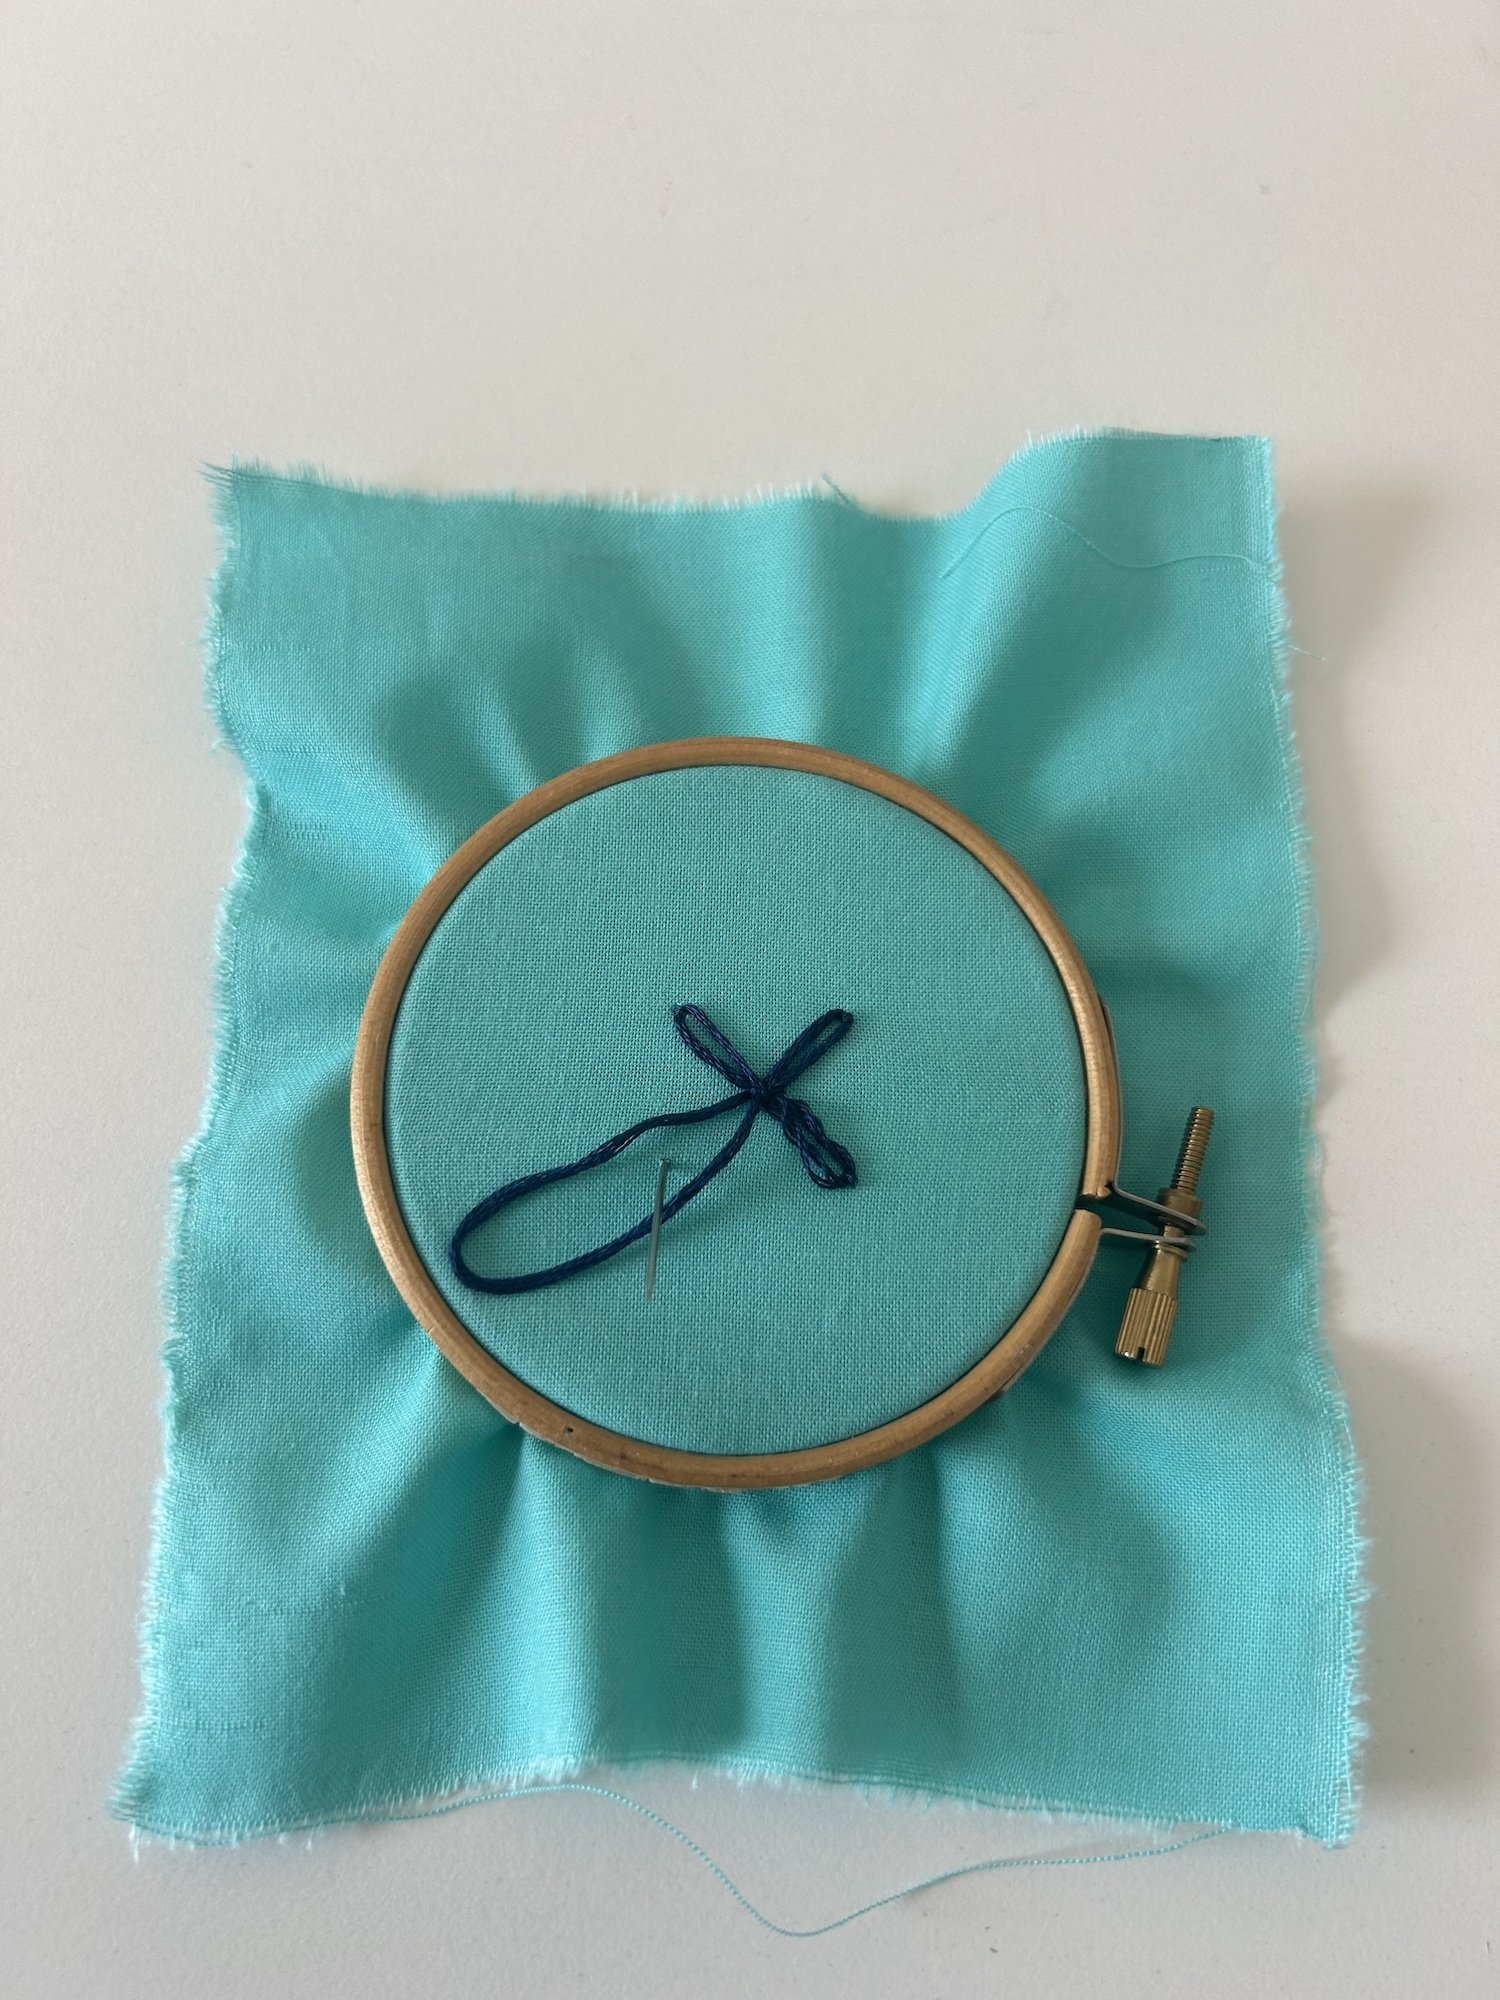
Step 3 Start the First Loop: Bring your needle up through the fabric where you want the base of your petal (Point A). Pull the thread all the way through.
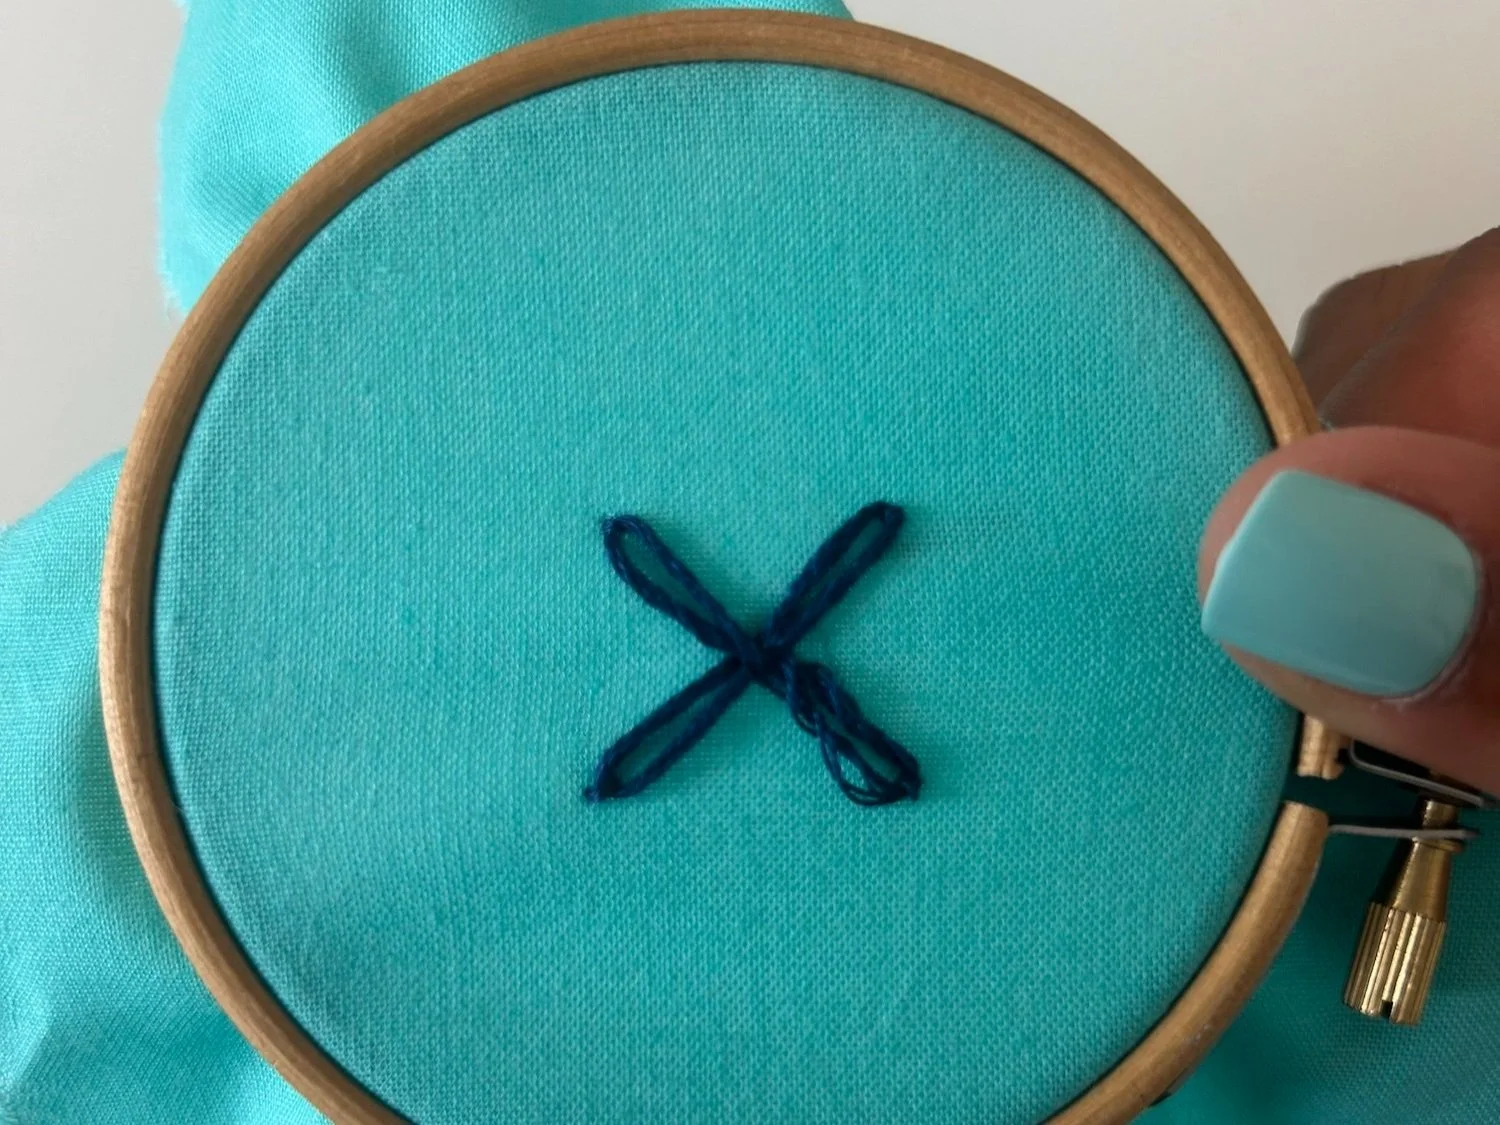
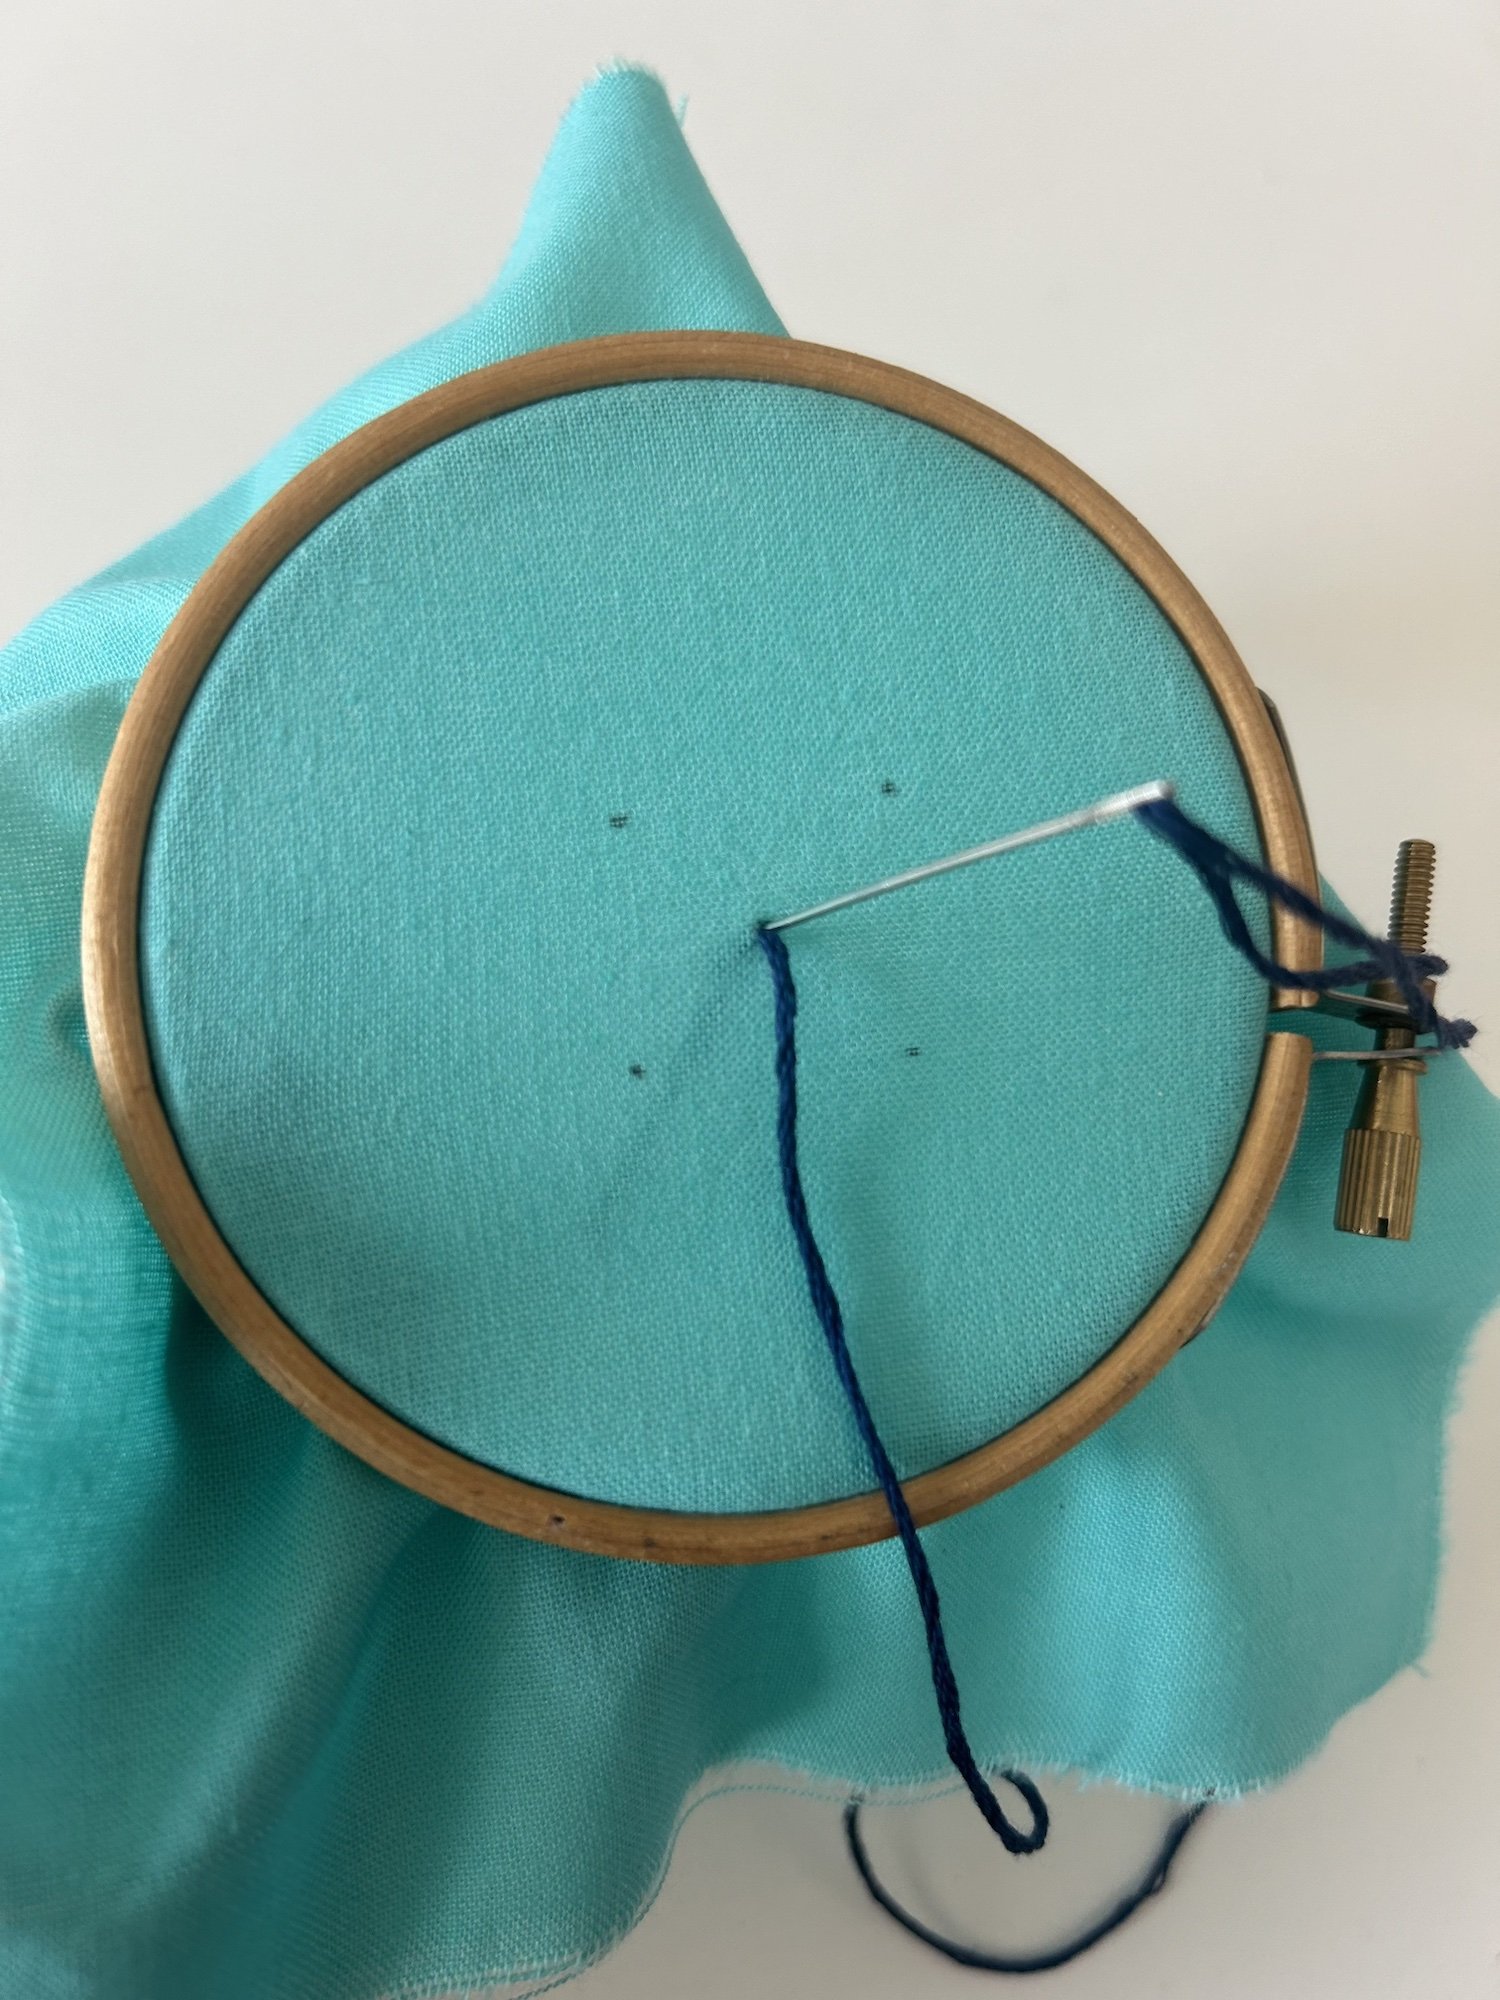
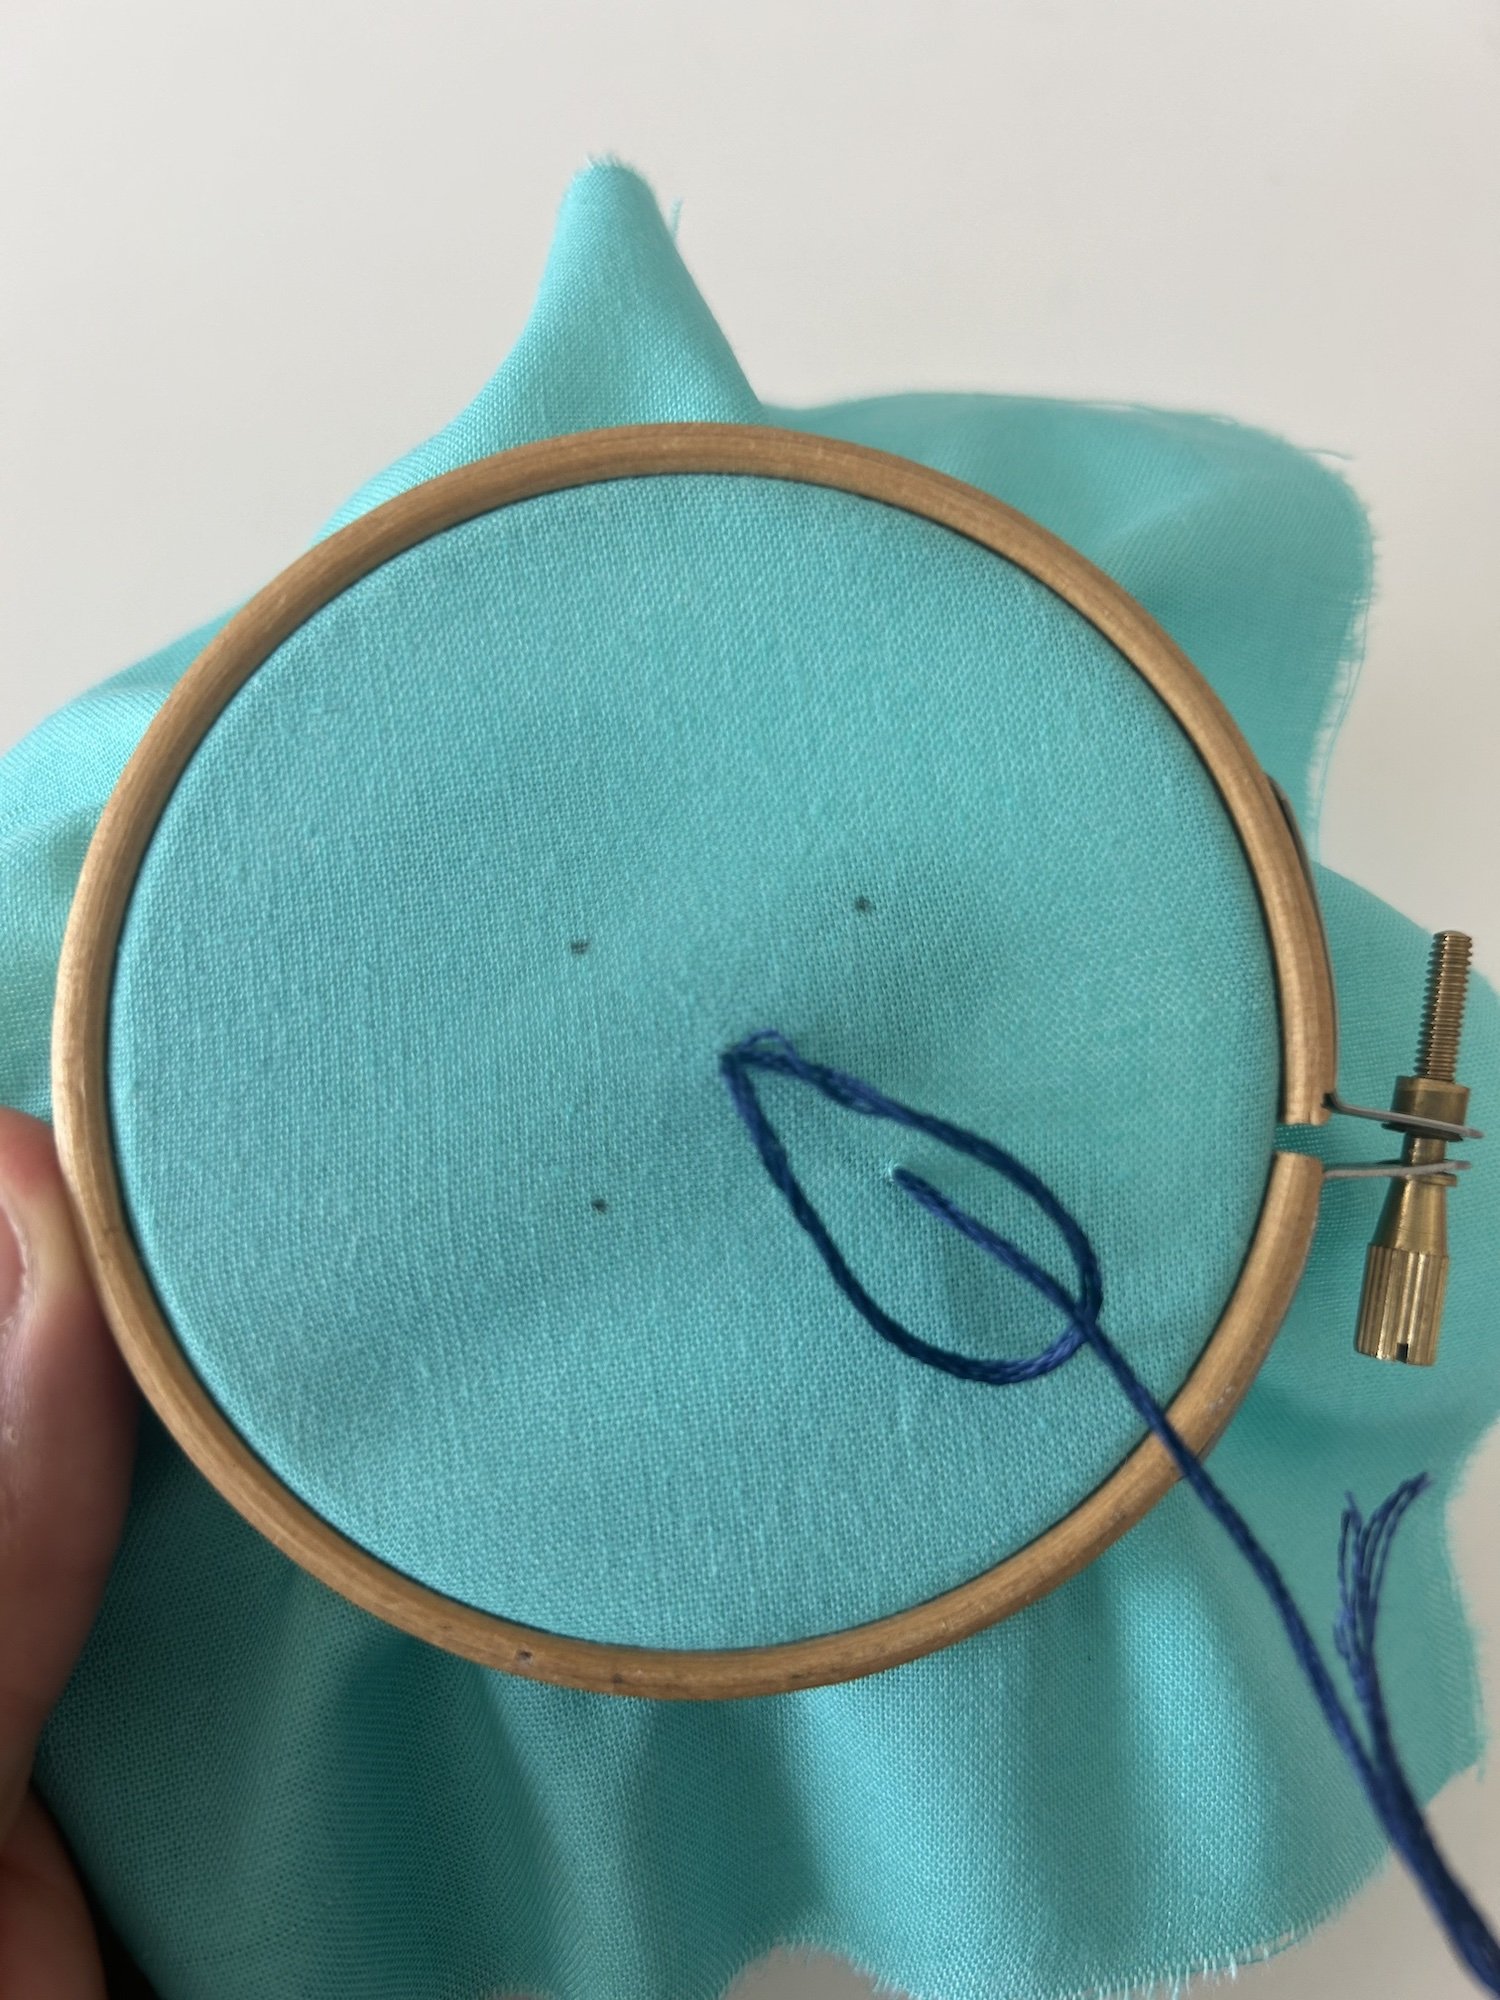
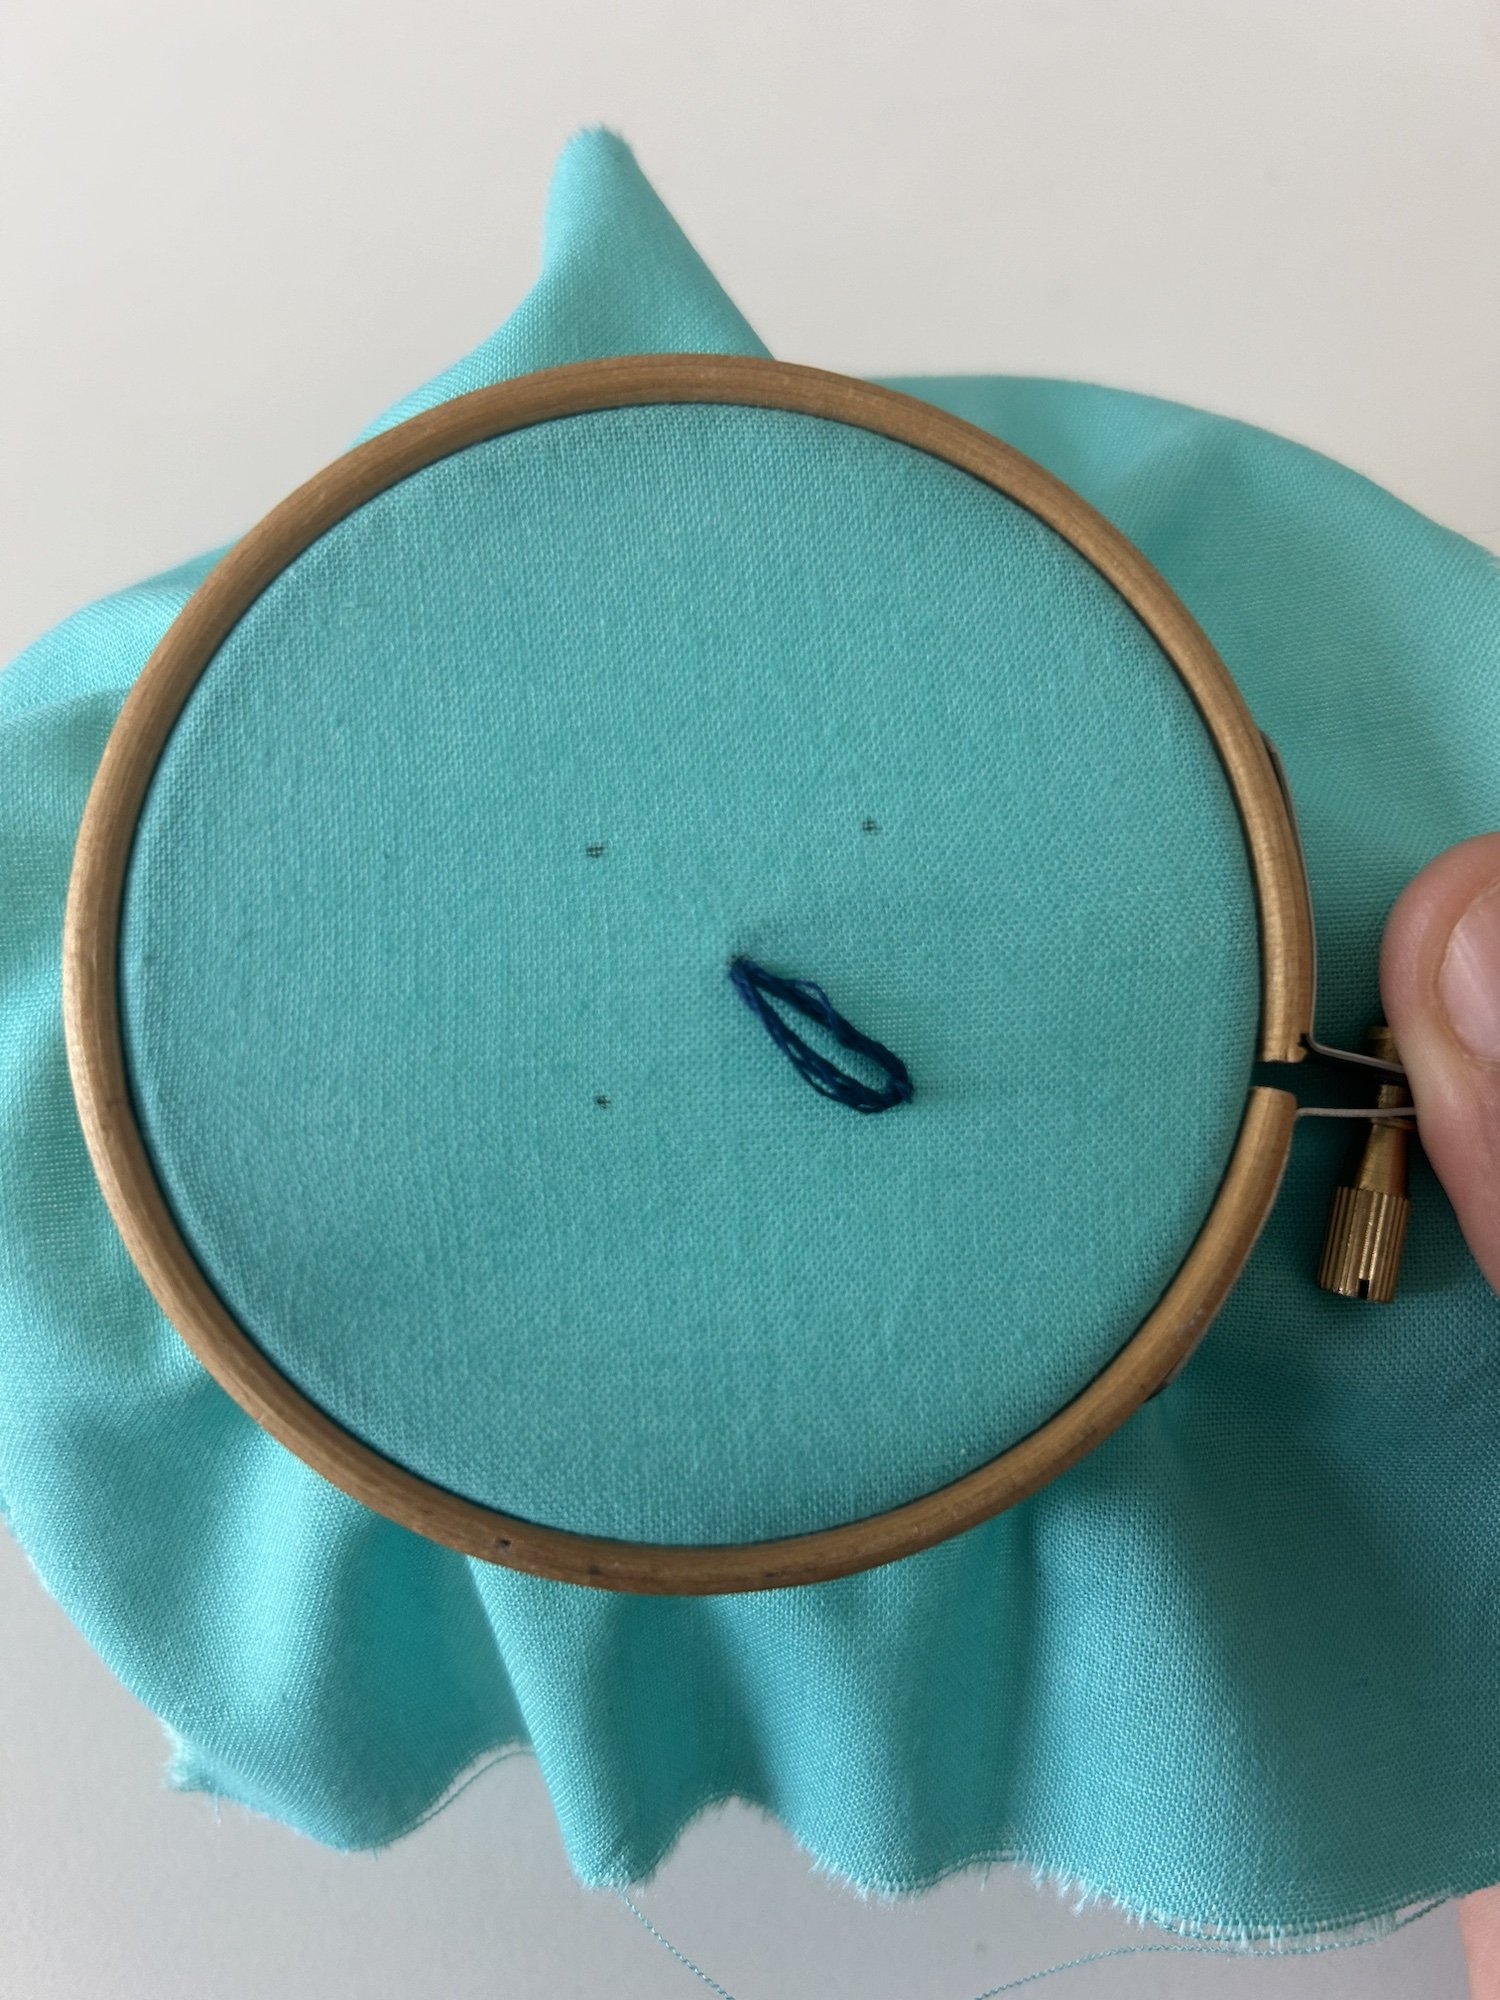
Step 4 Form the Loop: Insert the needle back into the fabric close to where you first brought it up (Point A) and bring it back up at the tip of your petal (Point B), keeping the thread under the needle to form a loop. Pull the needle through, but don’t pull the thread tight—you want a loose loop to form the petal.
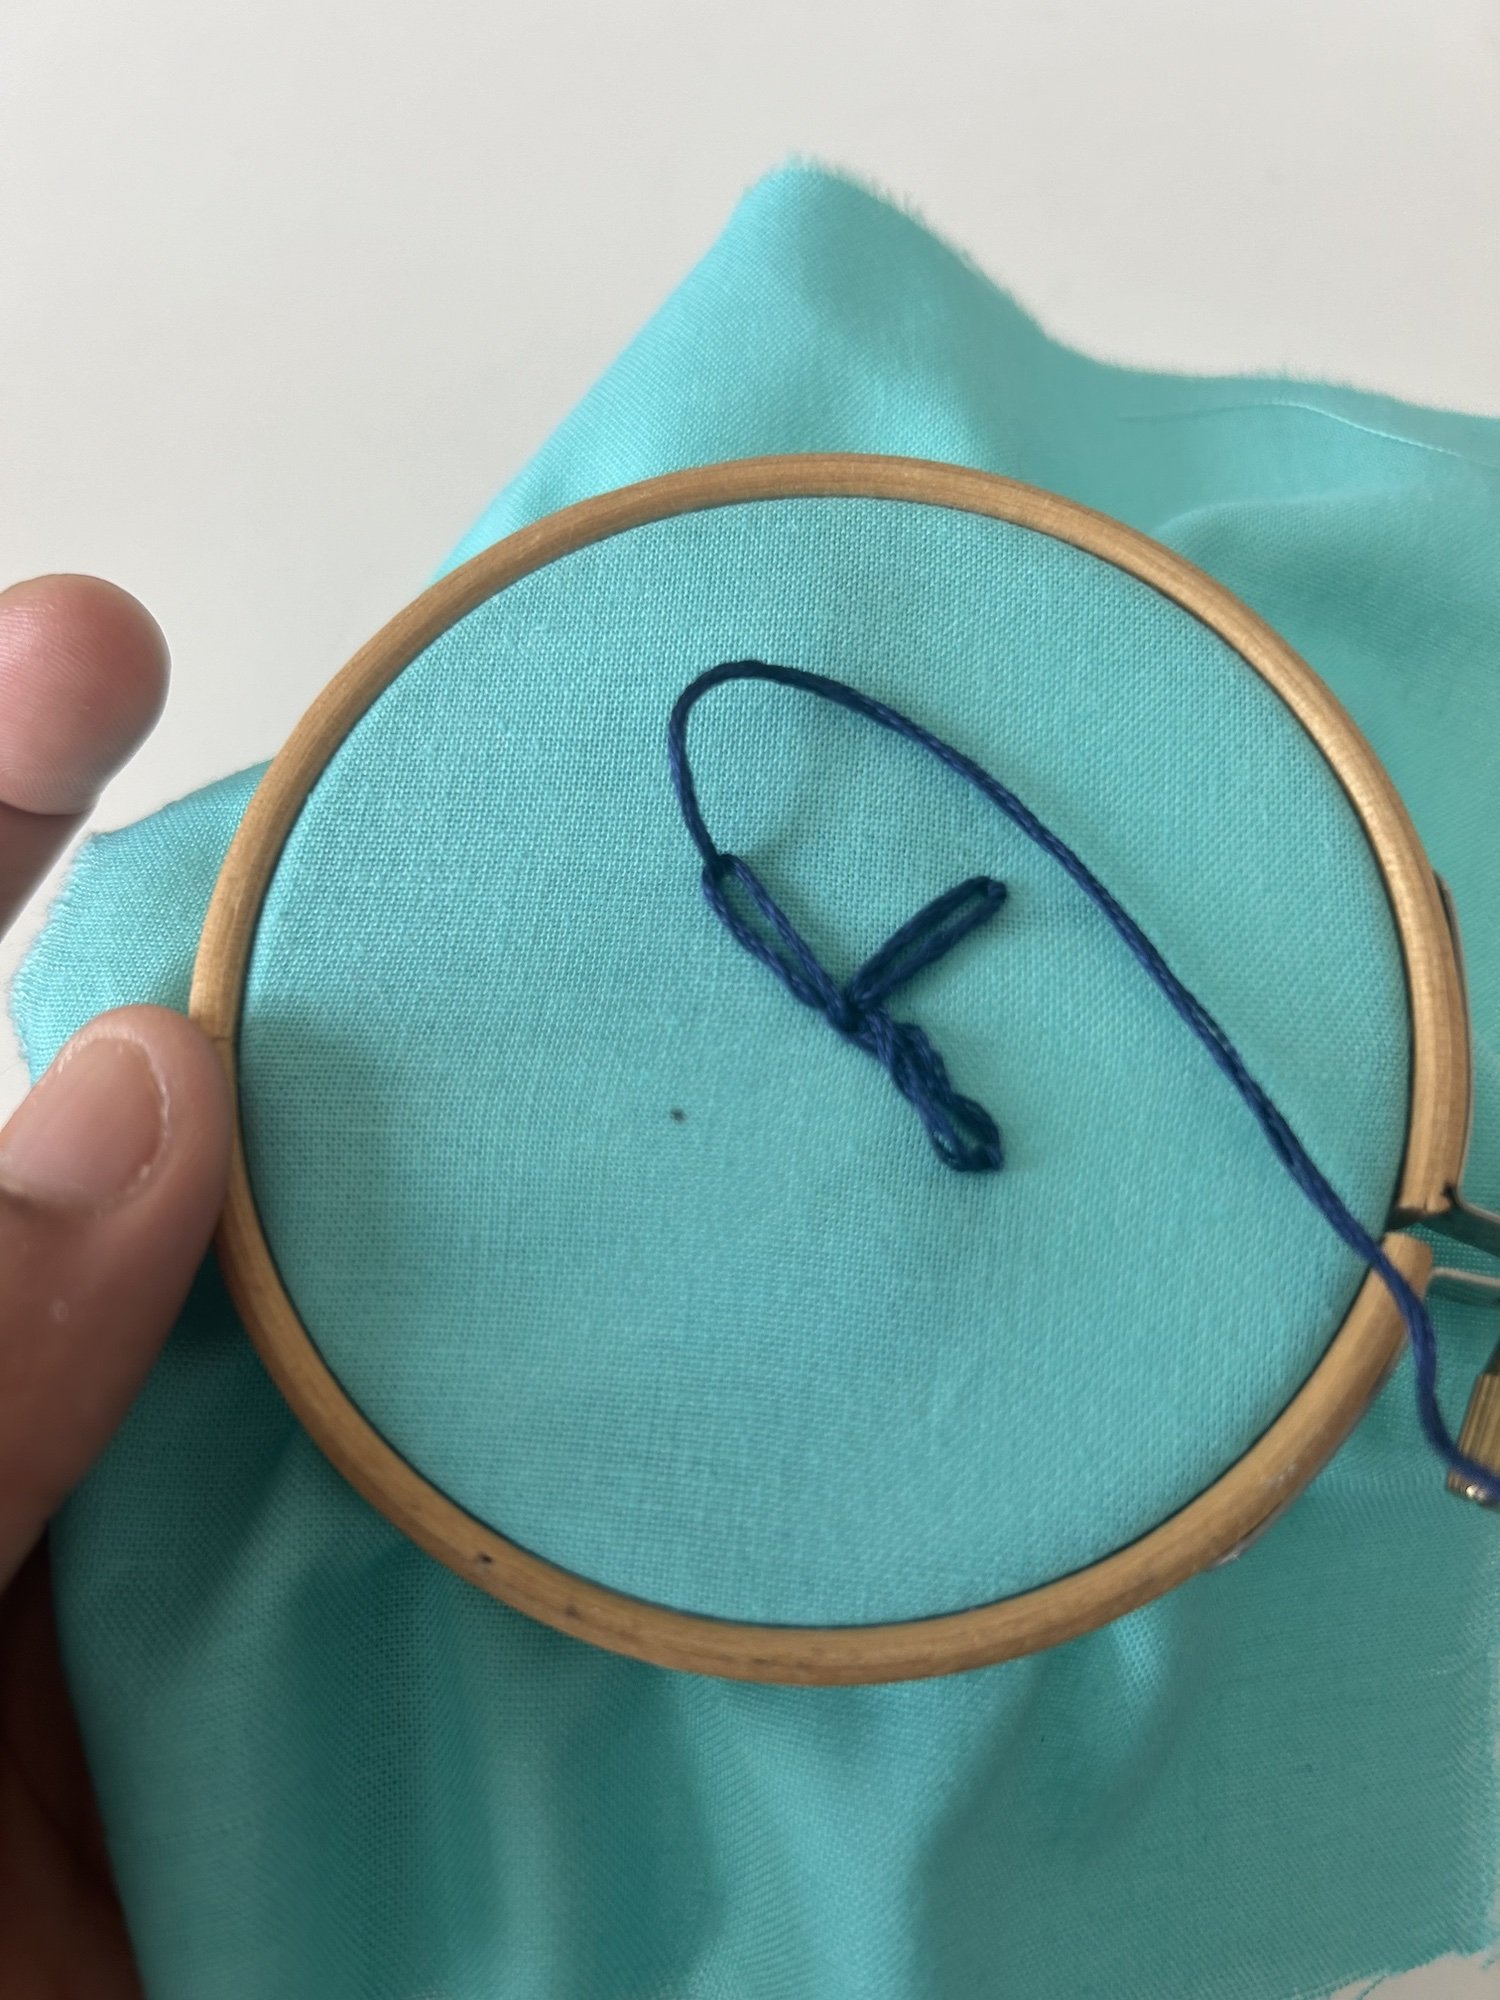
Step 5 Anchor the Loop: To secure the loop, make a small stitch just outside the loop at the tip of the petal (Point C). This anchoring stitch keeps the loop in place and forms the pointed end of the petal.
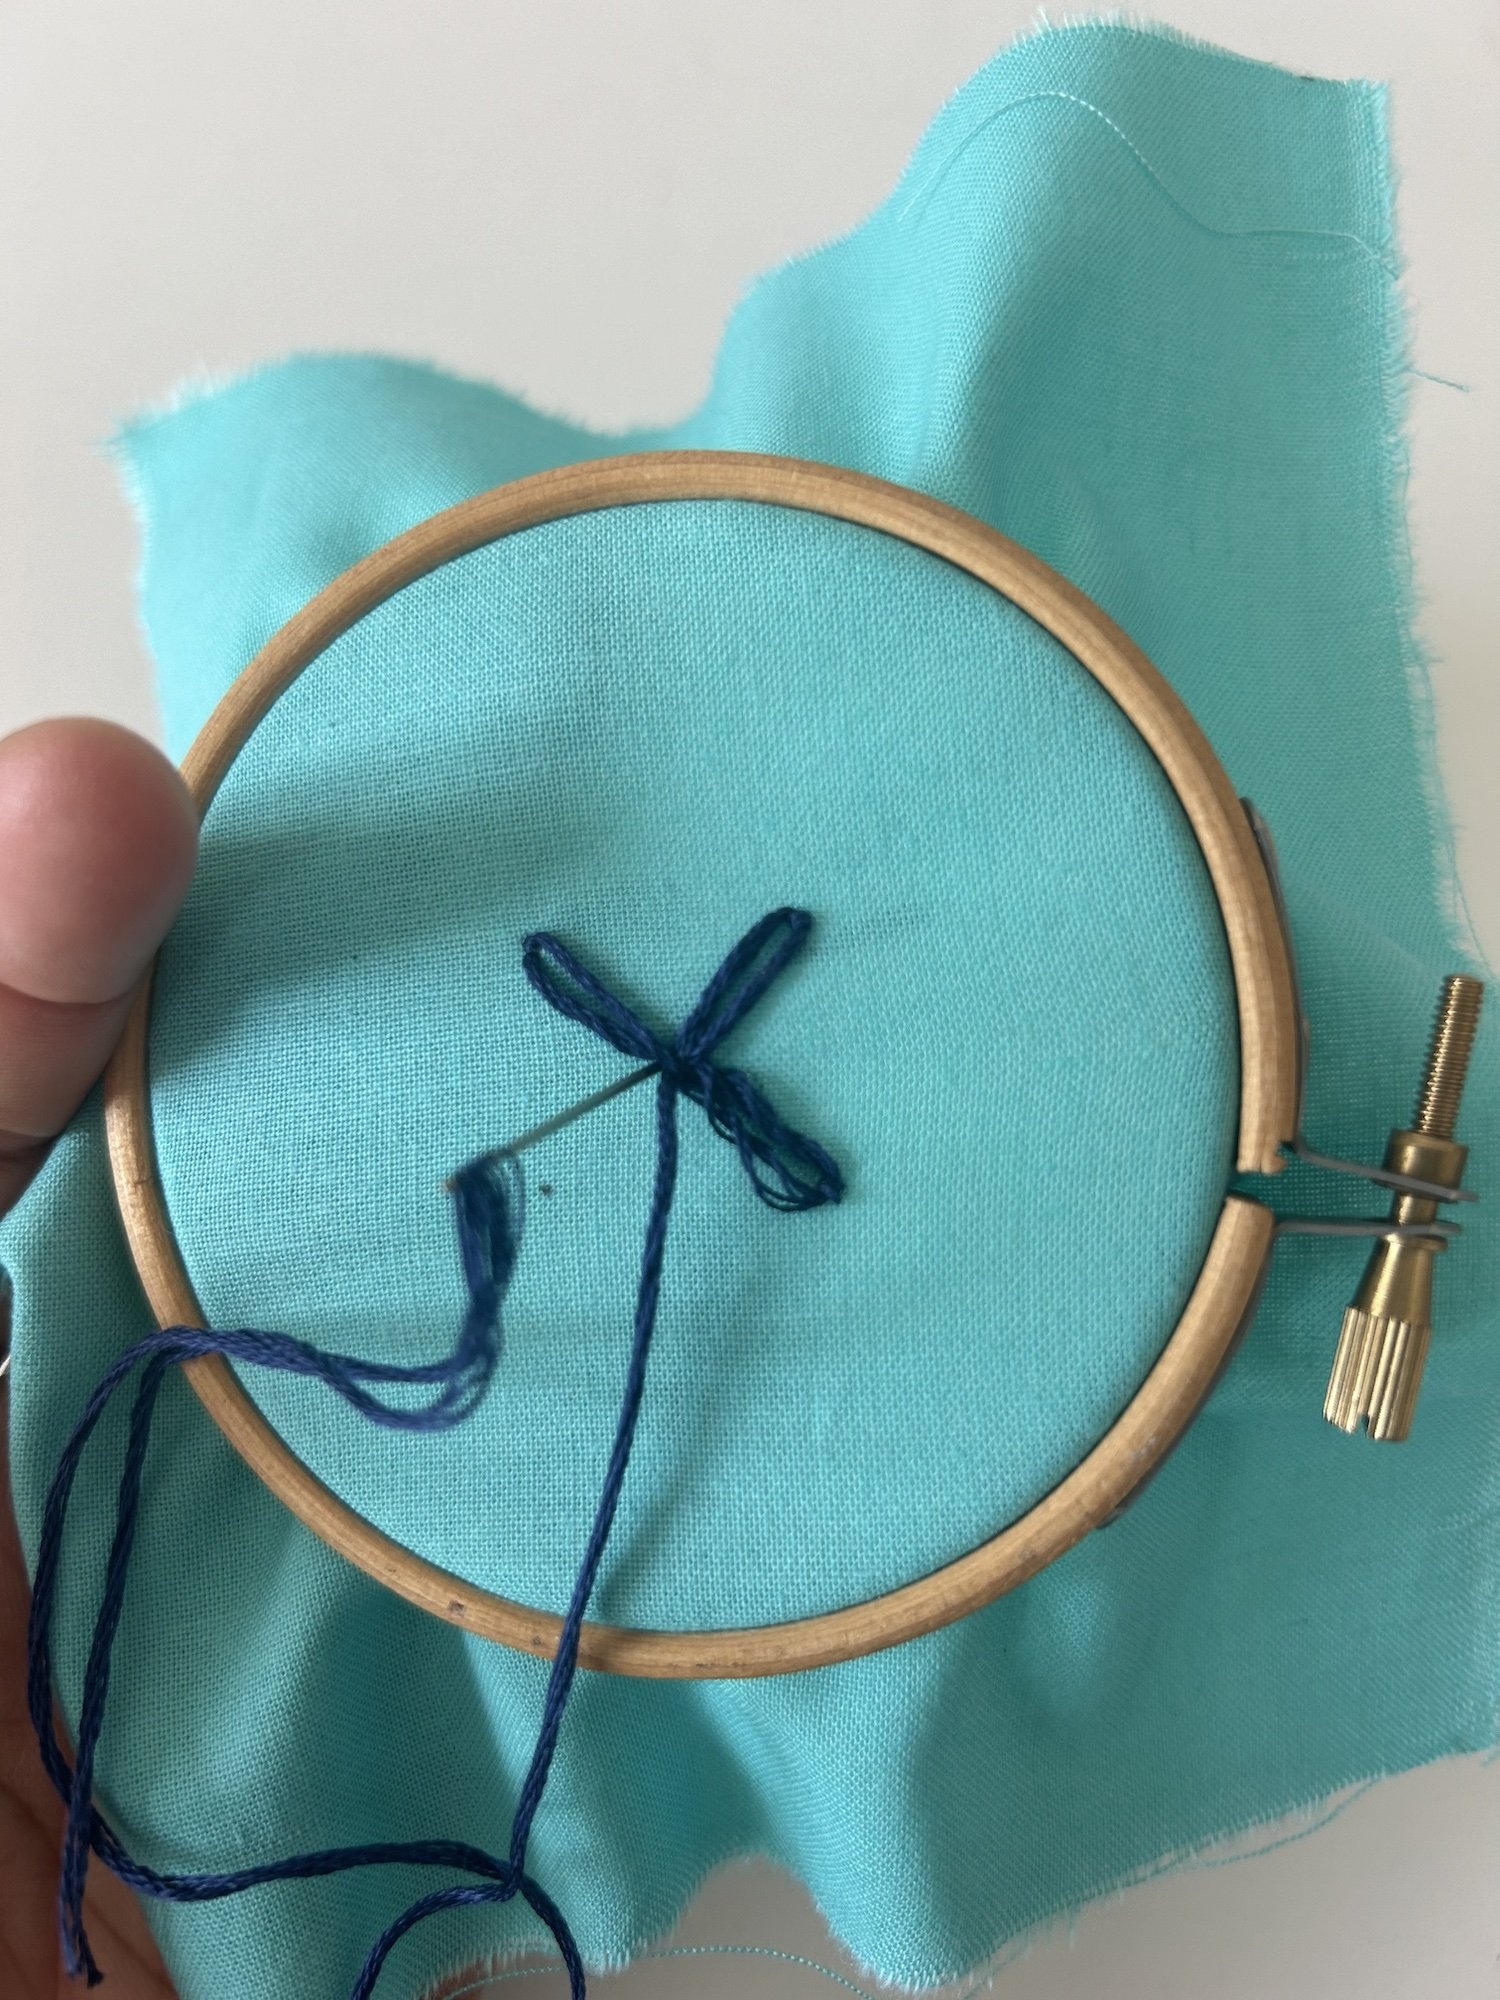
Step 6 Repeat: For a Lazy Daisy flower, continue to stitch more petals around a central point, following the same steps. Each petal should start and end at a shared central point, creating the daisy-like pattern.
Step 7 Finish off: When you reach the end of your stitching line, bring the needle to the back of the fabric, knot the thread, and trim any excess.
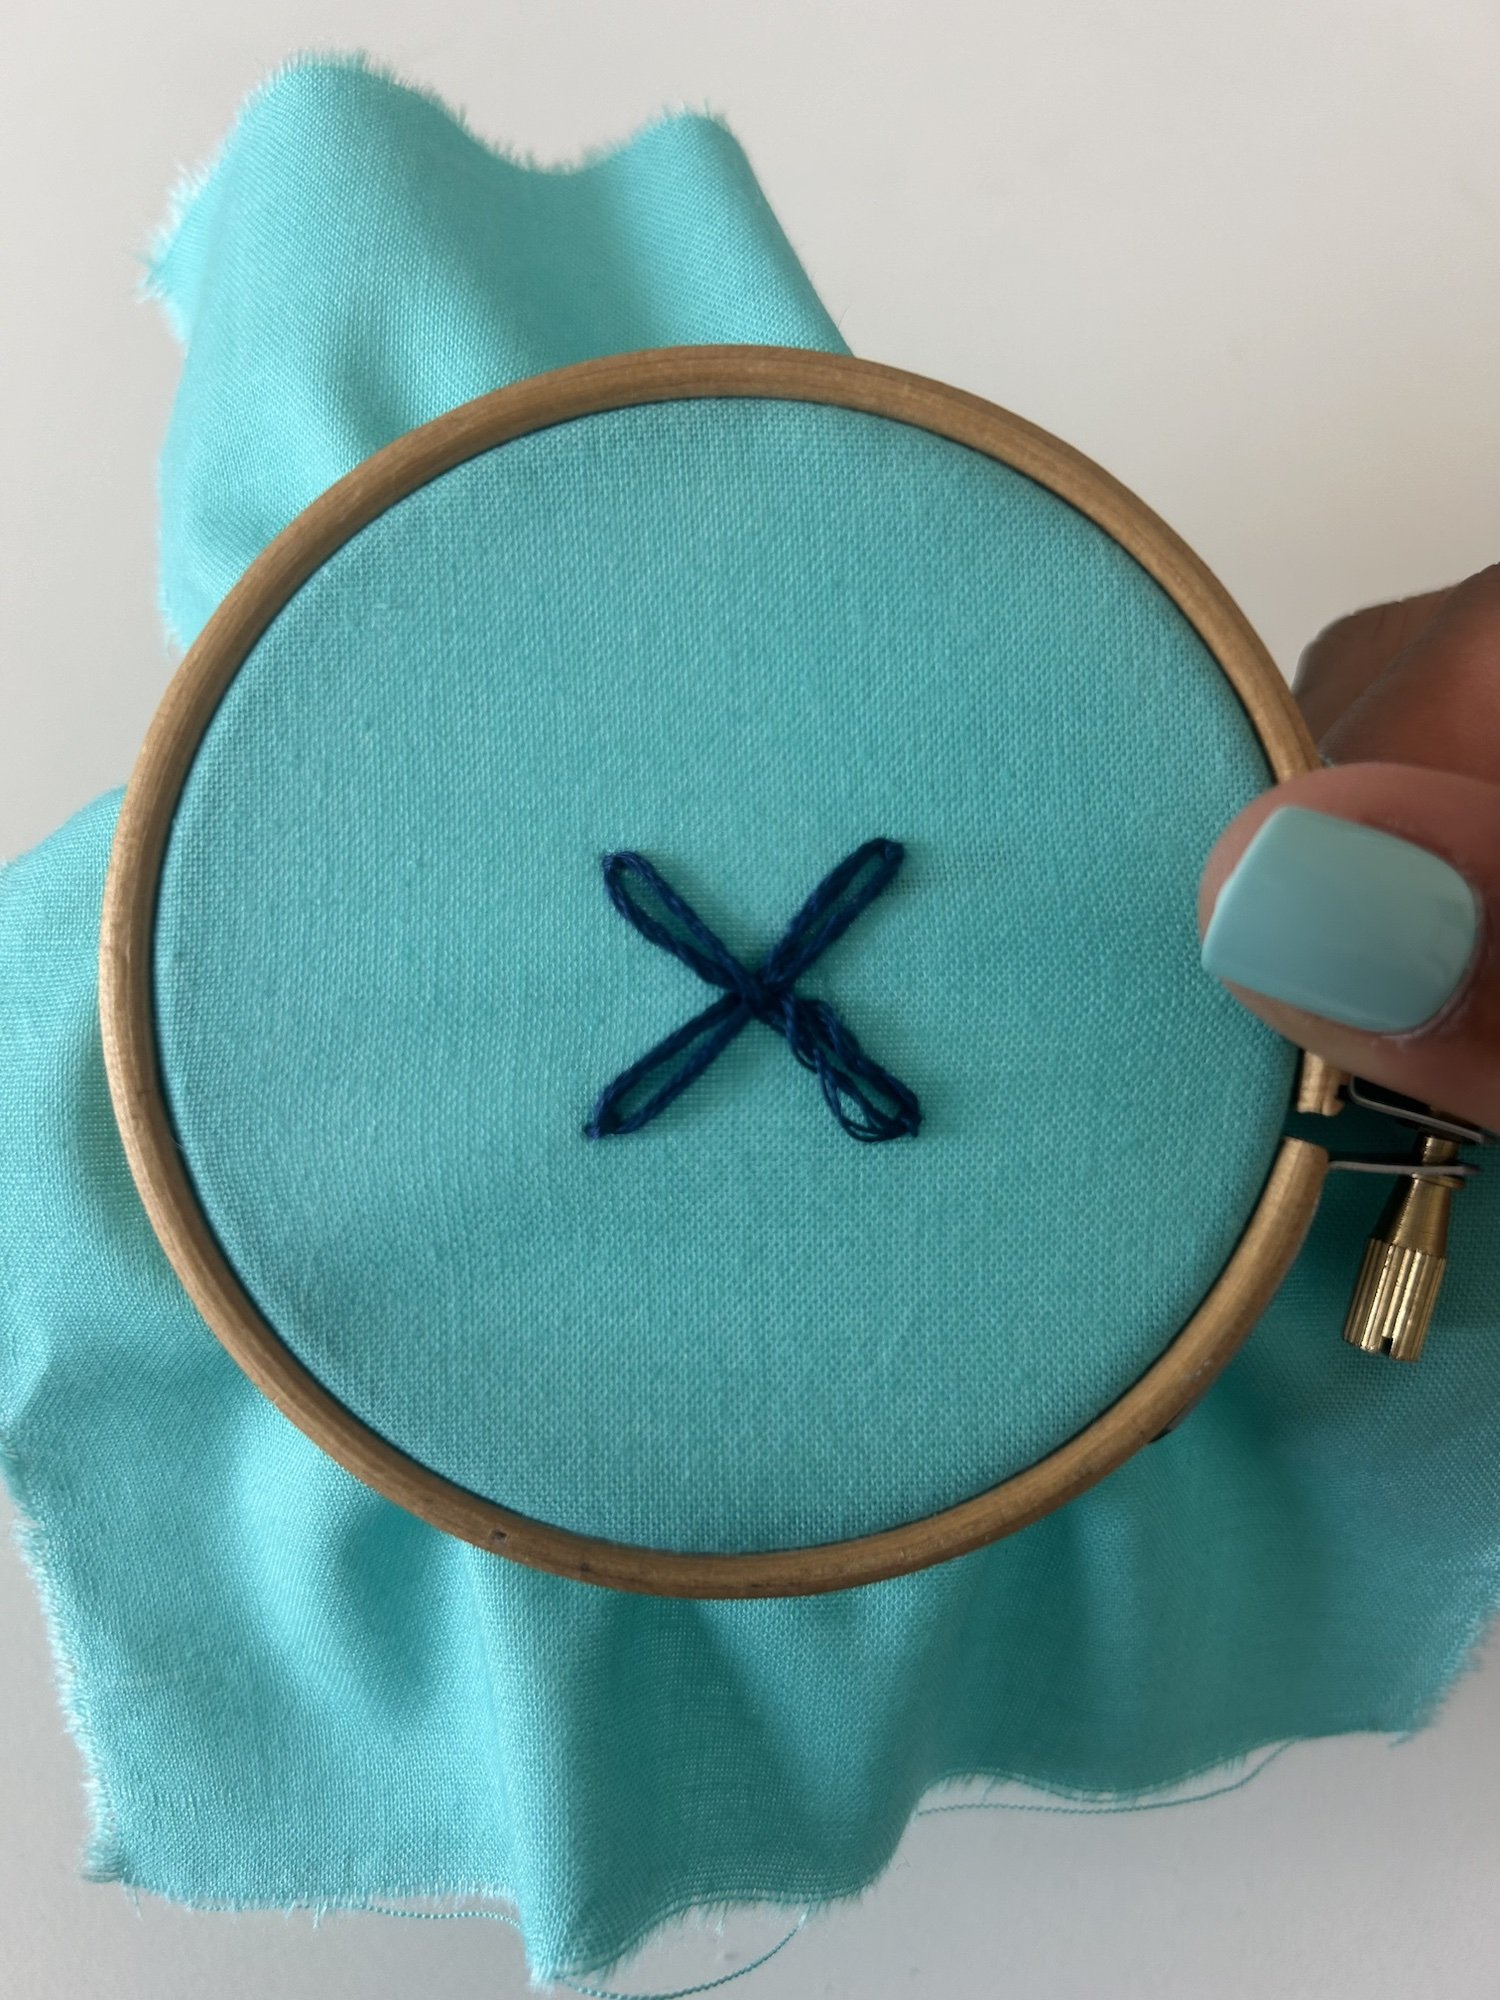
Tips & Tricks
Keep your loops consistent: For a neat and tidy appearance, try to keep your loops the same size. Practice on scrap fabric to get the feel of what you will need to achieve the loops you want.
Experiment with thread thickness: You can adjust the number of strands of floss to create more delicate or bolder petals. Thicker threads give a fuller look, while thinner threads produce a more delicate appearance.
Tension Control: Be mindful of how tightly you pull the thread. Too tight, and the loop may disappear; too loose, and the stitch will look sloppy.
Work with shorter lengths of thread: Long lengths of thread are more likely to tangle and knot, which can make your stitching uneven. Work with a manageable length of floss—around 18-24 inches is ideal.
Common Problems with Backstitch (and How to Fix Them)
Even though the Lazy Daisy stitch is beginner-friendly, you may encounter some challenges as you practice. Here are a few common problems and solutions.
Problem 1: Loose or Floppy Loops
One of the most common issues with the Lazy Daisy stitch is loops that are too loose, causing the petals to look floppy. The solution is to pull the thread just tight enough to form the loop without pulling it taut. Practice controlling your tension to achieve a balanced, neat appearance.
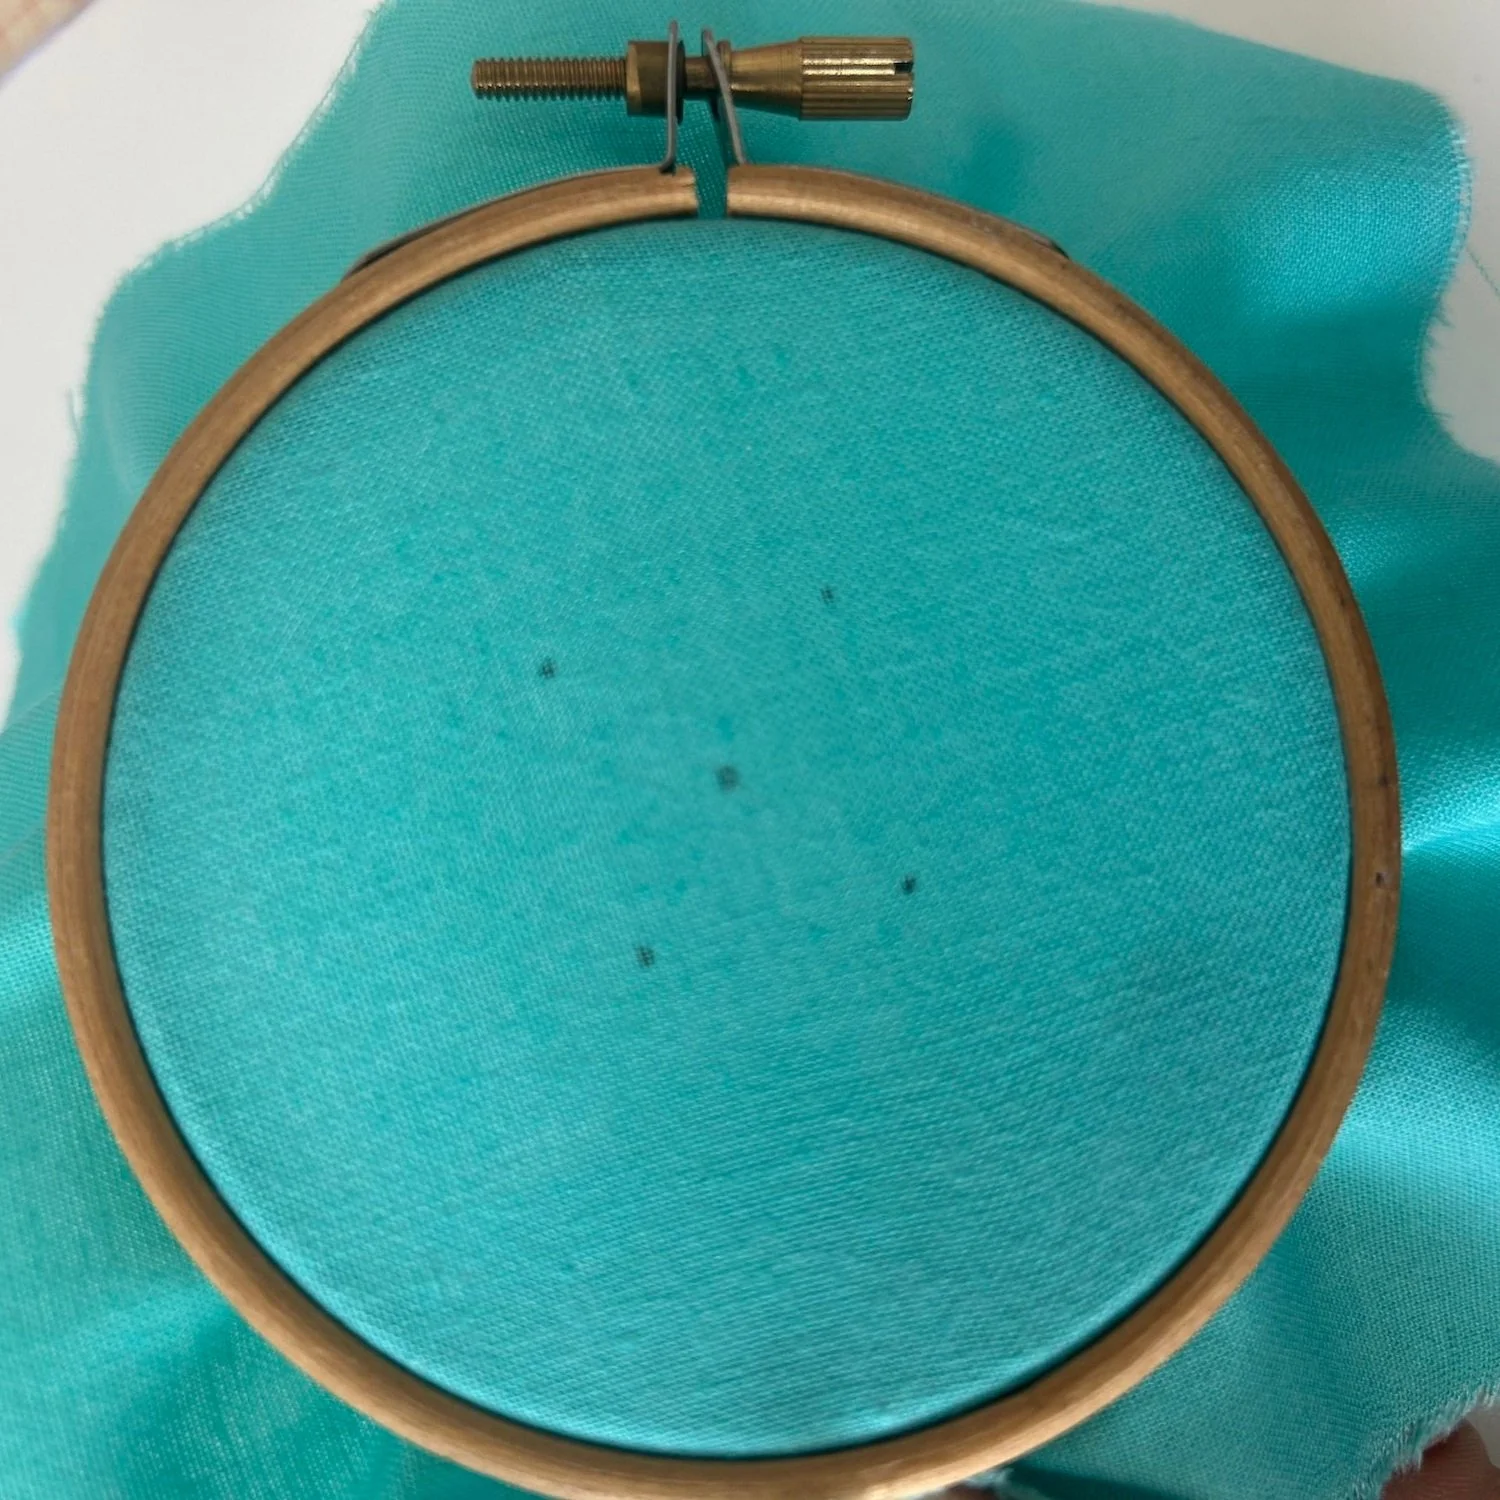
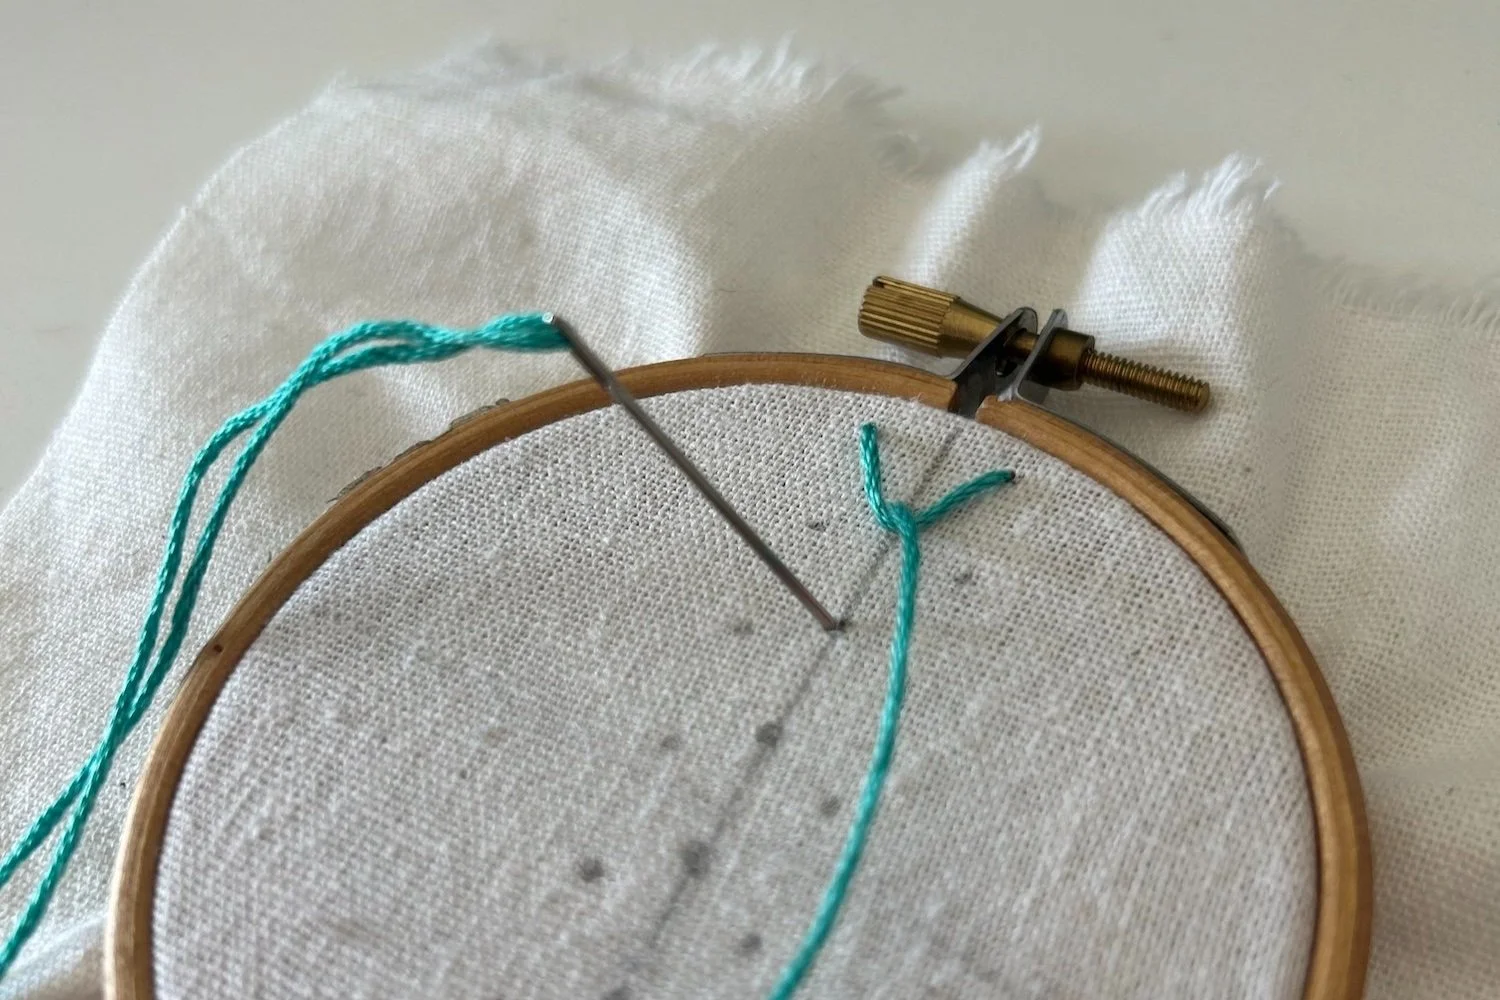
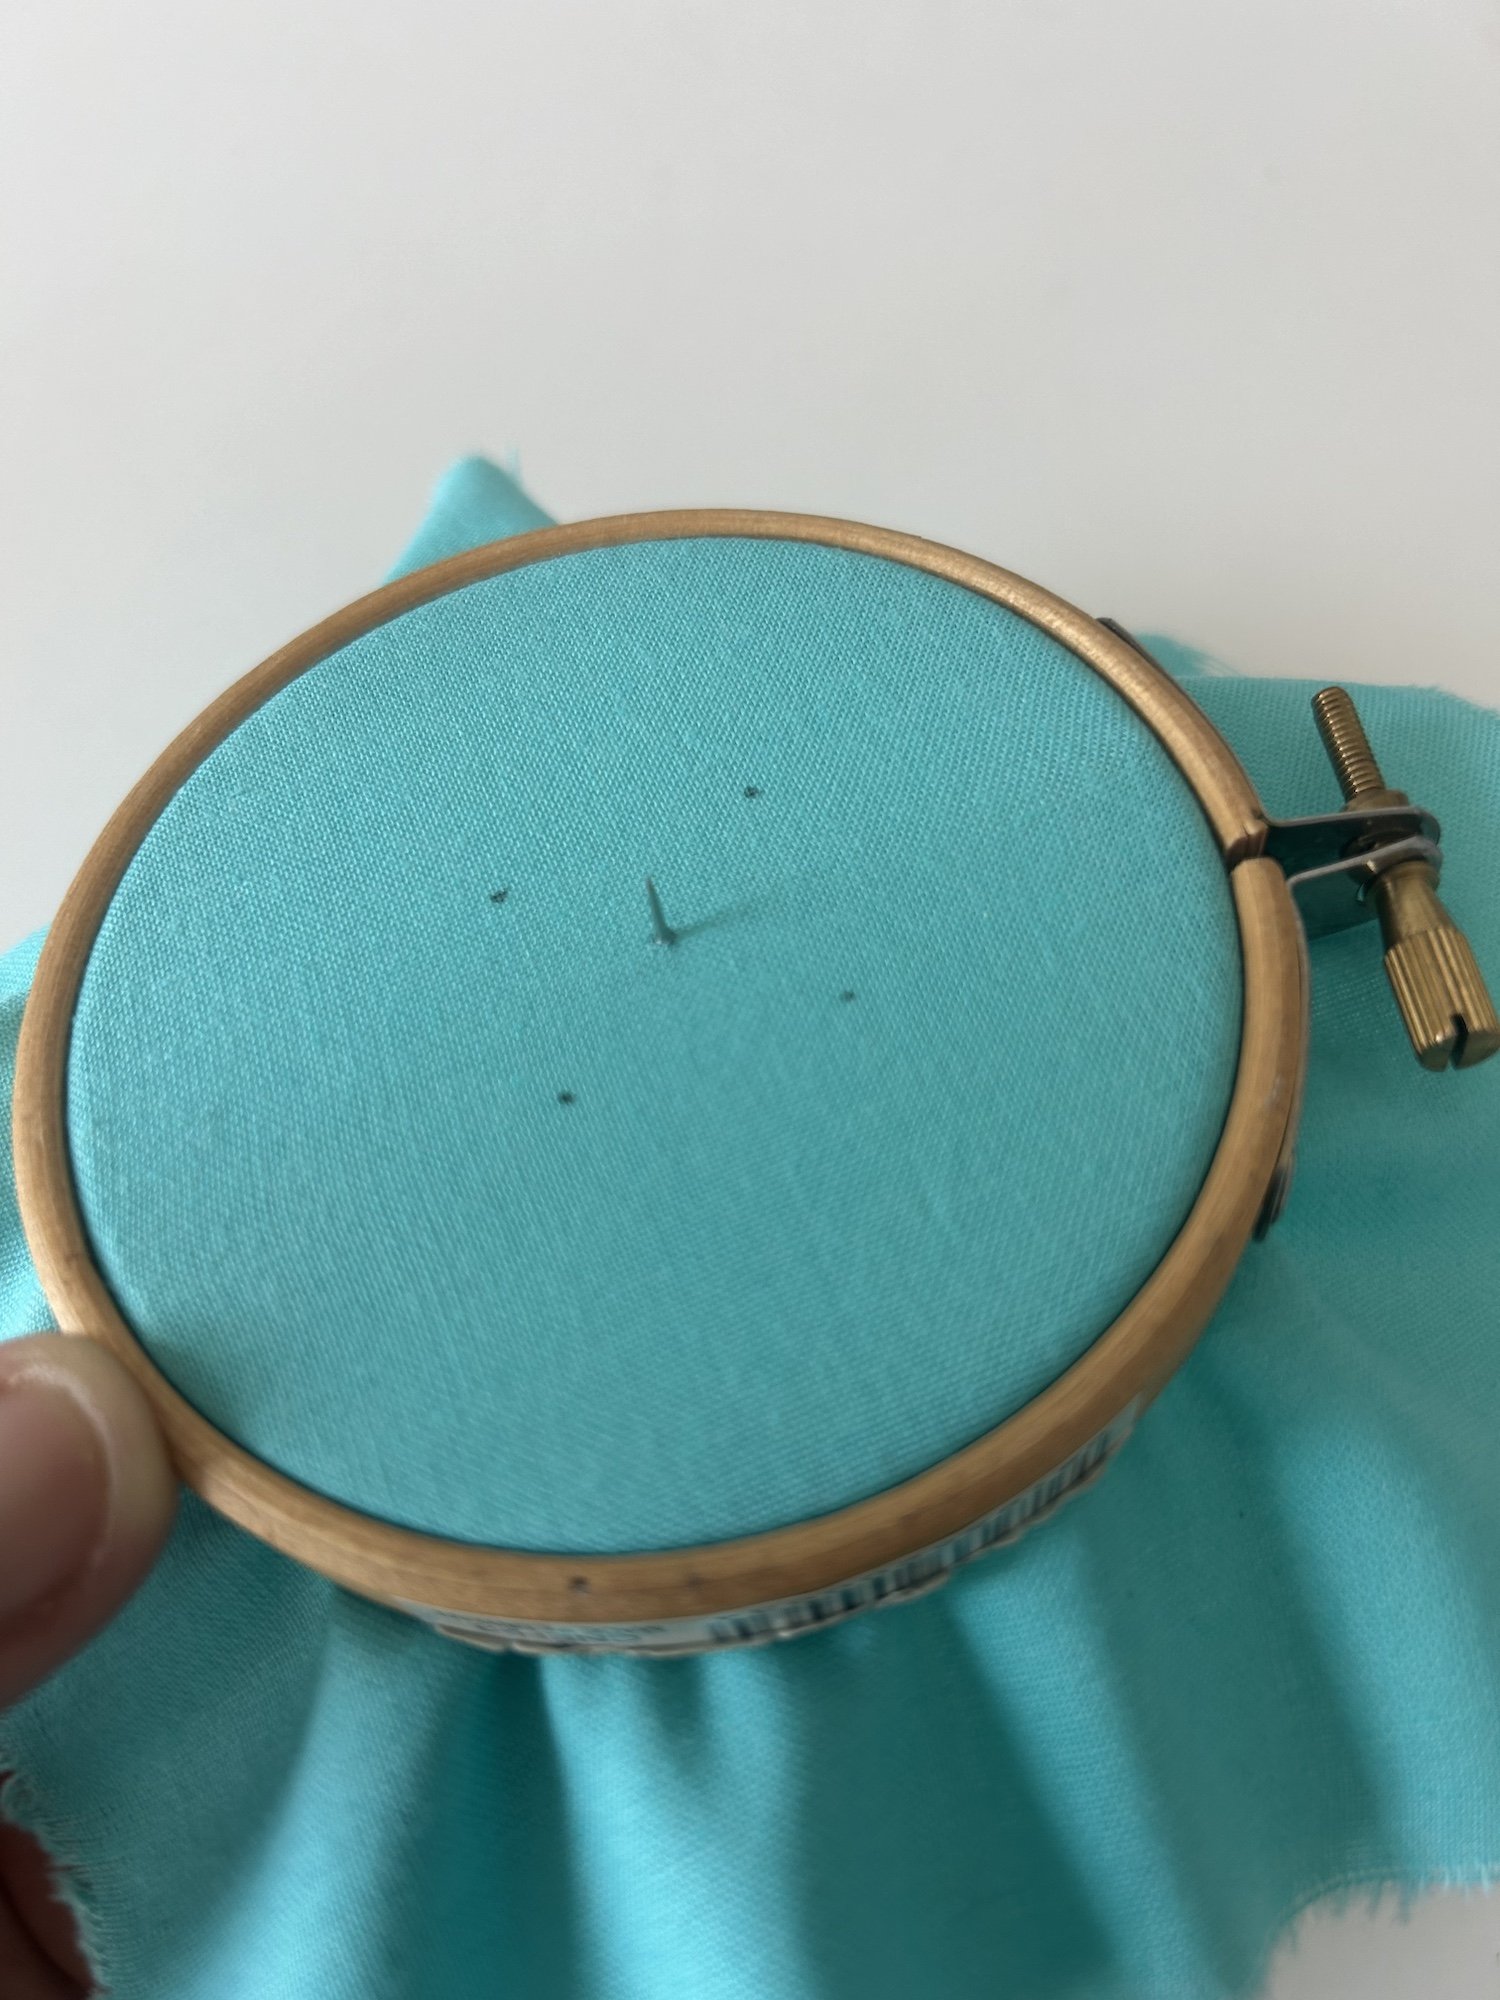
Draw a radial design with a center point (Point A) and equally distant points surrounding Point A.
Problem 2: Uneven Petals
If your petals are uneven, your design may not look as neat and symmetrical as you'd like. To avoid this, mark your fabric with a washable pen or chalk to guide the placement of each petal. This will help you maintain even spacing and consistent petal sizes.
Problem 3: Fabric Puckering
Puckering occurs when the fabric bunches up around your stitches, which can distort your design. Make sure your fabric is stretched tightly in the embroidery hoop before you begin stitching. Additionally, be mindful not to pull the thread too tightly when forming the loops and anchoring stitches, as this can cause the fabric to gather.
Problem 4: Twisted or Tangled Thread
Sometimes, your embroidery floss can twist or tangle as you stitch, resulting in uneven loops or knots. Use shorter lengths of thread to minimize tangling. If you notice your thread starting to twist, stop and let the needle dangle freely to untwist it before continuing.
History of the Backstitch
While the exact origins of the Lazy Daisy stitch are unclear, chain stitches have been used in embroidery for thousands of years. The chain stitch, of which the Lazy Daisy is a variation, dates back to ancient China and India. It was used in traditional garments and textiles, particularly for creating floral and botanical designs. Over time, the stitch evolved and became popular worldwide, with different cultures developing their own variations.
The term "Lazy Daisy" likely comes from the way this stitch is often used to create quick, simple floral designs—particularly daisies. Its ease and efficiency made it a staple in embroidery, particularly in European folk art and modern needlework.
Ways To Use a Backstitch
Floral Motifs
The most common use of the Lazy Daisy stitch is to create floral motifs. You can stitch simple daisy flowers with five or six petals, or experiment with different flower shapes by varying the number of petals and the length of each loop.
Tip: Use multiple colors for the petals and center of the flower to create a more dynamic design.
Leaves & Petals
The Lazy Daisy stitch is ideal for stitching small leaves and petals. By elongating the loops and positioning them strategically, you can create a variety of natural elements, from simple leaves to more complex, layered botanical designs.
Borders & Frames
This stitch can also be used to create decorative borders. Simply repeat the stitch in a line to form a chain of loops, which can serve as a decorative frame around your design.
Textured Fillings
The Lazy Daisy stitch can be used as a filling stitch in larger areas. Overlap loops of varying sizes to create texture within shapes, such as flower centers or abstract designs.
Embellishing Clothes
One of the most charming uses for the Lazy Daisy stitch is embellishing clothing or accessories. Use it to decorate collars, cuffs, or even bags for a personal, handmade touch.
Level Up Your Lazy Daisy Stitch With Variations
While the basic Lazy Daisy stitch is simple, there are several ways to modify and adapt it for different effects. Here are some popular variations.
Detached Lazy Daisy
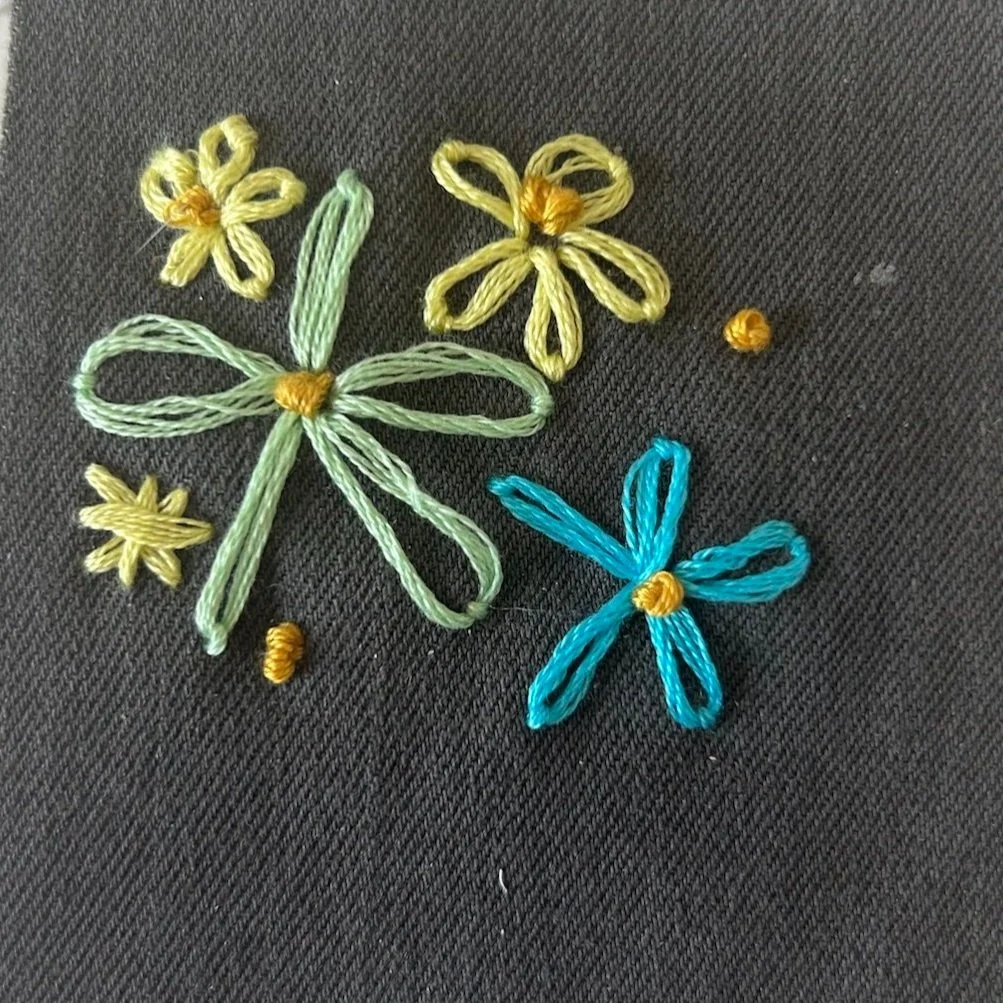
Instead of connecting each petal at a shared point, space out individual Lazy Daisy stitches to create scattered floral motifs or abstract designs. This variation works well for creating light, airy patterns.
Double Lazy Daisy
Create a double Lazy Daisy by stitching two layers of petals—one inside the other. The outer layer consists of longer petals, while the inner layer has shorter, tighter petals. This gives your flower a more dimensional, full appearance.
Lazy Daisy With Knot Center
For a more decorative flower, use a French knot in the center of your Lazy Daisy stitches. This adds a pop of texture and color to the design and makes the flower look more intricate.
Leaf Variation
To create leaves, use the same basic technique as the Lazy Daisy stitch, but elongate the loops and add a few straight stitches at the base of the leaf to mimic veins.
Decorative Chain of Lazy Daisies
Instead of creating individual flowers, you can link Lazy Daisy stitches together to form a chain. This technique is perfect for creating decorative borders, vines, or even wreath-like designs.
Lazy Daisy Stitch Combos
The Lazy Daisy stitch doesn’t need to stand alone! Here’s how you can combine it with other embroidery stitches to create more intricate designs.
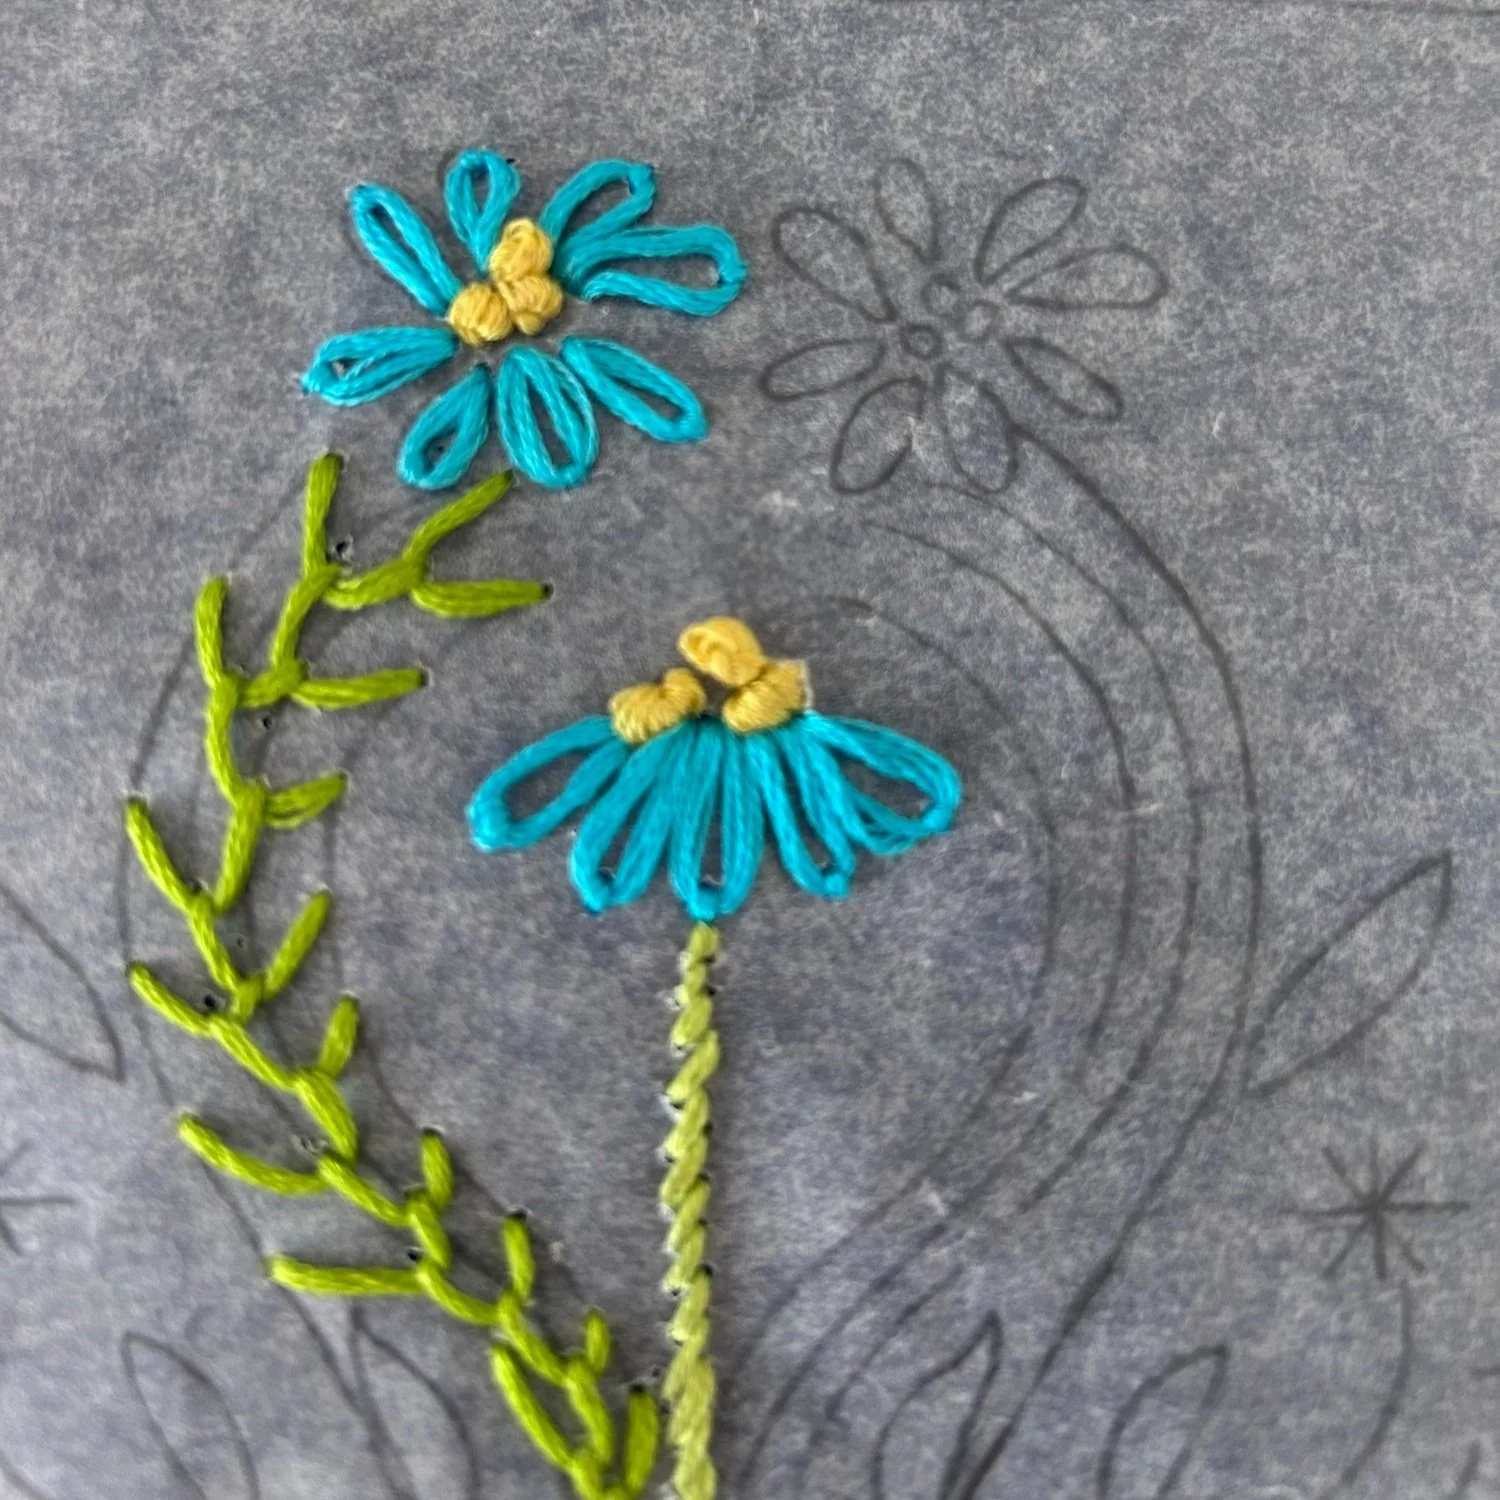
Lazy daisy stitches with French knot centers
Lazy Daisy + French Knots
French knots can be used as the center of your Lazy Daisy flowers, adding texture and dimension. You can also scatter French knots in the background of your design to create a whimsical, playful effect.
Lazy Daisy + Satin Stitch
Use the satin stitch to fill in leaves or petals alongside Lazy Daisy stitches. This combination adds variation and contrast to your embroidery, making it more visually interesting.
Lazy Daisy + Backstitch or Stem Stitch
The Lazy Daisy stitch pairs beautifully with backstitch or stem stitch when creating vines, stems, or borders. Use these line stitches to connect your Lazy Daisy flowers or create a cohesive floral pattern.
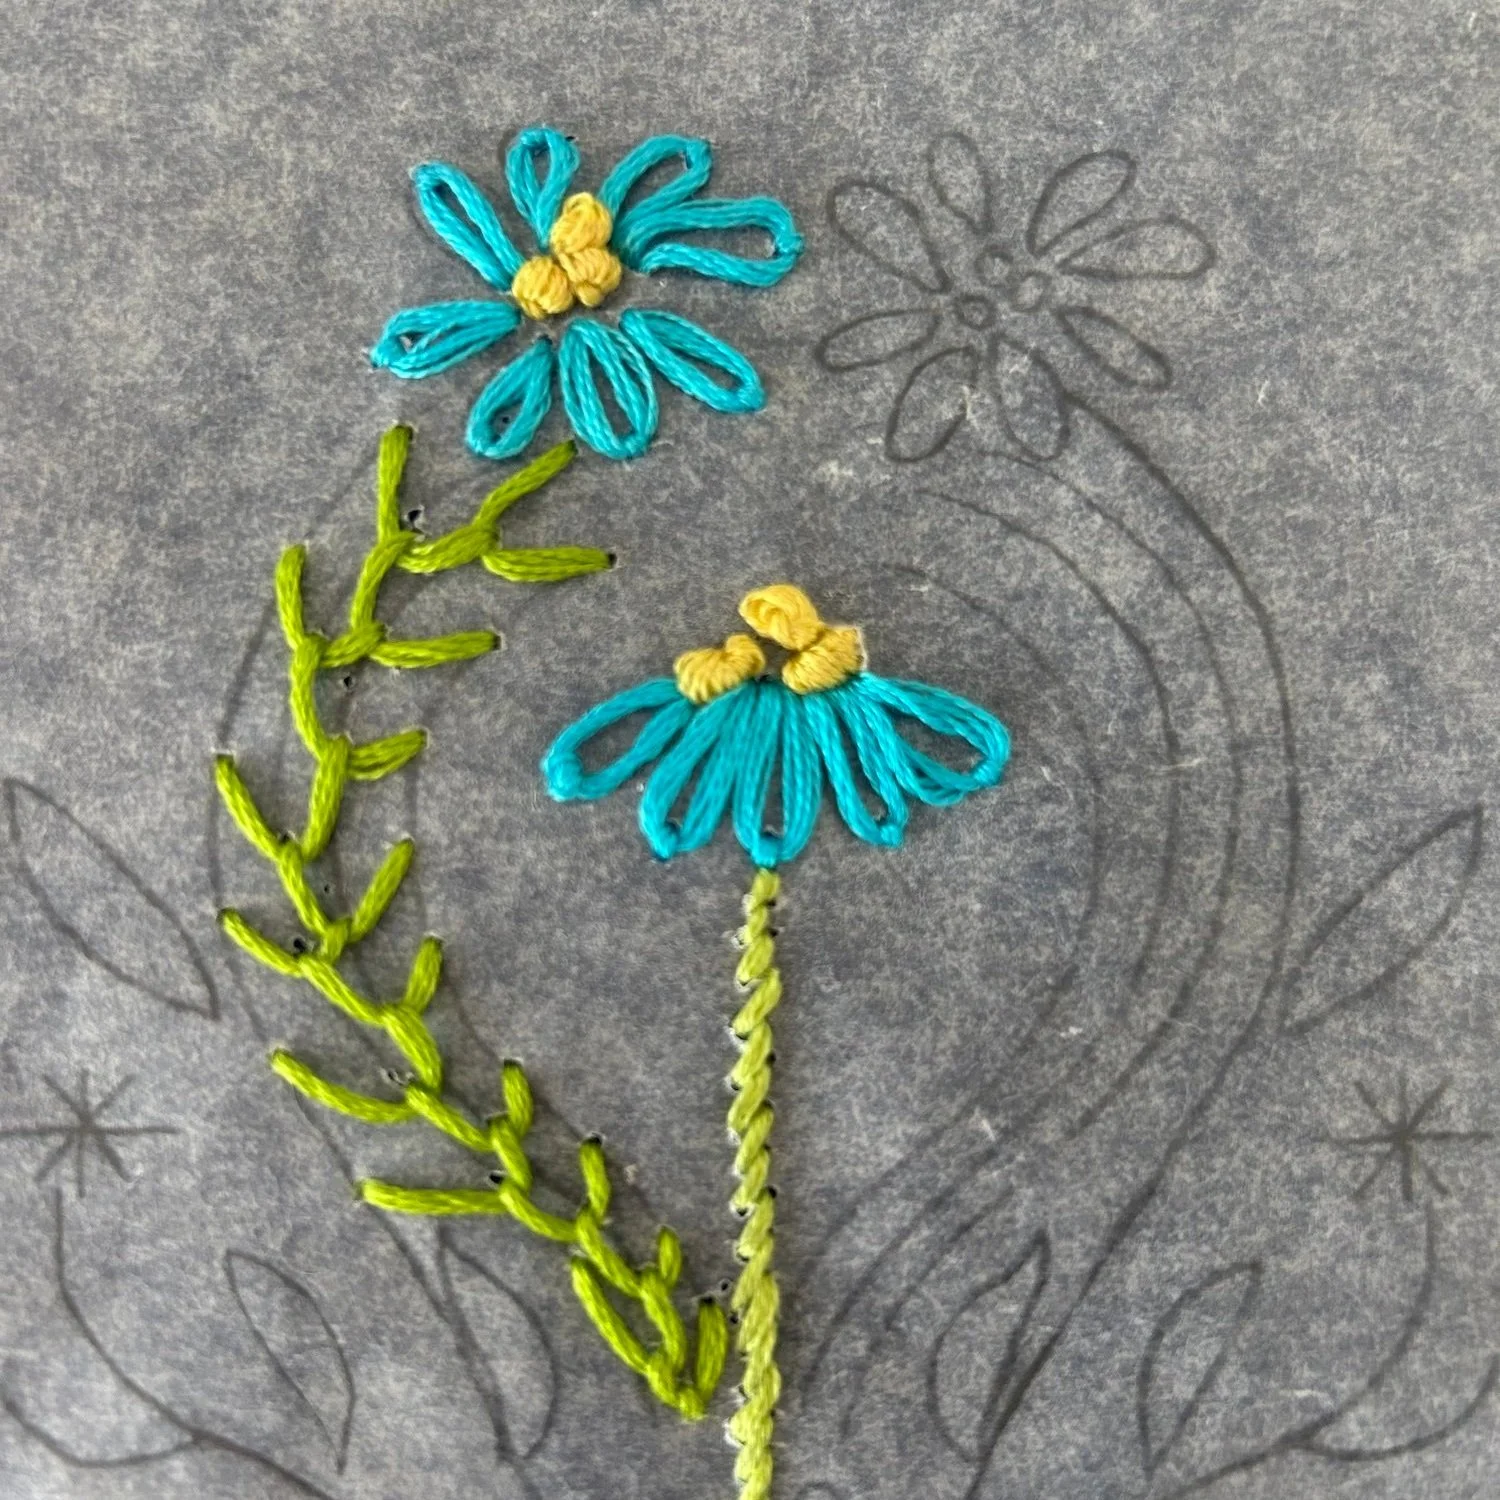
Lazy Daisy Stitches with Fly Stitch and Stem Stitch
Lazy Daisy + Fly Stitch
Fly stitches can be used to create additional leaves or plant details in your floral embroidery. Pairing Fly stitches with Lazy Daisy stitches results in a more intricate, layered botanical design.


