French Knot
French Knot
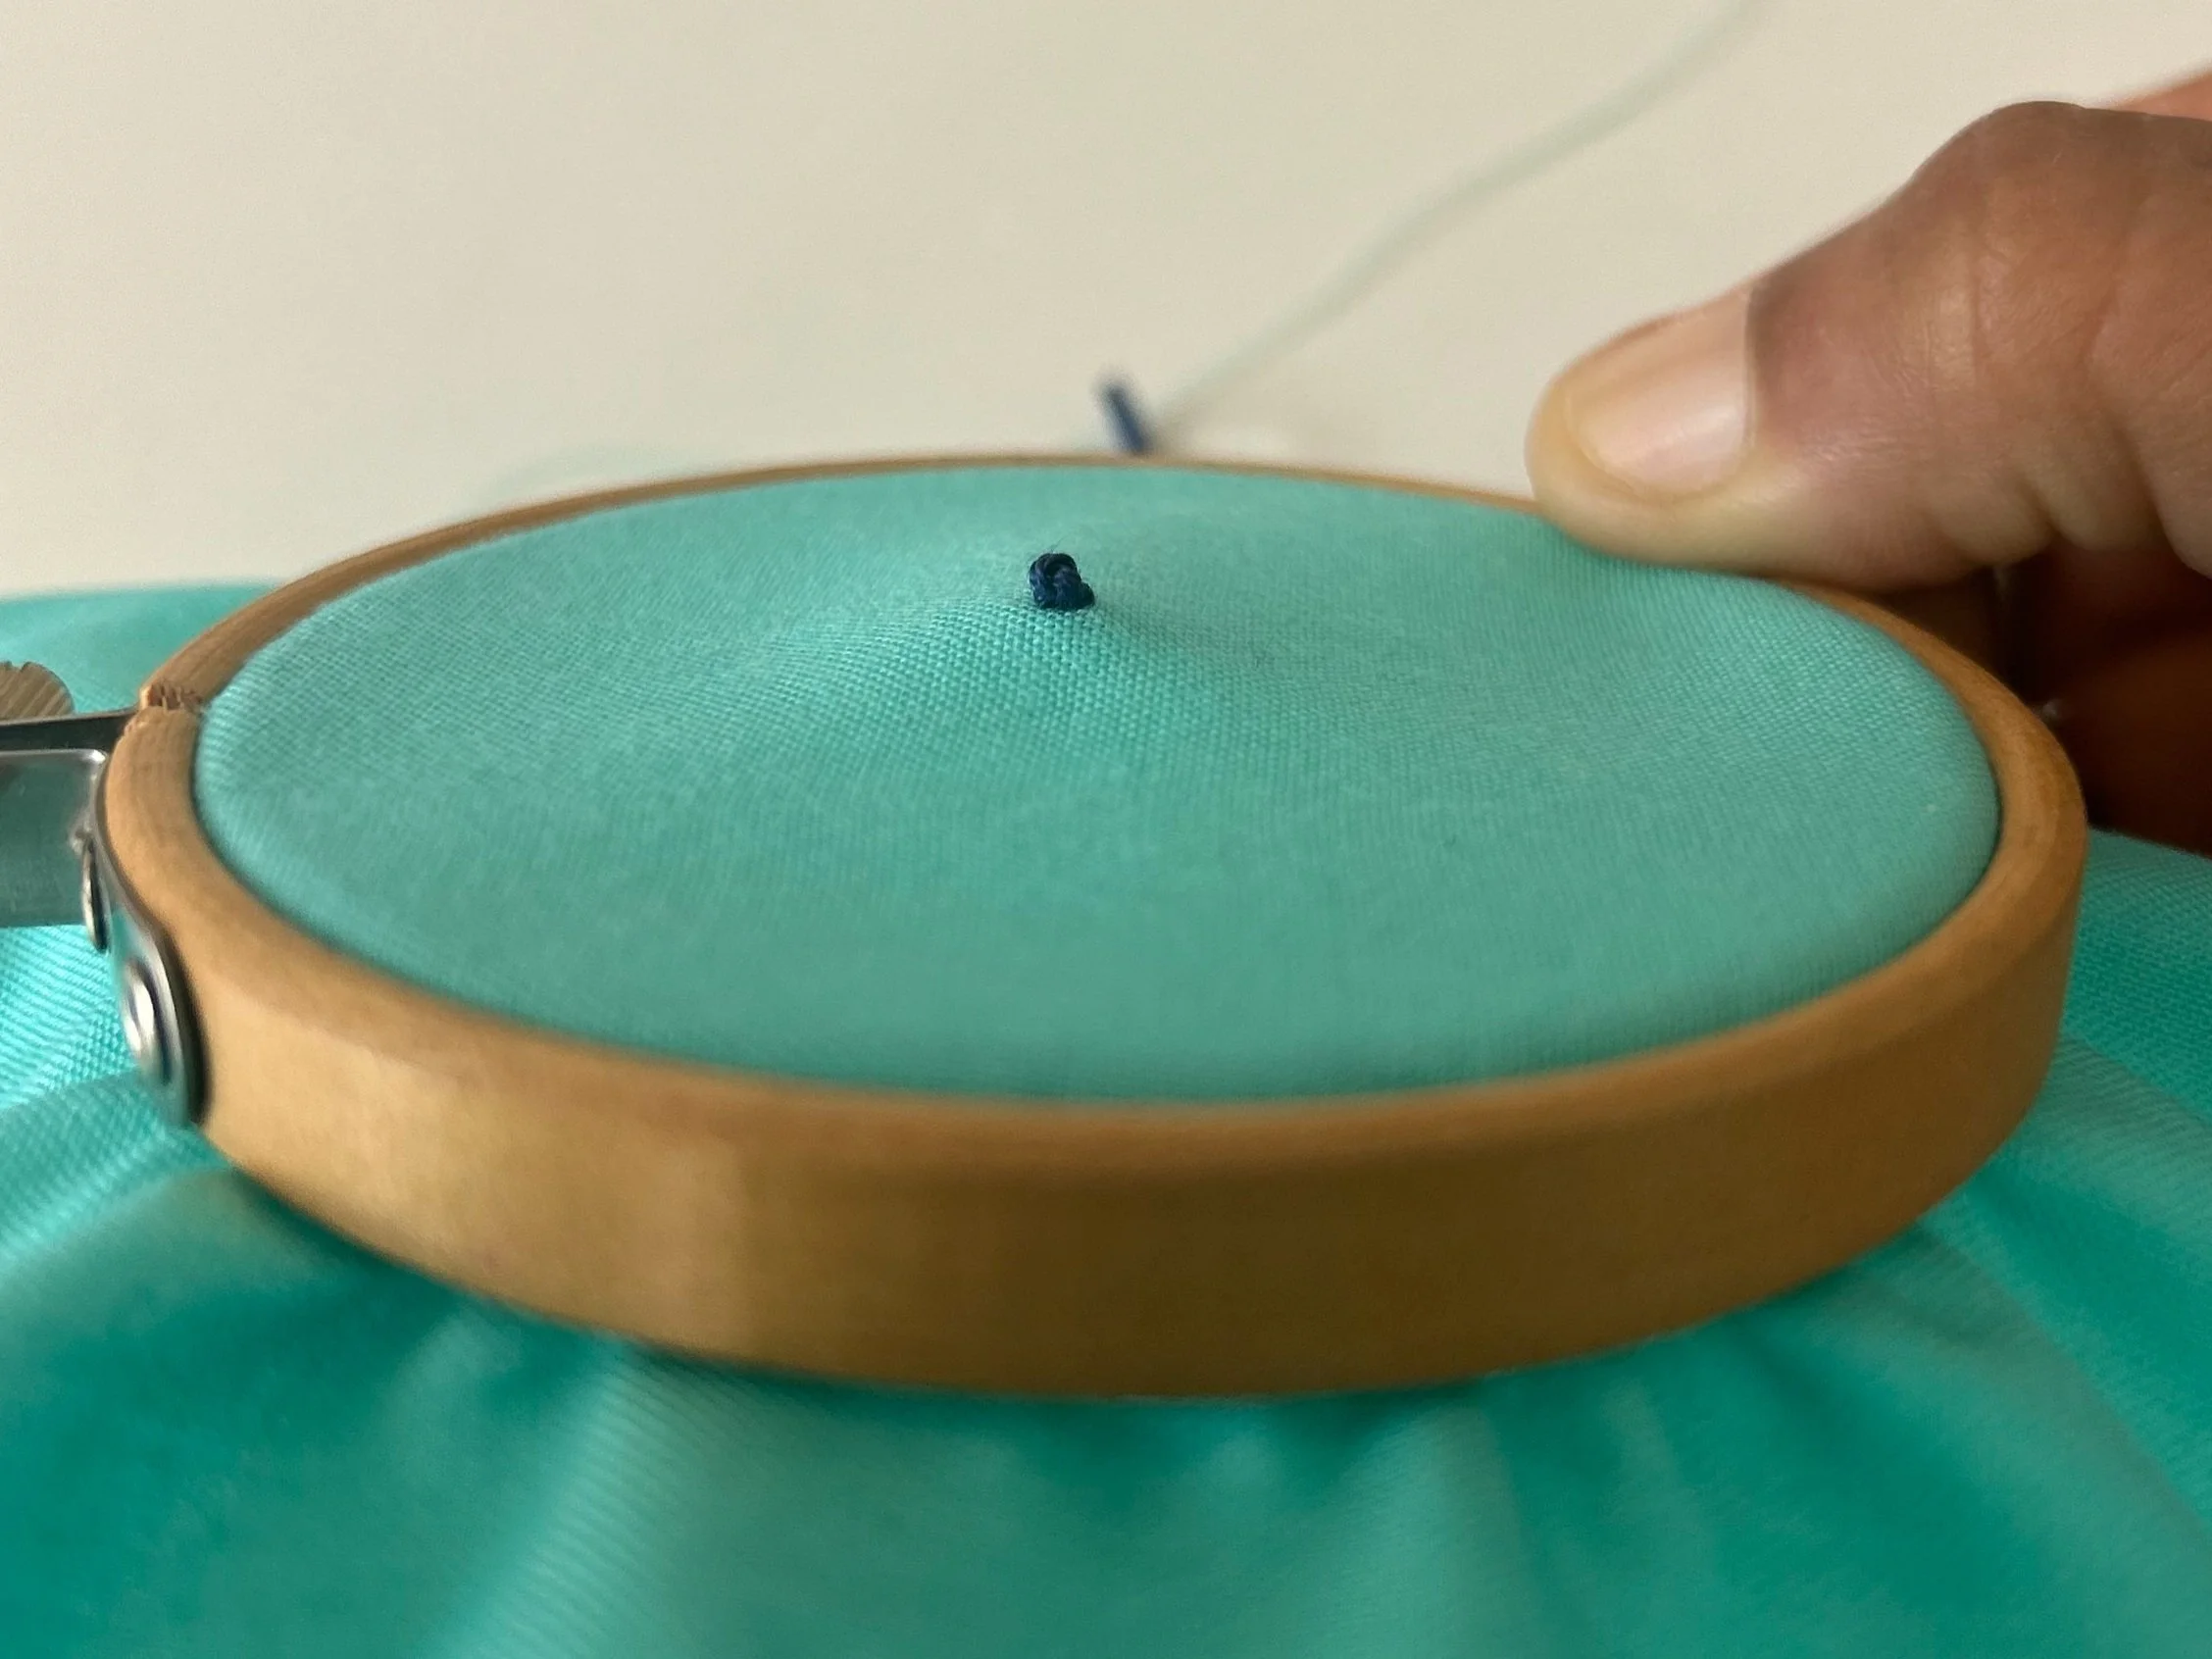
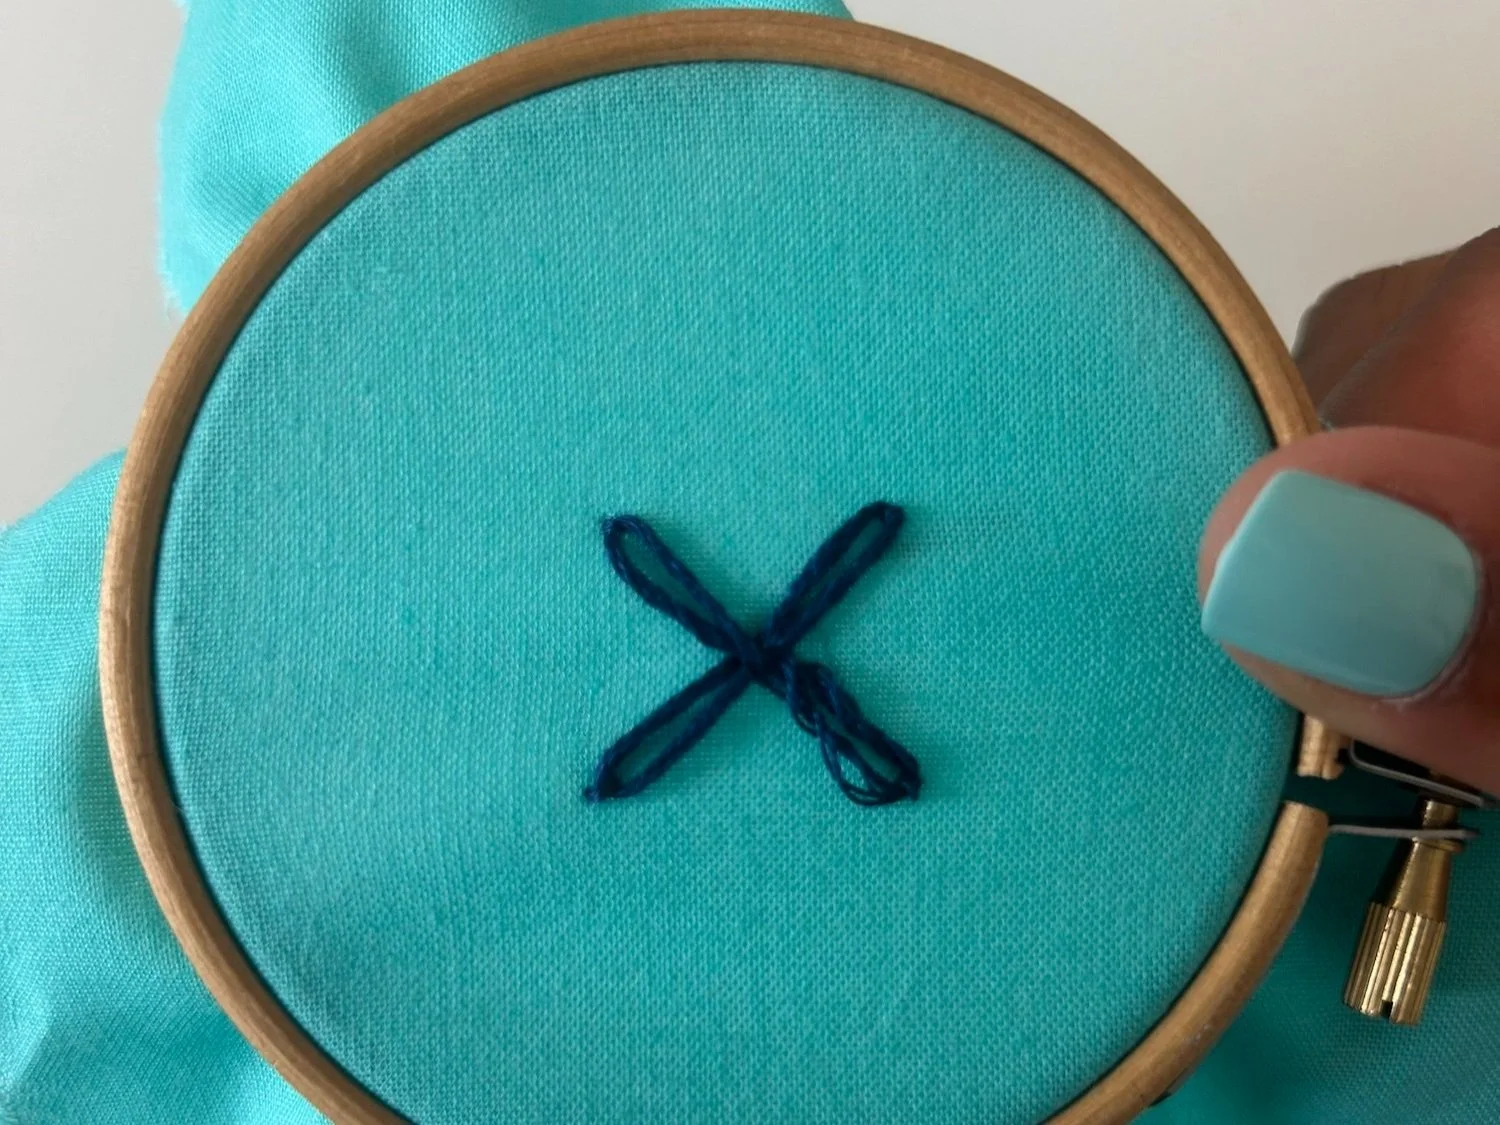
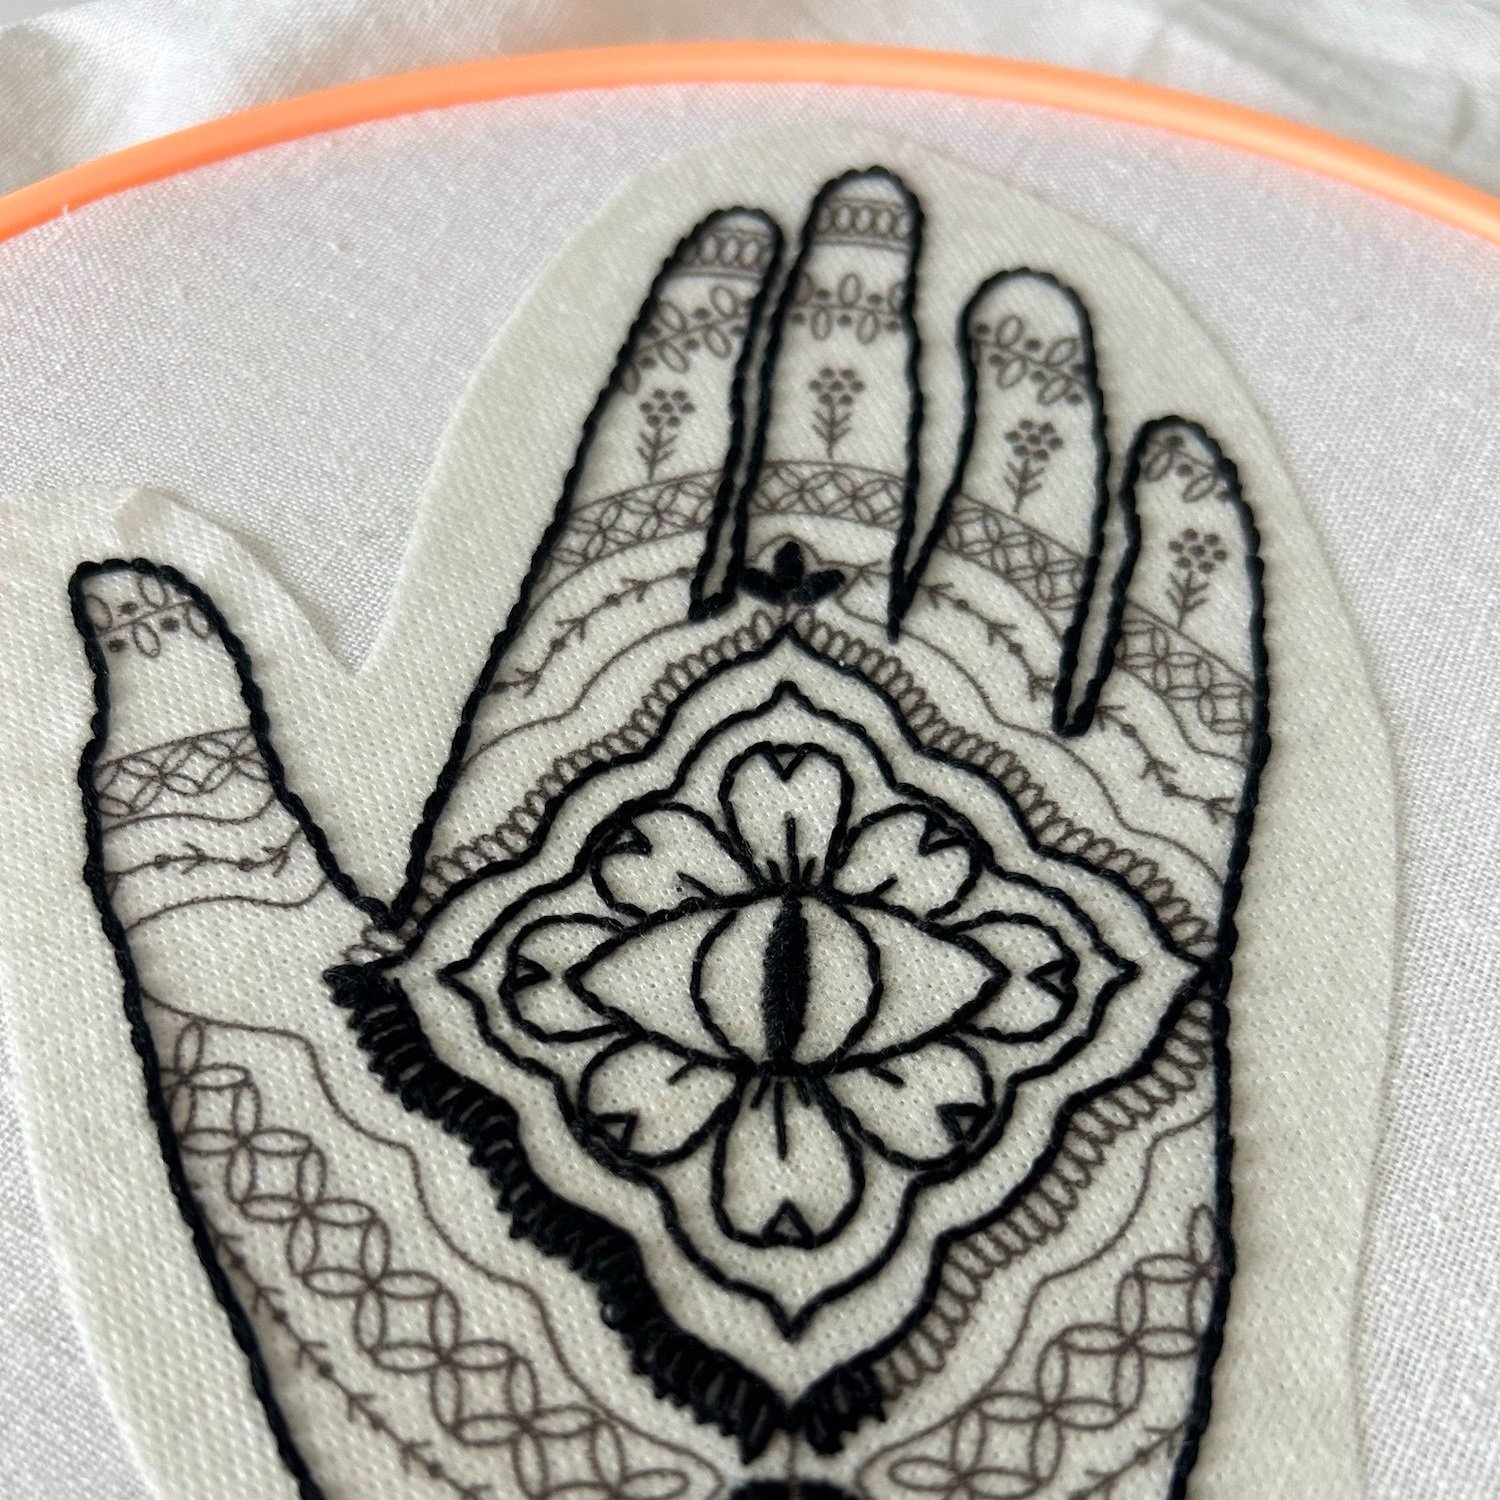
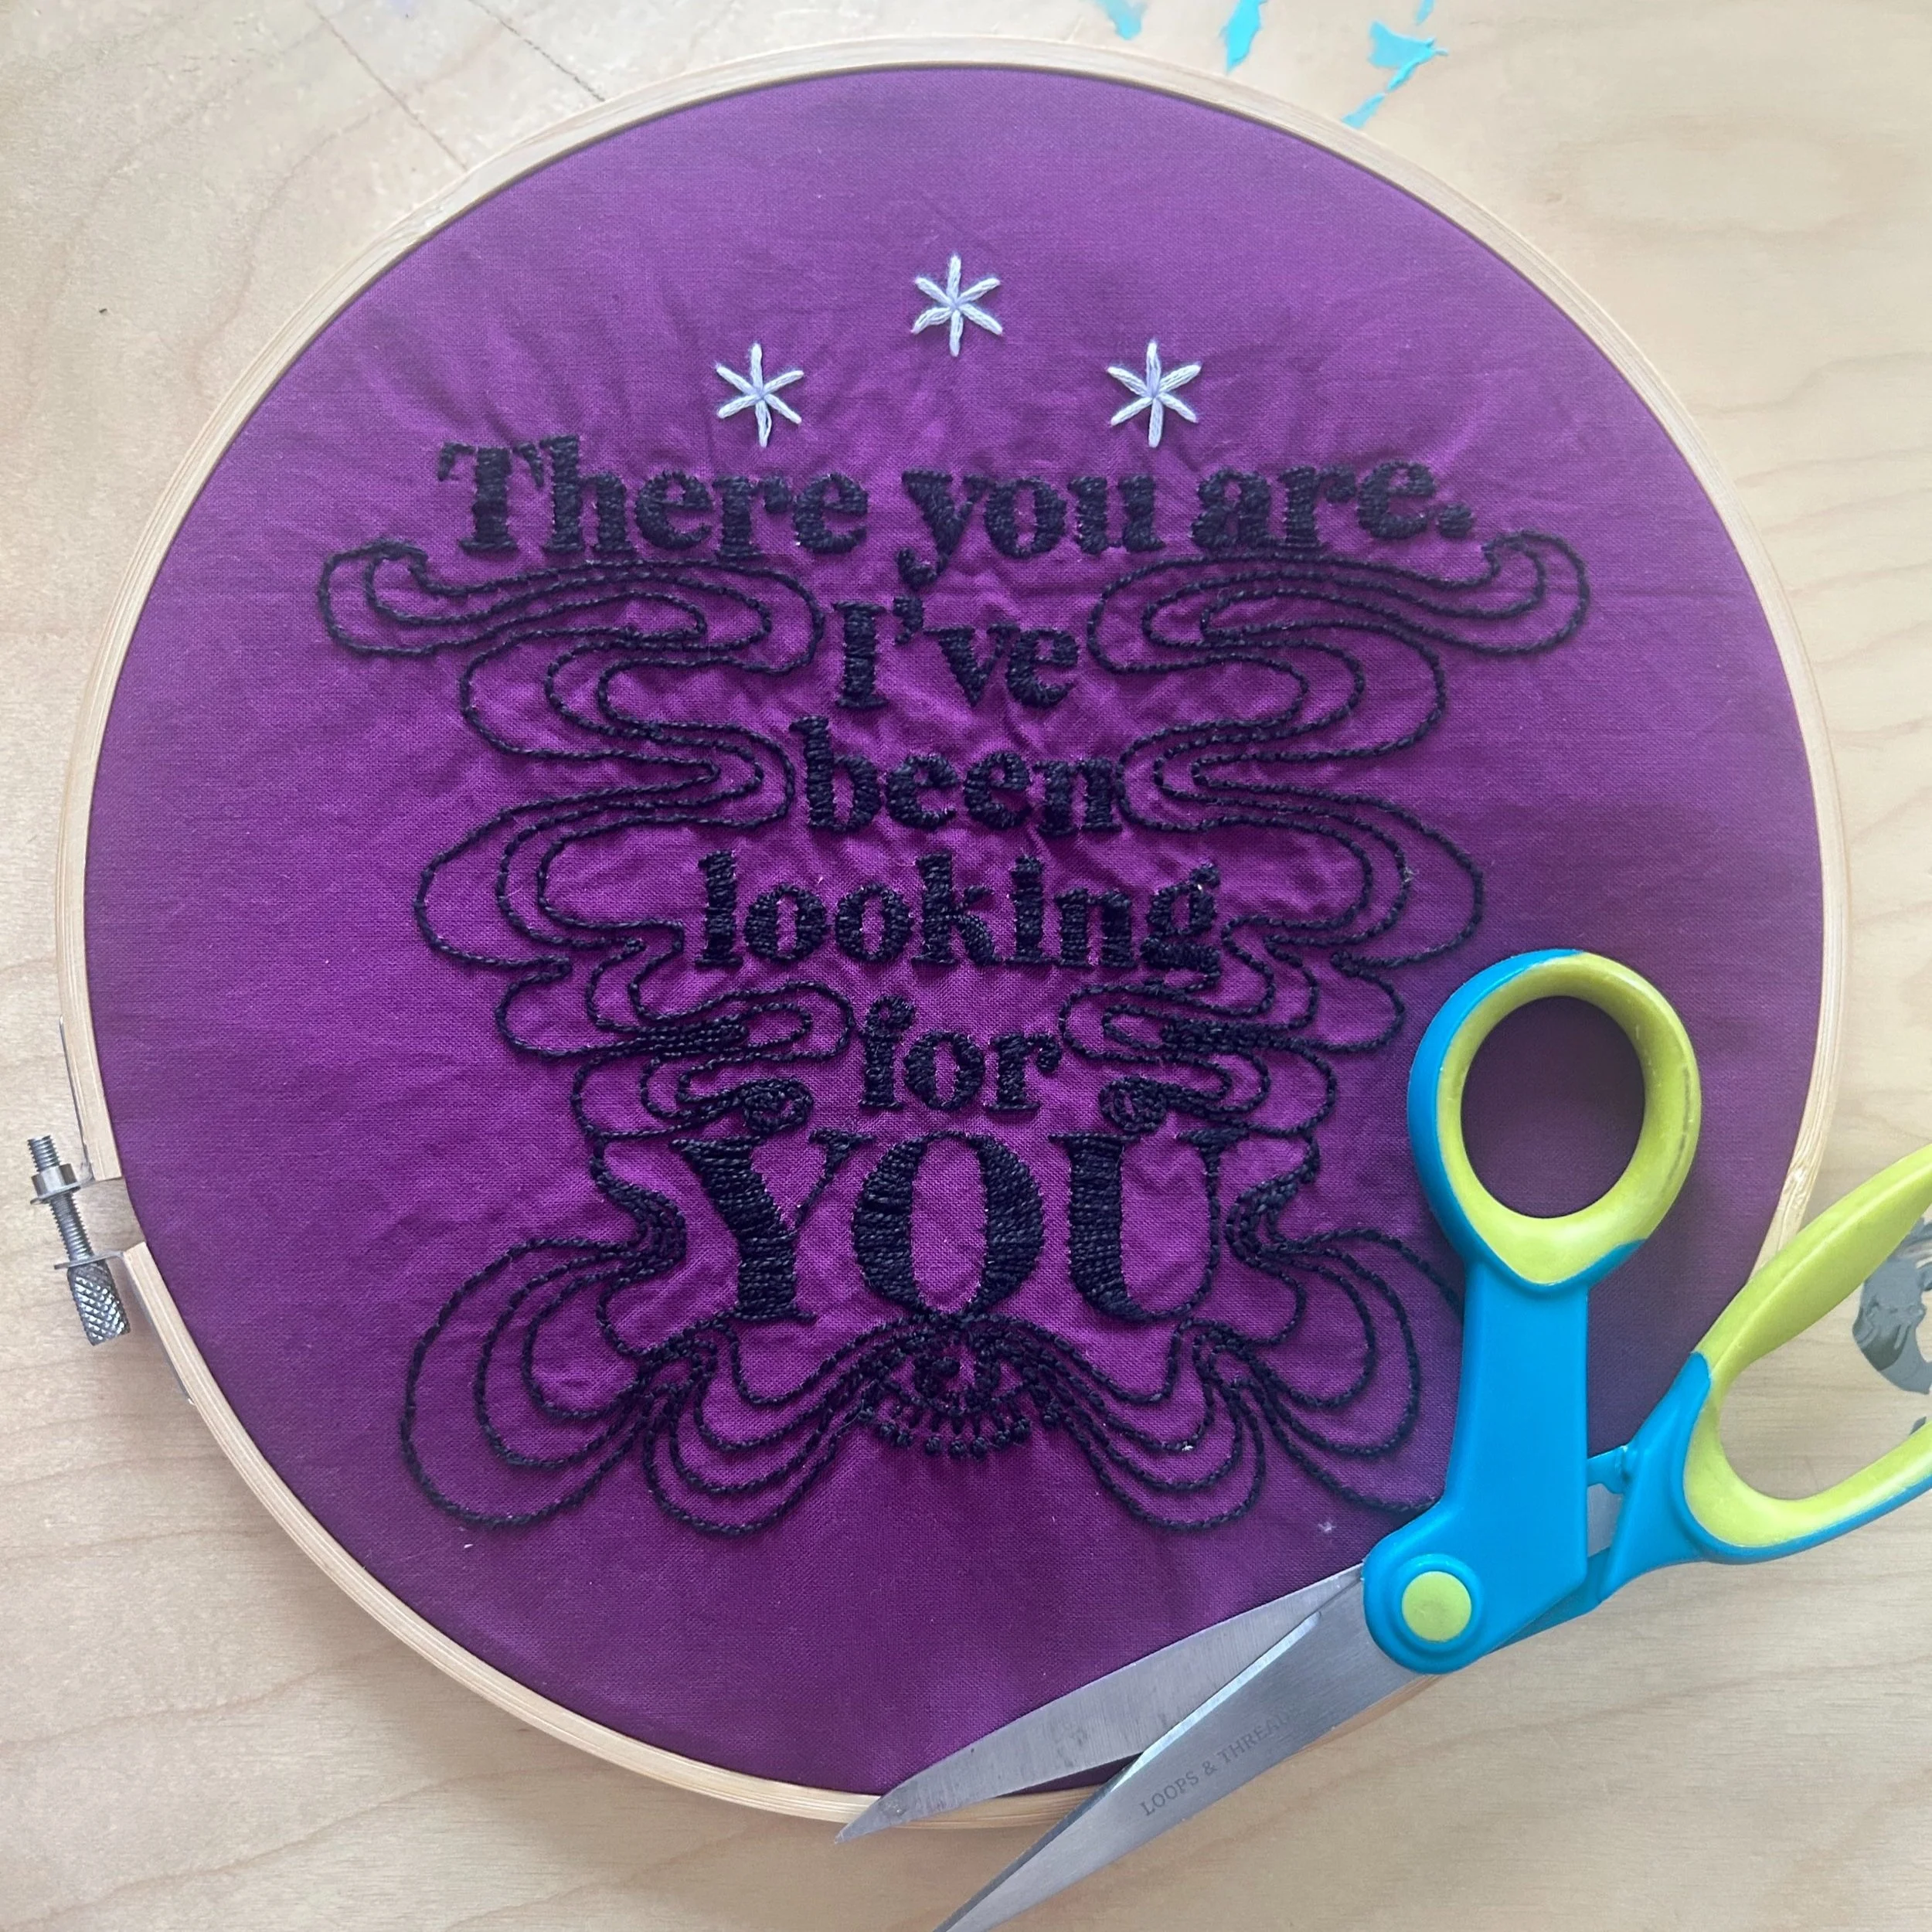
A small, round stitch that can be used as a single decorative stitch. Many french knots can be used to fill a shape.
Embroidery is a rich and diverse art form, with countless techniques that allow for the creation of intricate, textured designs. Among these techniques, **French knots** stand out as a small but mighty stitch. Despite their simple nature, they bring a unique charm and texture to embroidery projects, making them an essential stitch for anyone looking to elevate their work. Whether you're a beginner or an experienced embroiderer, mastering the French knot opens up a world of creative possibilities, from delicate embellishments to bold, textured motifs.
In this blog post, we’ll delve into everything you need to know about French knots, from their history and versatility to step-by-step instructions on how to create them. We’ll also explore common issues that arise and how to troubleshoot them, as well as share tips and tricks for incorporating French knots into your embroidery projects.
What is a French Knot?
A French knot is a type of embroidery stitch that forms a small, raised knot on the surface of the fabric. It’s made by wrapping the embroidery thread around the needle, then pulling the needle through the fabric to create a compact knot. Though small, French knots can have a significant impact on the texture and overall look of an embroidery piece.
French knots are often used to add detail, dimension, and texture to a design. They are perfect for creating tiny dots or raised surfaces, making them popular in floral patterns (as flower centers or clusters of blossoms), decorative borders, animal fur textures, and even abstract designs. The versatility of the French knot makes it a go-to stitch for adding an extra touch of elegance and intricacy to any embroidery project.
How To Create A French Knot
Materials You Will Need
Fabric: Choose a tightly woven fabric like cotton or linen, as these fabrics hold the knot well.
Embroidery floss: Use a 6-ply strand of floss or separate out a few strands depending on the size and thickness of knot you want to create.
Embroidery needle: A needle with a sharp point and a large enough eye to thread your floss easily.
Embroidery hoop: To stablize your fabric and make stitching easier.
Scissors: For trimming excess thread.
Steps to Make a French Knot
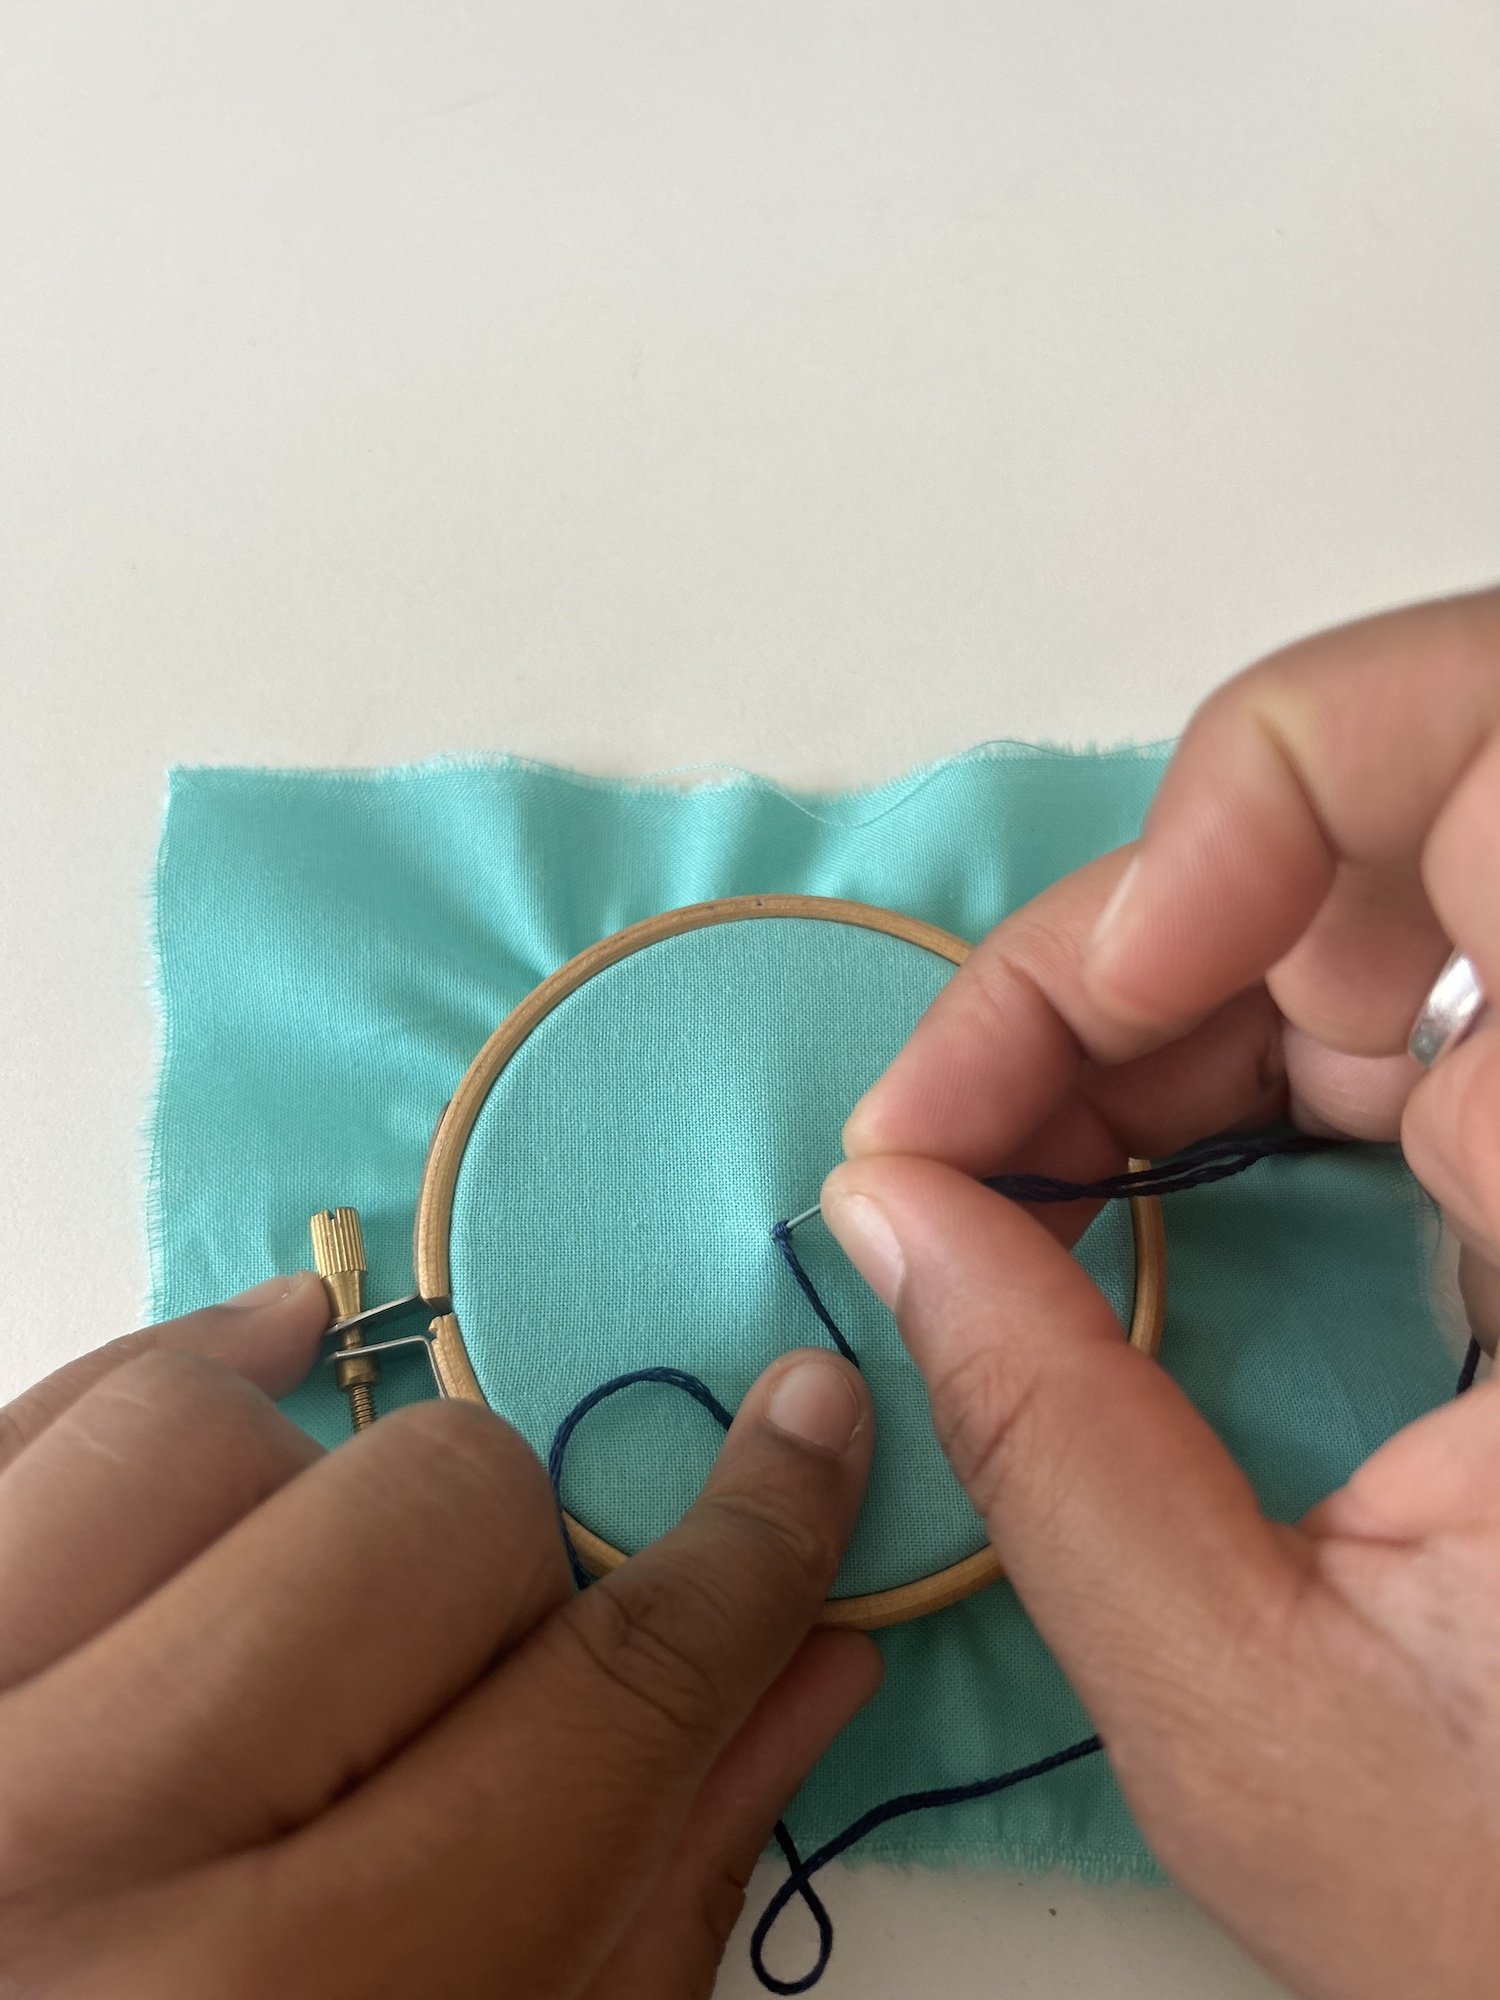
Step 1 Prepare your fabric. Secure your fabric in the embroidery hoop to keep it tight and flat, which makes it easier to create a neat, consistent knot.
Step 2 Thread your needle with the desired amount of embroidery floss. The thickness of the floss will determine the size of your knot, with more strands creating a larger, thicker knot and fewer strands producing a smaller, finer knot.
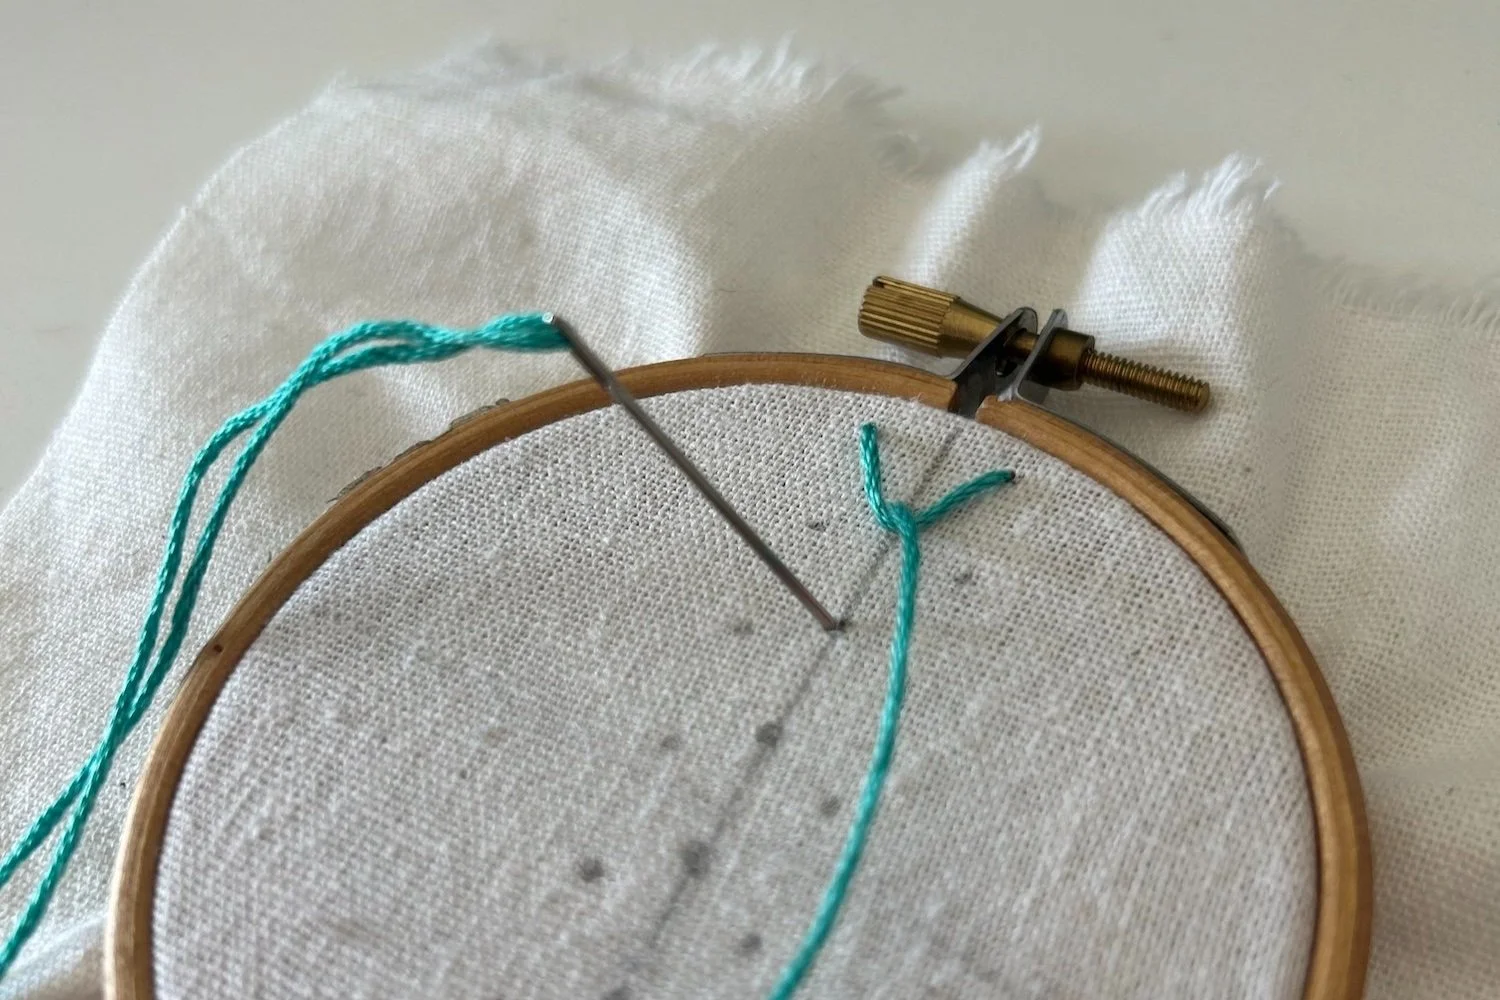
Step 3 Bring the needle through the fabric. Pull the needle up through the fabric at the point where you want to place the French knot, leaving a small tail of thread on the back of the fabric to secure later.
Step 4 Hold the thread taut with your non-dominant hand and wrap it around the needle two or three times (depending on how tight and raised you want the knot to be). For a standard French knot, two wraps are usually sufficient, but more wraps will create a larger, bulkier knot.
Step 5 Keeping the thread wrapped tightly around the needle, insert the needle back into the fabric very close to, but not exactly where, the thread emerged. This helps anchor the knot and prevents it from slipping through the fabric.
Step 6 Gently pull the needle and thread through the fabric while maintaining slight tension on the wrapped thread to ensure the knot forms securely. As you pull, the knot will tighten and rest on the surface of the fabric. Be careful not to pull too hard, as this can cause the knot to slip through the fabric or become too tight.
Step 7 Once the knot is formed, bring the needle to the back of the fabric and knot the thread securely to keep the French knot in place. Trim any excess thread.




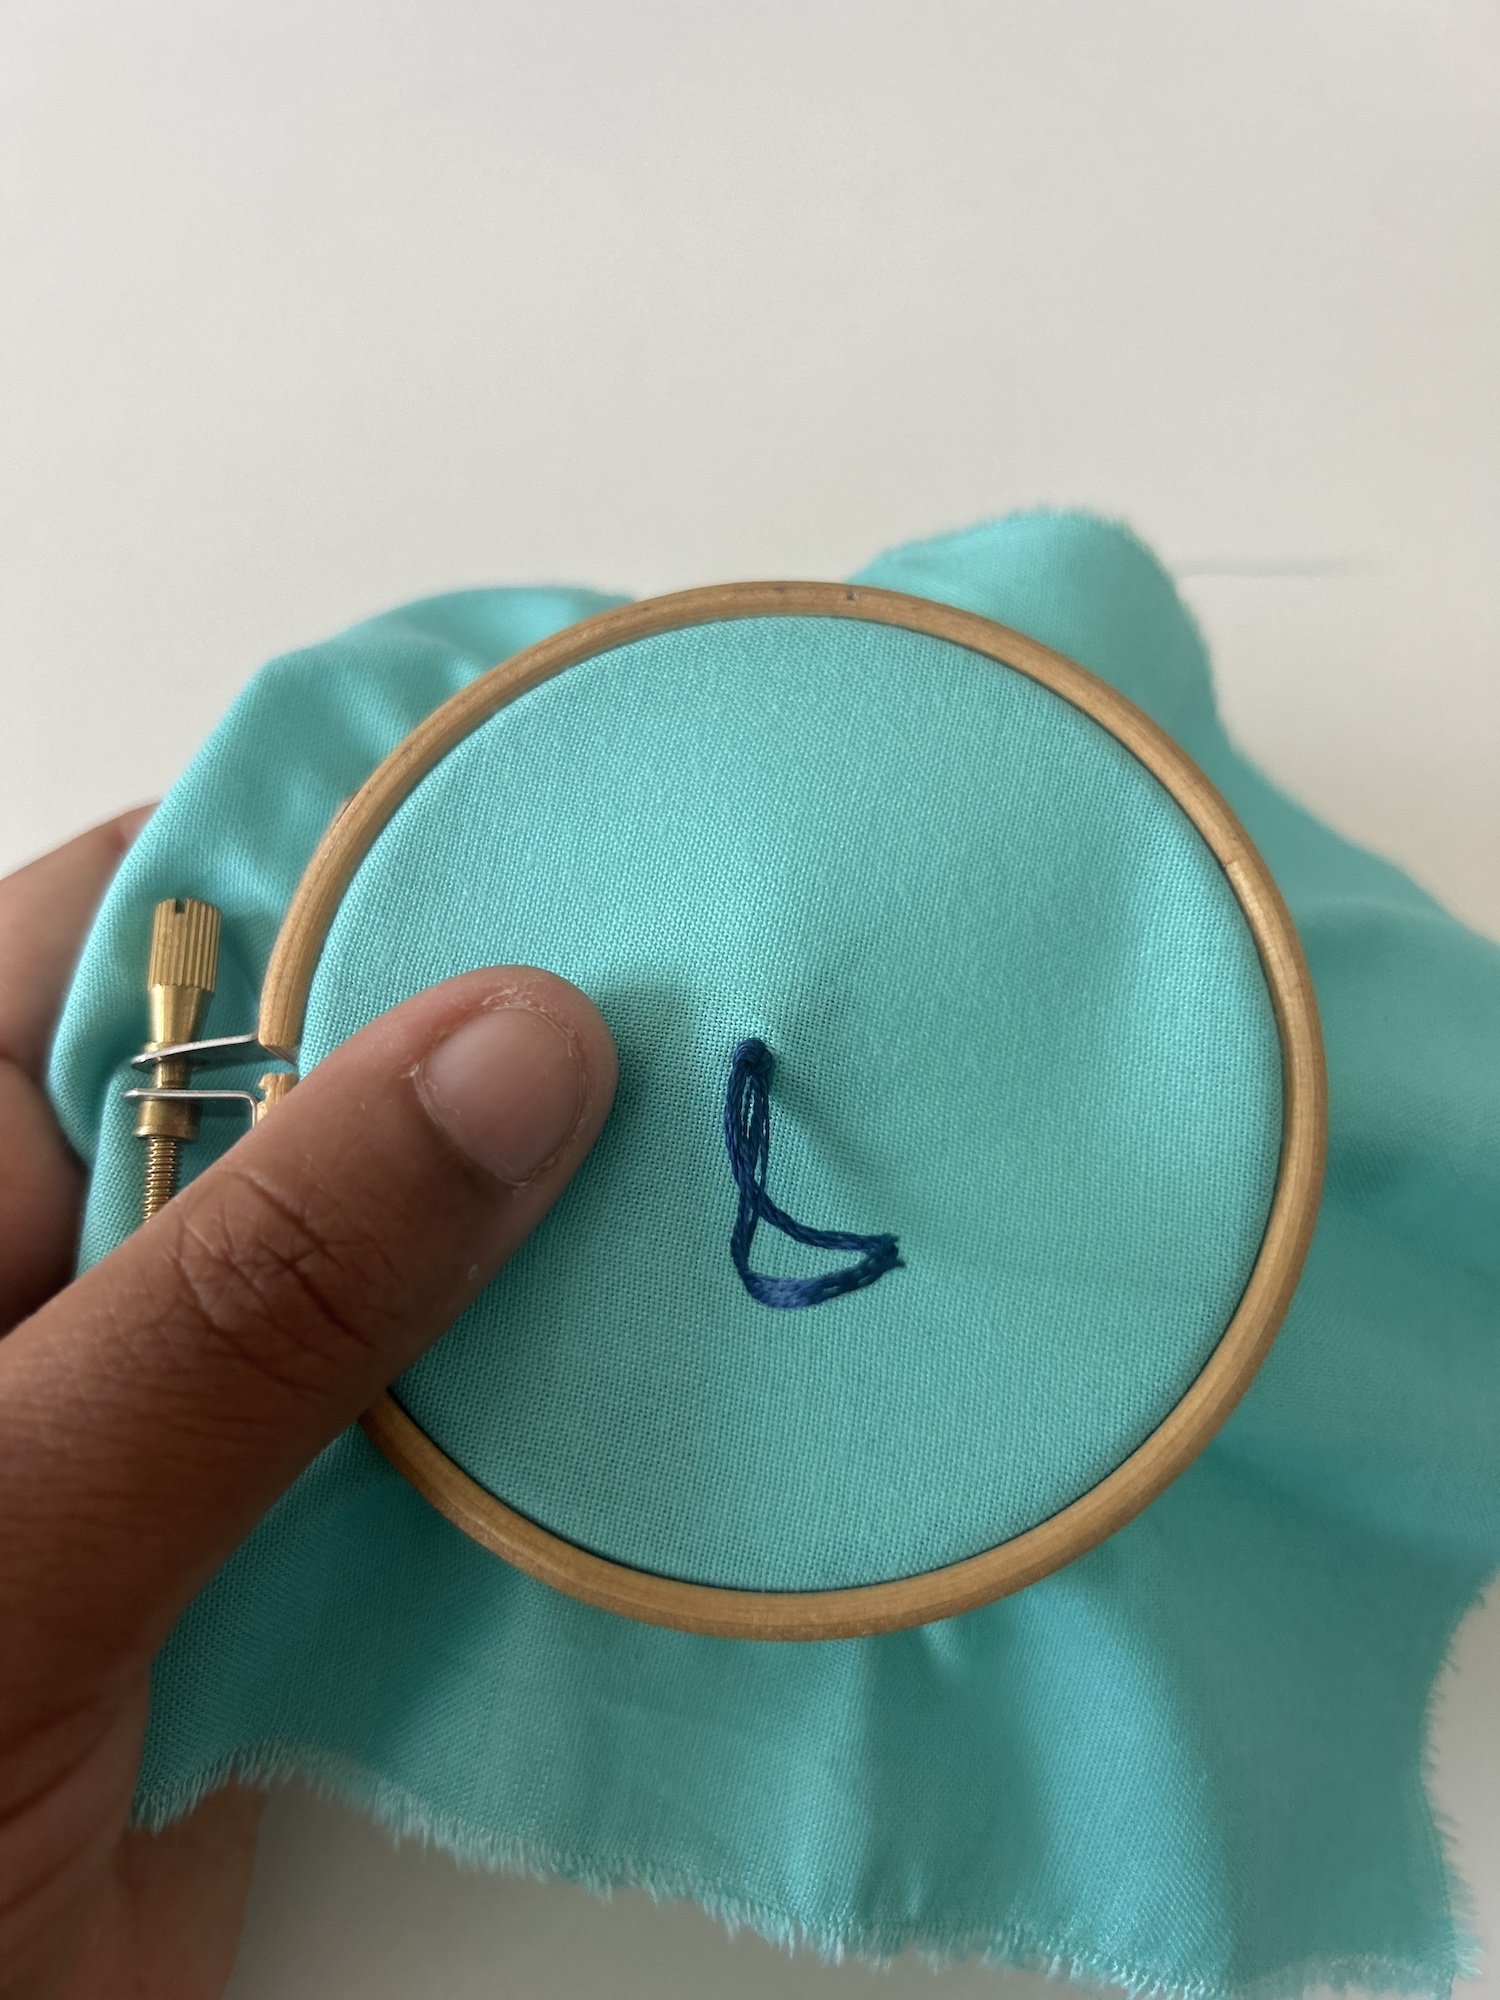

Tips & Tricks
1. Use the Right Fabric. A tightly woven fabric is essential for keeping your French knots secure. Fabrics like cotton or linen work best, as they provide enough resistance to hold the knots in place. Avoid loosely woven fabrics like muslin or loosely woven wool, as the knots may slip through.
2. Maintain Tension. Keeping the thread taut while you wrap it around the needle is crucial for creating a neat, compact knot. If the thread is too loose, the knot may unravel or look floppy.
3. Even Spacing. If you’re working with multiple French knots in a pattern or cluster, try to keep the spacing even. This will create a more polished, professional look.
Common Problems with French Knots (and How to Fix Them)
While French knots are relatively simple, there are a few common issues that can arise, especially for beginners. Here are some troubleshooting tips to help you perfect your knots:
Problem 1: The Knot Pulls Through the Fabric
If your French knot pulls through the fabric and disappears, it’s likely because you inserted the needle too close to the original point where the thread emerged. To avoid this, insert the needle just a hair away from the entry point. Using a tightly woven fabric can also help prevent the knot from slipping through.
Problem 2: The Knot is Too Loose
If your French knot looks loose or floppy, it’s probably because you didn’t hold enough tension on the thread while pulling the needle through. When creating the knot, be sure to hold the thread snugly with your non-dominant hand until the knot is fully formed. You should also make sure that the wraps around the needle are tight and uniform before pulling the needle through.
Problem 3: The Knot is Too Tight
On the other hand, if your French knot looks too tight or the thread is difficult to pull through, you may have wrapped the thread too many times around the needle or pulled the thread too tightly while forming the knot. To fix this, try using fewer wraps around the needle and pull the thread through gently to create a softer, more balanced knot.
Problem 4: The Knot Won’t Stay in Place
Sometimes, French knots can loosen over time or shift out of place if not secured properly. To prevent this, make sure to knot your thread securely on the back of the fabric after forming the French knot. You can also use a small dab of fabric glue on the back of the knot for extra security, especially in high-traffic areas like clothing.
History of the French Knot
While the precise origin of the French knot is difficult to trace, it has long been a staple in various embroidery traditions. This stitch was likely developed as a way to add dimension and intricate detail to garments and household items, allowing embroiderers to experiment with texture in their work. The French knot is often associated with traditional European embroidery styles, particularly in France, where it gained widespread popularity.
French knots have also been used in many other cultural embroidery traditions. For example, in Chinese and Japanese embroidery, variations of the knot stitch have been used for centuries to create elaborate patterns and intricate detailing on silk fabrics. In colonial American embroidery, French knots were commonly employed in samplers and crewelwork, which featured highly detailed and textured designs.
Today, French knots are widely used across various embroidery styles, from traditional hand-stitched techniques to modern, contemporary designs. The stitch has become an iconic and much-loved element in the world of embroidery due to its ability to create texture, depth, and dimension in just a few simple movements.
Ways to Use French Knots
French knots are incredibly versatile and can be used in a wide variety of embroidery projects. Here are some creative ways to incorporate French knots into your designs:
Flower Centers
French knots are perfect for creating the centers of flowers in floral embroidery designs. Their small, raised texture mimics the look of real flower centers, especially in daisy, sunflower, or dandelion motifs. You can use a single French knot in the center of a flower or create a cluster of knots for a more textured effect.
Filling Large Areas
French knots can also be used to fill large areas in an embroidery design, such as a textured background or the body of an animal. By varying the size, color, and spacing of the knots, you can create a visually interesting and tactile surface. For example, a tree trunk filled with brown French knots would create the appearance of rough bark, while a field of green French knots could resemble a grassy meadow.
Creating Textured Borders
If you want to add a decorative border to your embroidery, French knots are a great choice. You can use them to create a dotted or beaded border around a design, or combine them with other stitches like the backstitch or chain stitch for a more elaborate border.
Animal Fur or Feathers
French knots are ideal for creating texture in animal embroidery, especially when depicting fur or feathers. By clustering French knots together and varying their size and direction, you can achieve a realistic, textured look for animal coats, manes, or plumage. Using a combination of French knots and other embroidery stitches (like satin stitch or long-and-short stitch) can add even more detail and dimension, allowing you to create lifelike animals with distinct textures. For example, using French knots for the fluffy tail of a rabbit or the curly wool of a sheep will give your design a tactile, 3D effect that draws the viewer in.
Eyes in Animal or Human Figures
French knots are often used for adding small details like eyes in embroidered figures. Their raised, round shape makes them perfect for this purpose, especially in small or minimalist designs. You can use a single black French knot for a simple eye or layer different colors for a more detailed effect. Combining this with shading techniques like the satin stitch can make your figure’s face or features pop.
Abstract Textures
If you enjoy abstract embroidery, French knots can be used to create a wide variety of textures and patterns. By experimenting with color, size, and density, you can create visually striking pieces that focus on texture and form. For example, a series of closely packed French knots in different shades of blue might resemble a stormy sea, while scattered knots of varying colors could evoke the feeling of a starry night sky.
Beaded Embroidery Effects
French knots can mimic the look of beading without the need for actual beads. If you want to create the appearance of a beaded design but prefer a more subtle or softer texture, using French knots as a substitute for beads can give your embroidery a delicate, tactile quality. This technique works especially well for embellishing clothing or accessories like bags, as the knots are less likely to catch on things than beads.
Level Up Your French Knot With Variations
Here are a few ideas to take your French knot skills to the next level:
Varying Knot Size
By adjusting the number of wraps around the needle or using different thicknesses of thread, you can create French knots of varying sizes. This can add visual interest and depth to your embroidery, especially when working on floral or organic designs. For example, using larger knots for the center of a flower and smaller knots for the outer petals can create a sense of depth and perspective.
Layering French Knots
Layering French knots on top of each other can create a dense, raised texture that stands out from the fabric. This technique is perfect for designs where you want to create a highly textured effect, such as a bushy tree, fluffy clouds, or a bed of flowers. By layering knots in different shades of the same color, you can also create a subtle gradient effect that adds richness to your design.
Combining French Knots with Other Stitches
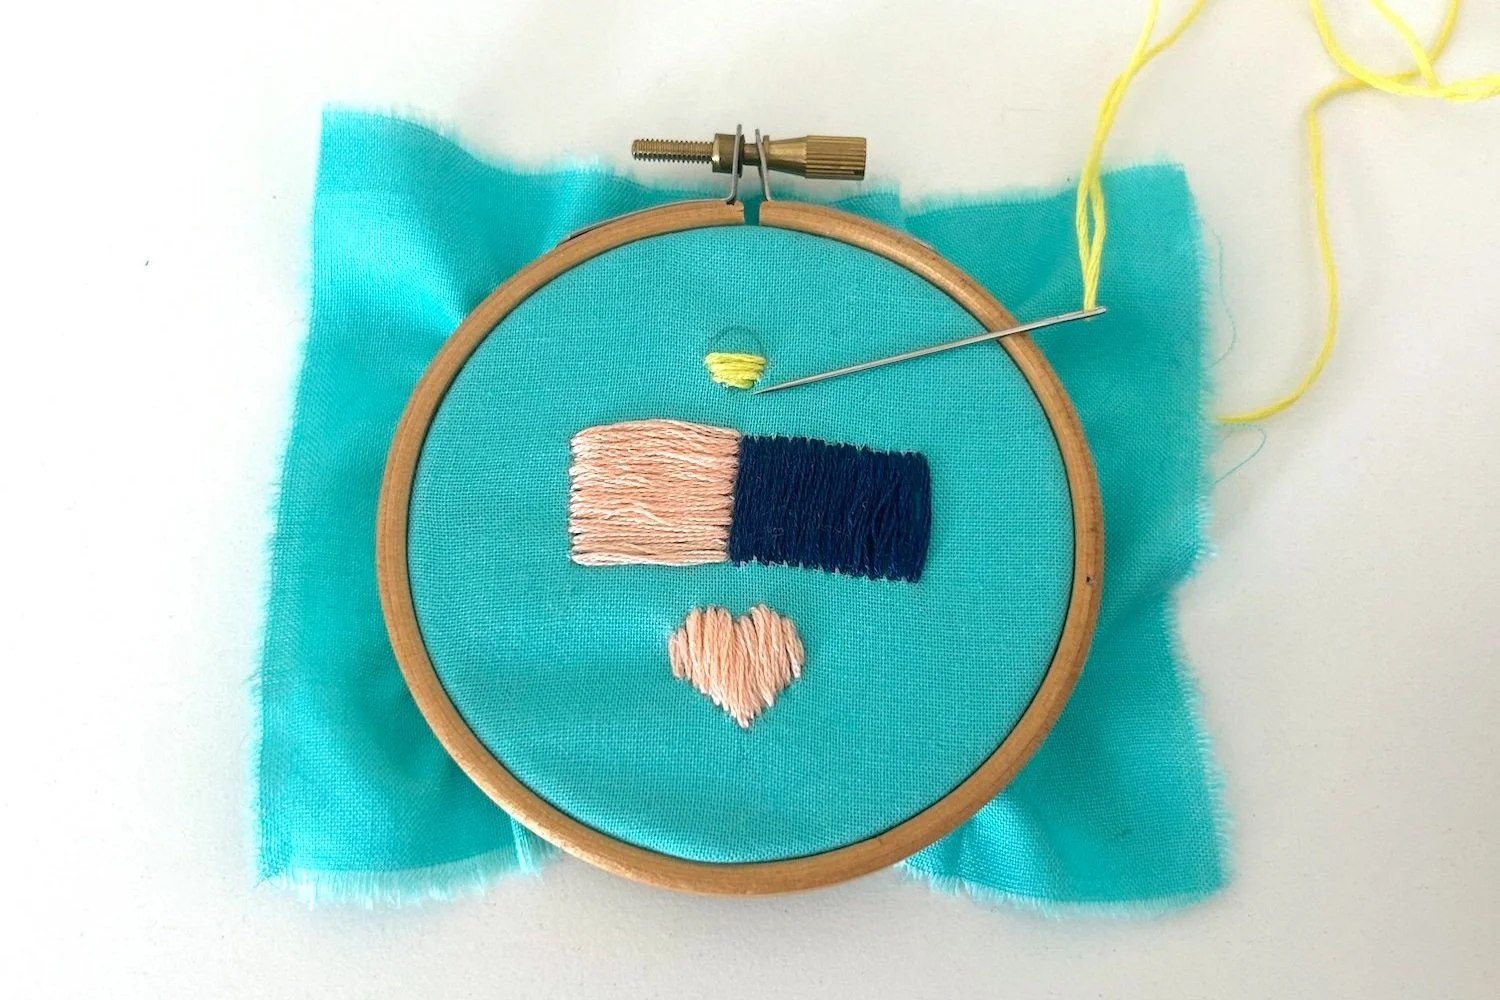
French knots work beautifully when combined with other embroidery stitches. You can use them to add texture to a satin-stitched leaf or as accents in a long-and-short stitched flower. Mixing different stitch techniques within the same design allows you to play with texture and bring variety to your work.
French Knot Clusters
For an interesting visual effect, try grouping several French knots together in a cluster. This technique works particularly well for creating naturalistic elements like flower centers, clusters of berries, or even the texture of moss or foliage. Vary the size and color of the knots within the cluster to create a more dynamic, realistic effect.
Ways To Use a French Knot
While French knots have been a staple in traditional embroidery for centuries, they’ve seen a resurgence in popularity among contemporary embroiderers who are pushing the boundaries of the craft. Modern embroidery artists often use French knots in creative and unexpected ways, from abstract art pieces to bold, textured statements on clothing and accessories.
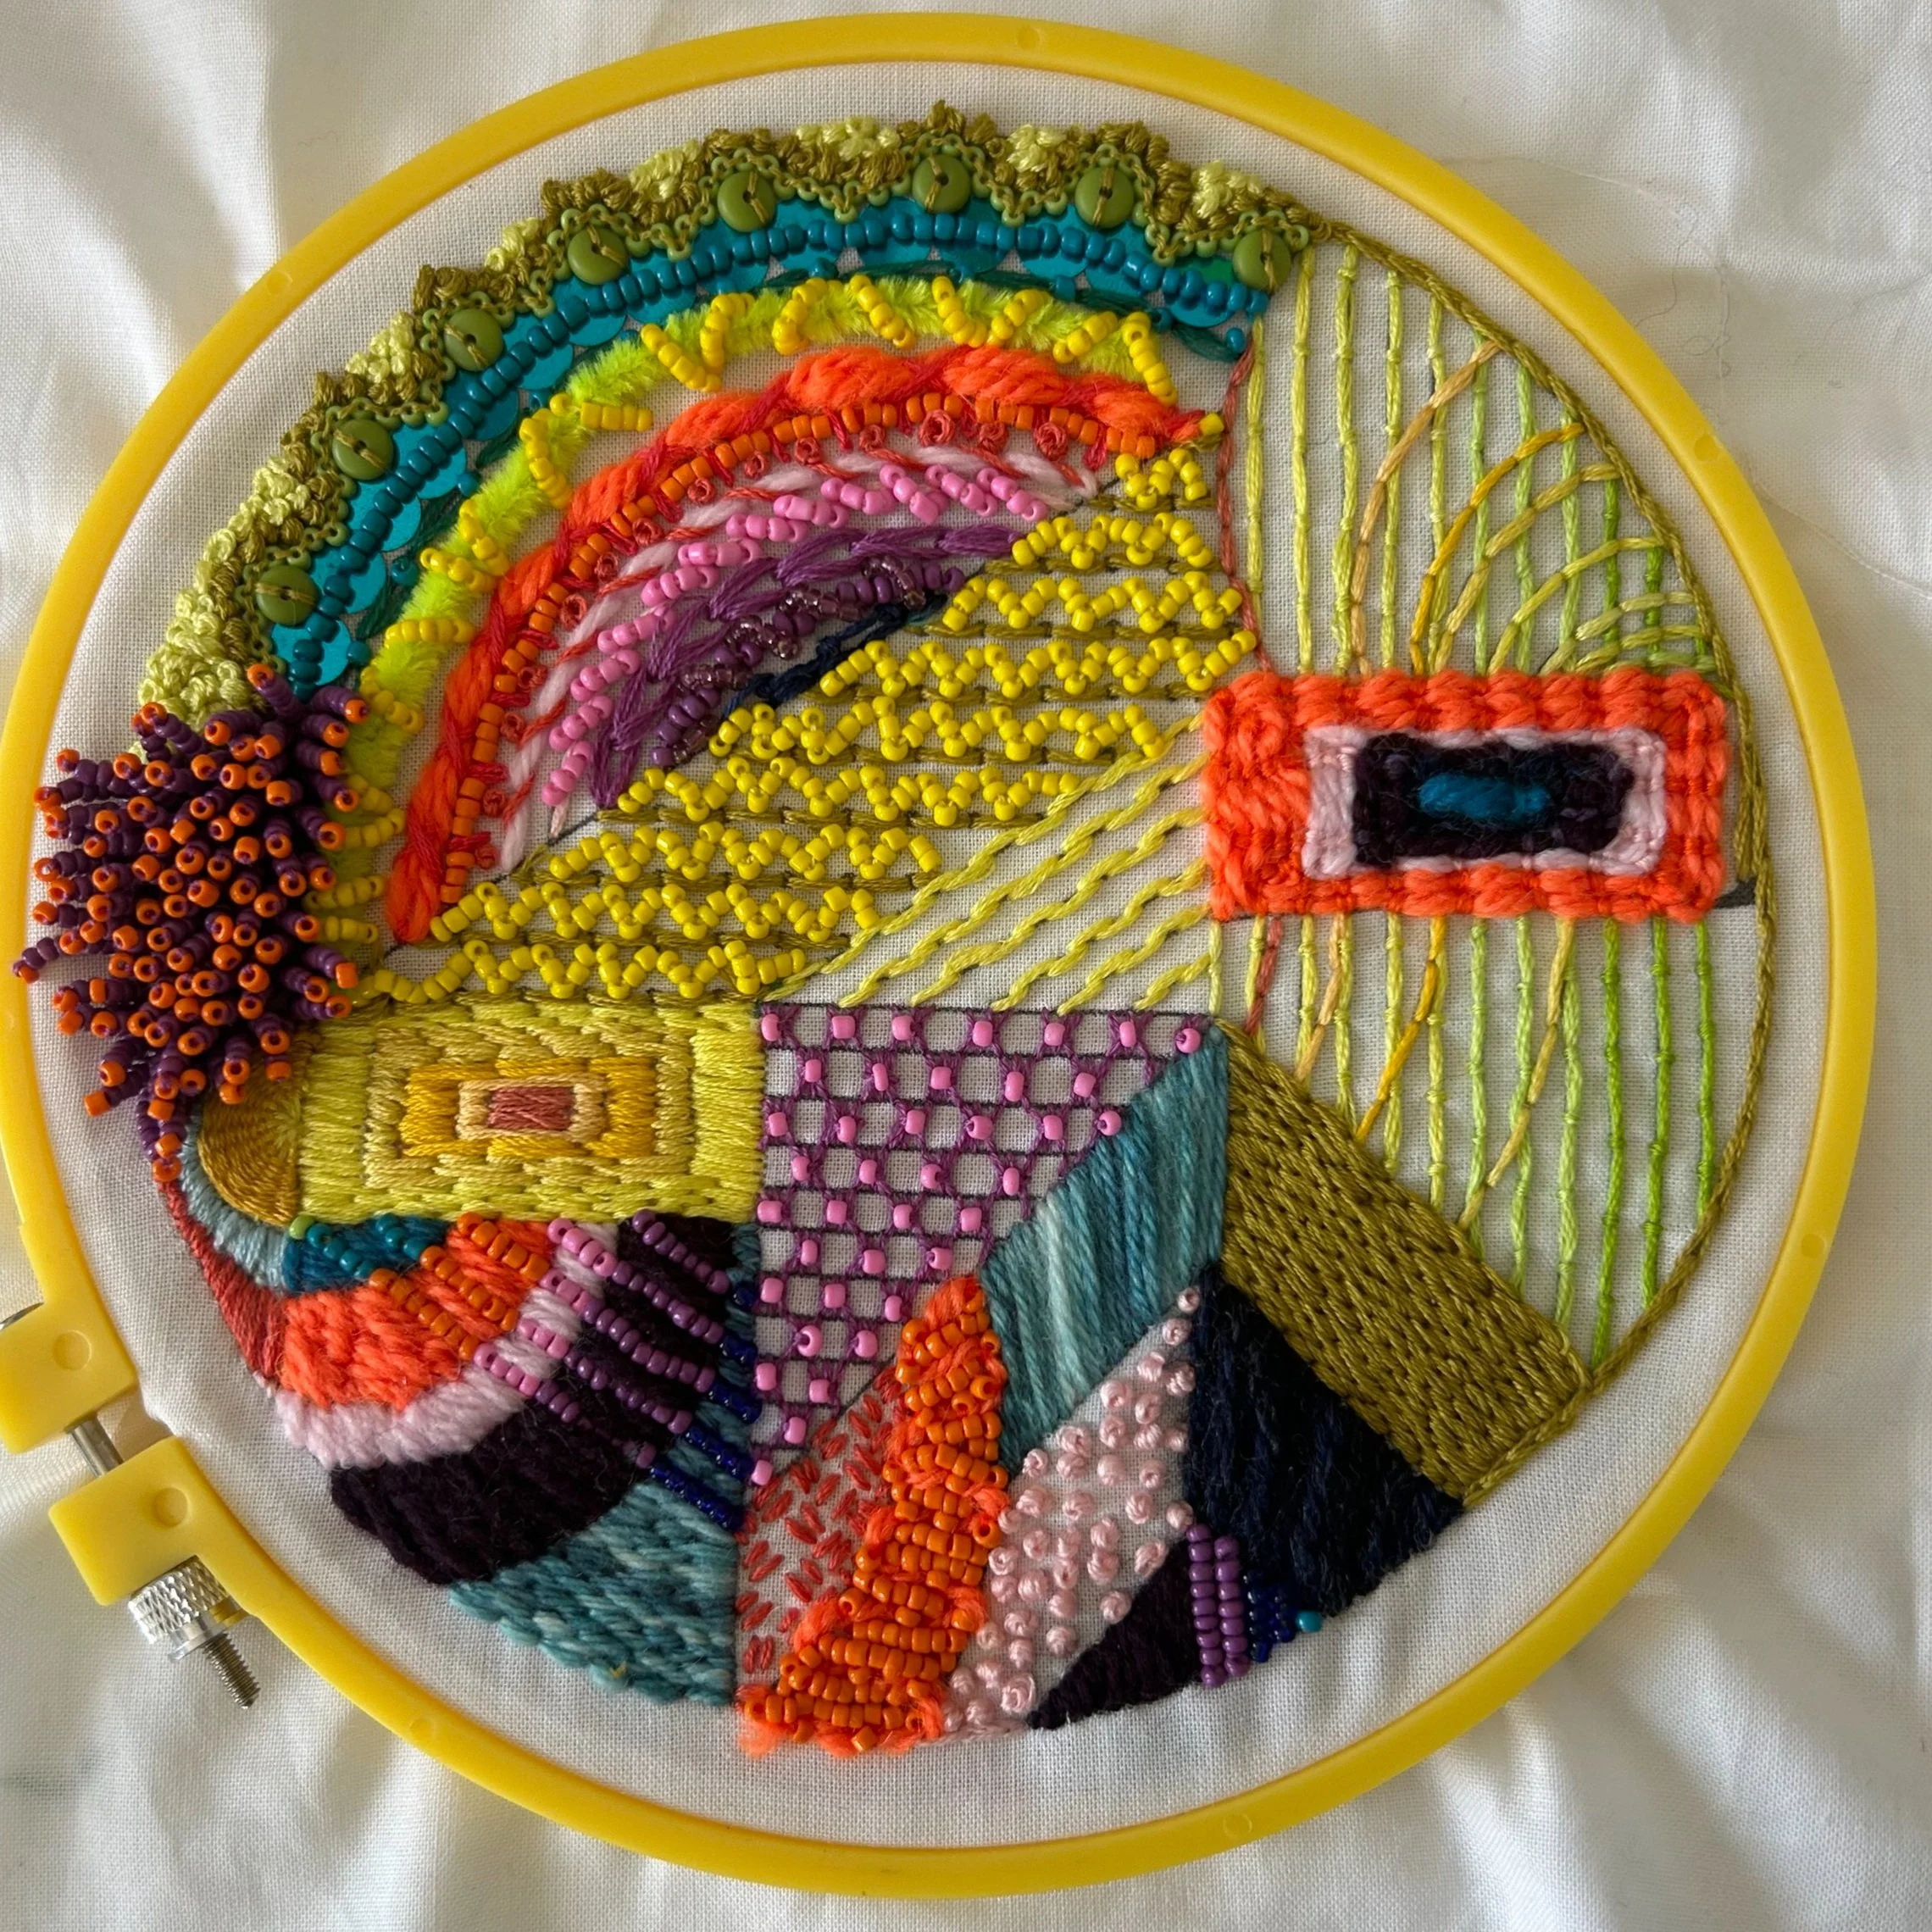
One popular trend in contemporary embroidery is 3D embroidery, where French knots are used to create highly textured, three-dimensional surfaces. For example, an entire embroidery hoop might be filled with overlapping layers of French knots, creating a plush, tactile piece that almost looks like a tufted fabric or a field of flowers. This type of embroidery can be used for wall art, cushions, or even wearable pieces like jackets or bags.
Additionally, mixed-media embroidery has become increasingly popular, with artists incorporating French knots alongside beads, sequins, and other embellishments to create mixed-media pieces that blend texture and shine. This combination of materials adds visual interest and depth, making each piece a unique work of art.

