Fly Stitch
Fly Stitch
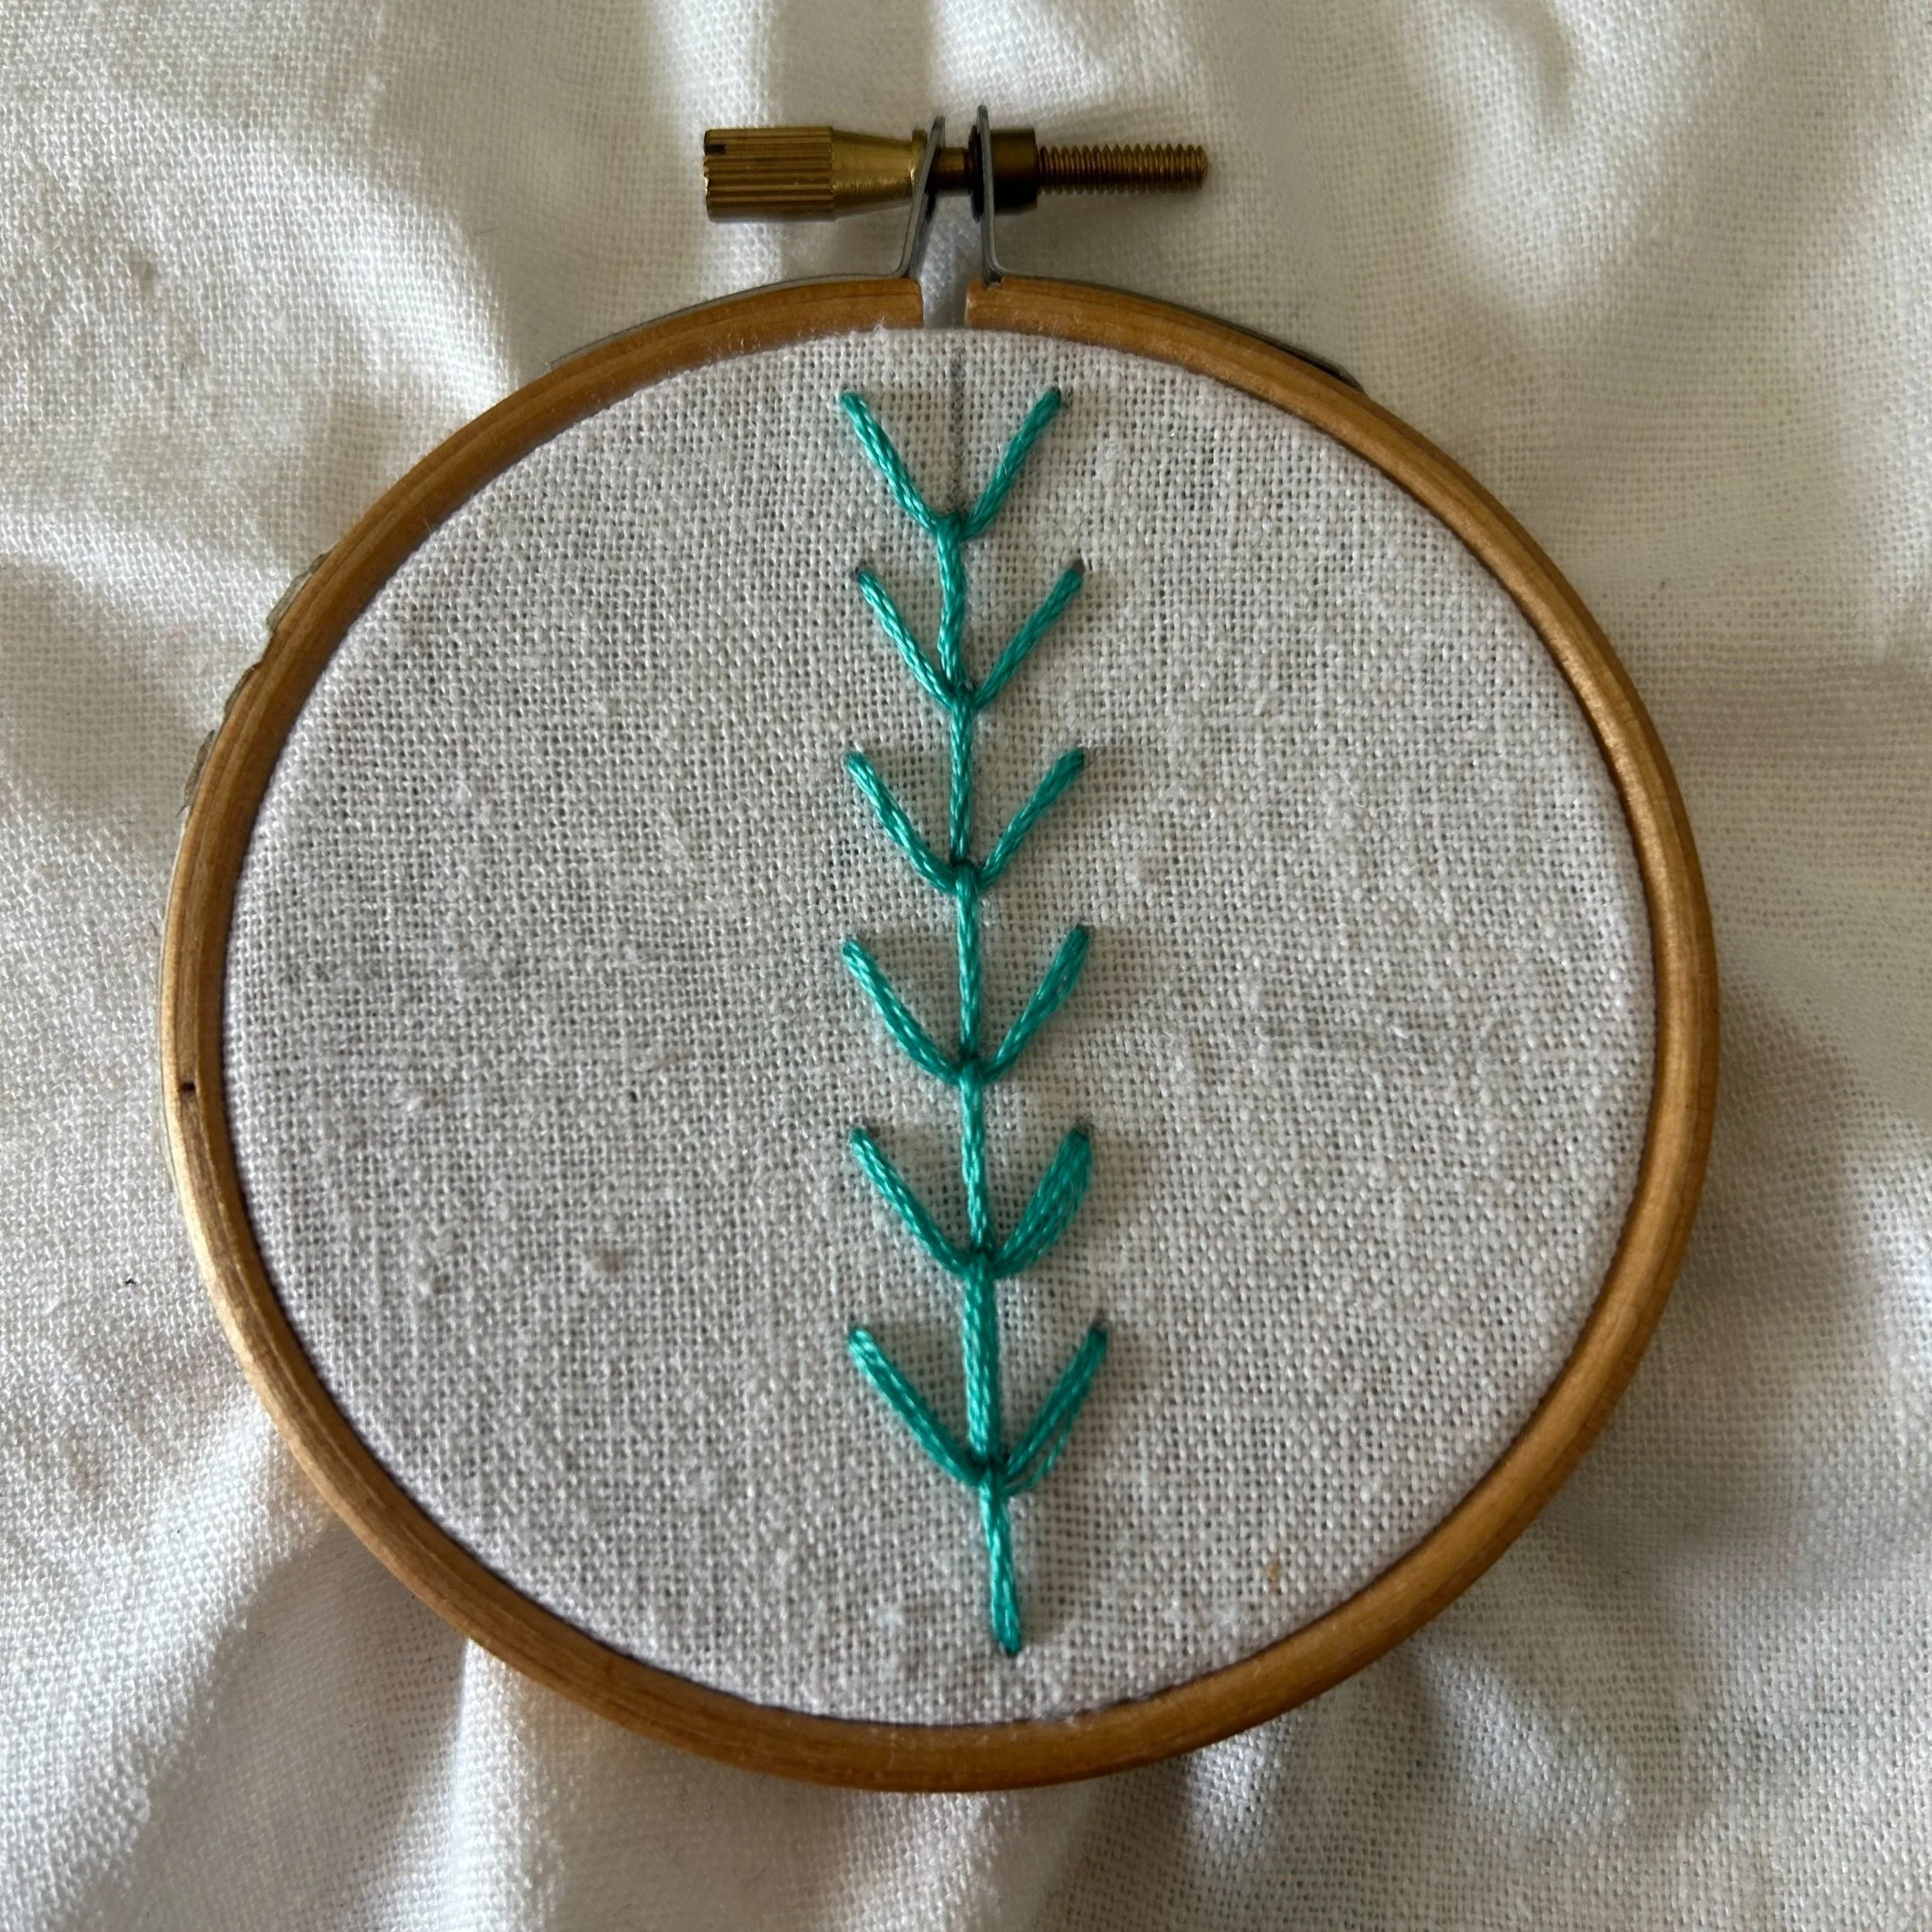
A V-shaped or Y-shaped stitch used to create lines, outline shapes, and as decorative borders.
Embroidery has a long history of artistic expression, and the fly stitch is one of the most beloved and widely used stitches by both beginners and seasoned crafters. Its unique "V" shape makes it incredibly versatile, perfect for adding texture, structure, and movement to your embroidery designs.
In this comprehensive guide, we’ll explore everything there is to know about the fly stitch: its origins, techniques, creative applications, and tips to help you master it. By the end of this post, you’ll be equipped with both the knowledge and inspiration to incorporate this stitch into your projects.
What is Fly Stitch?
At its core, the fly stitch is a simple "V" or "Y" shape that can be repeated in various ways. It consists of two main parts: the upper part that forms the loop (or arms of the "V") and the small anchor stitch that holds the loop in place. This structure allows the stitch to be flexible, as it can easily be manipulated in size, shape, and direction.
How to Create a Fly Stitch
Materials You Will Need
Embroidery hoop for maintaining tension
Embroidery thread (floss) in your chosen color
Embroidery needle
Scissors
Steps to Make a Fly Stitch
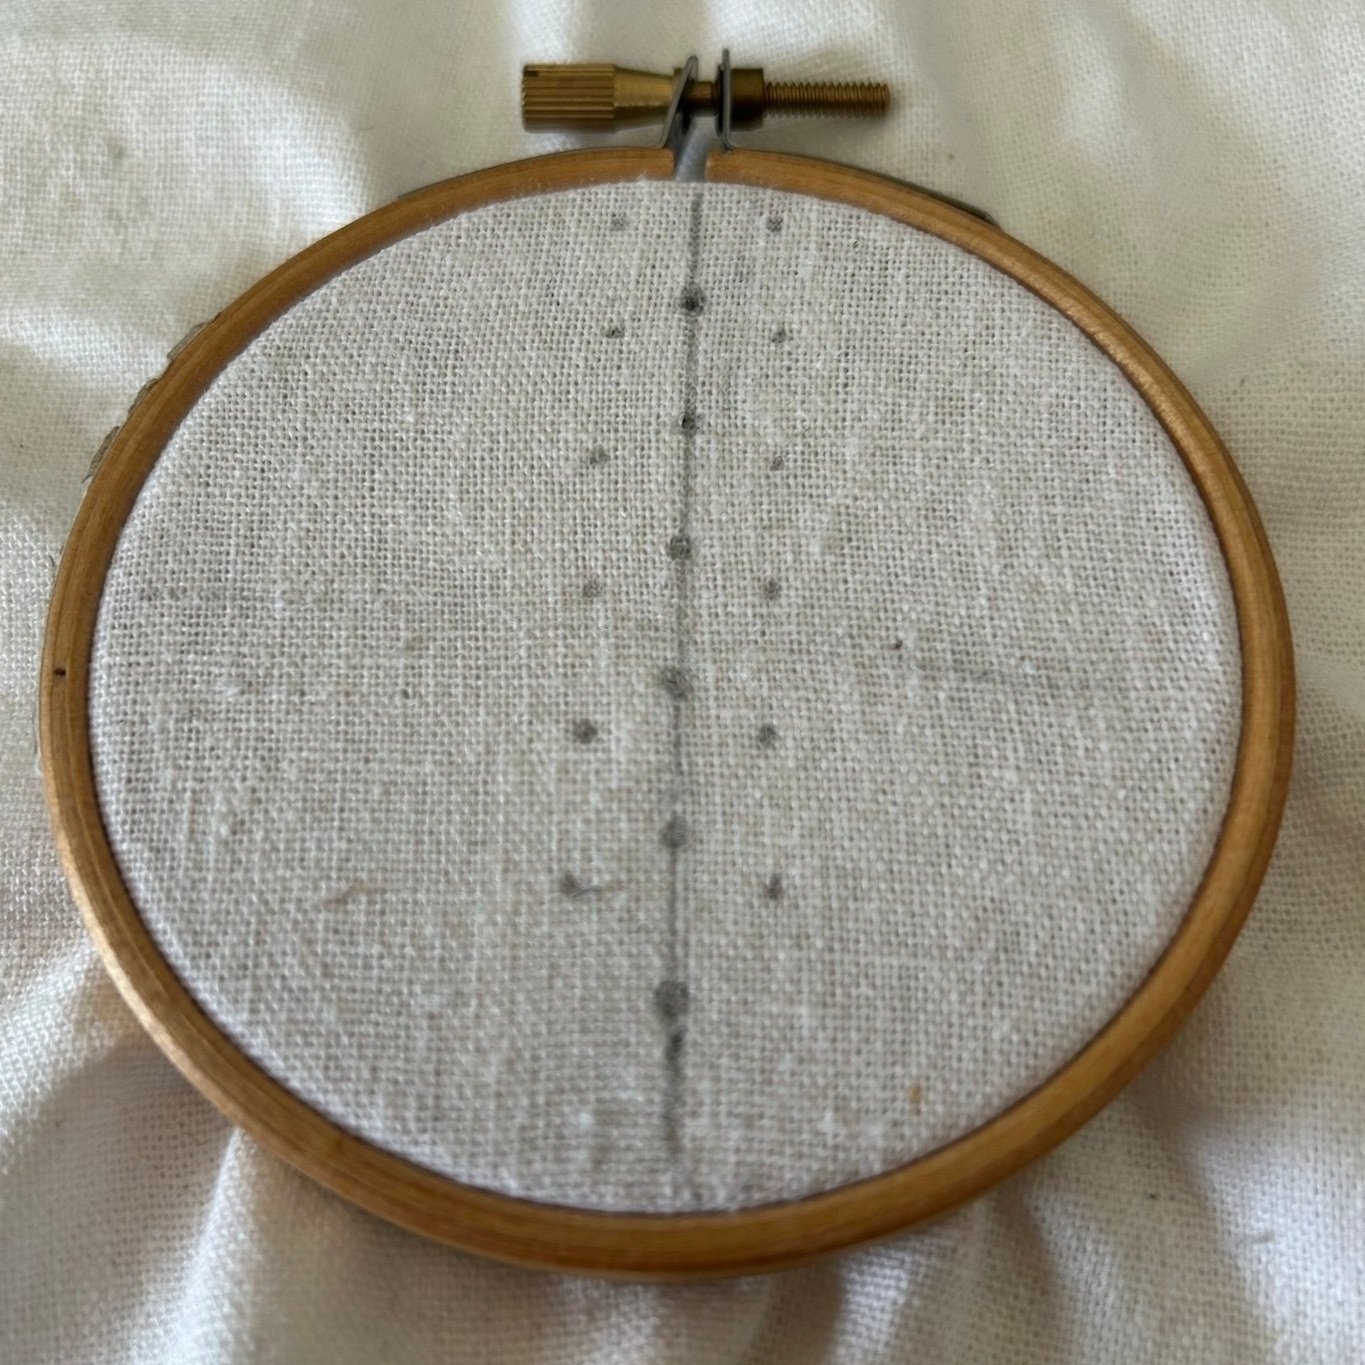
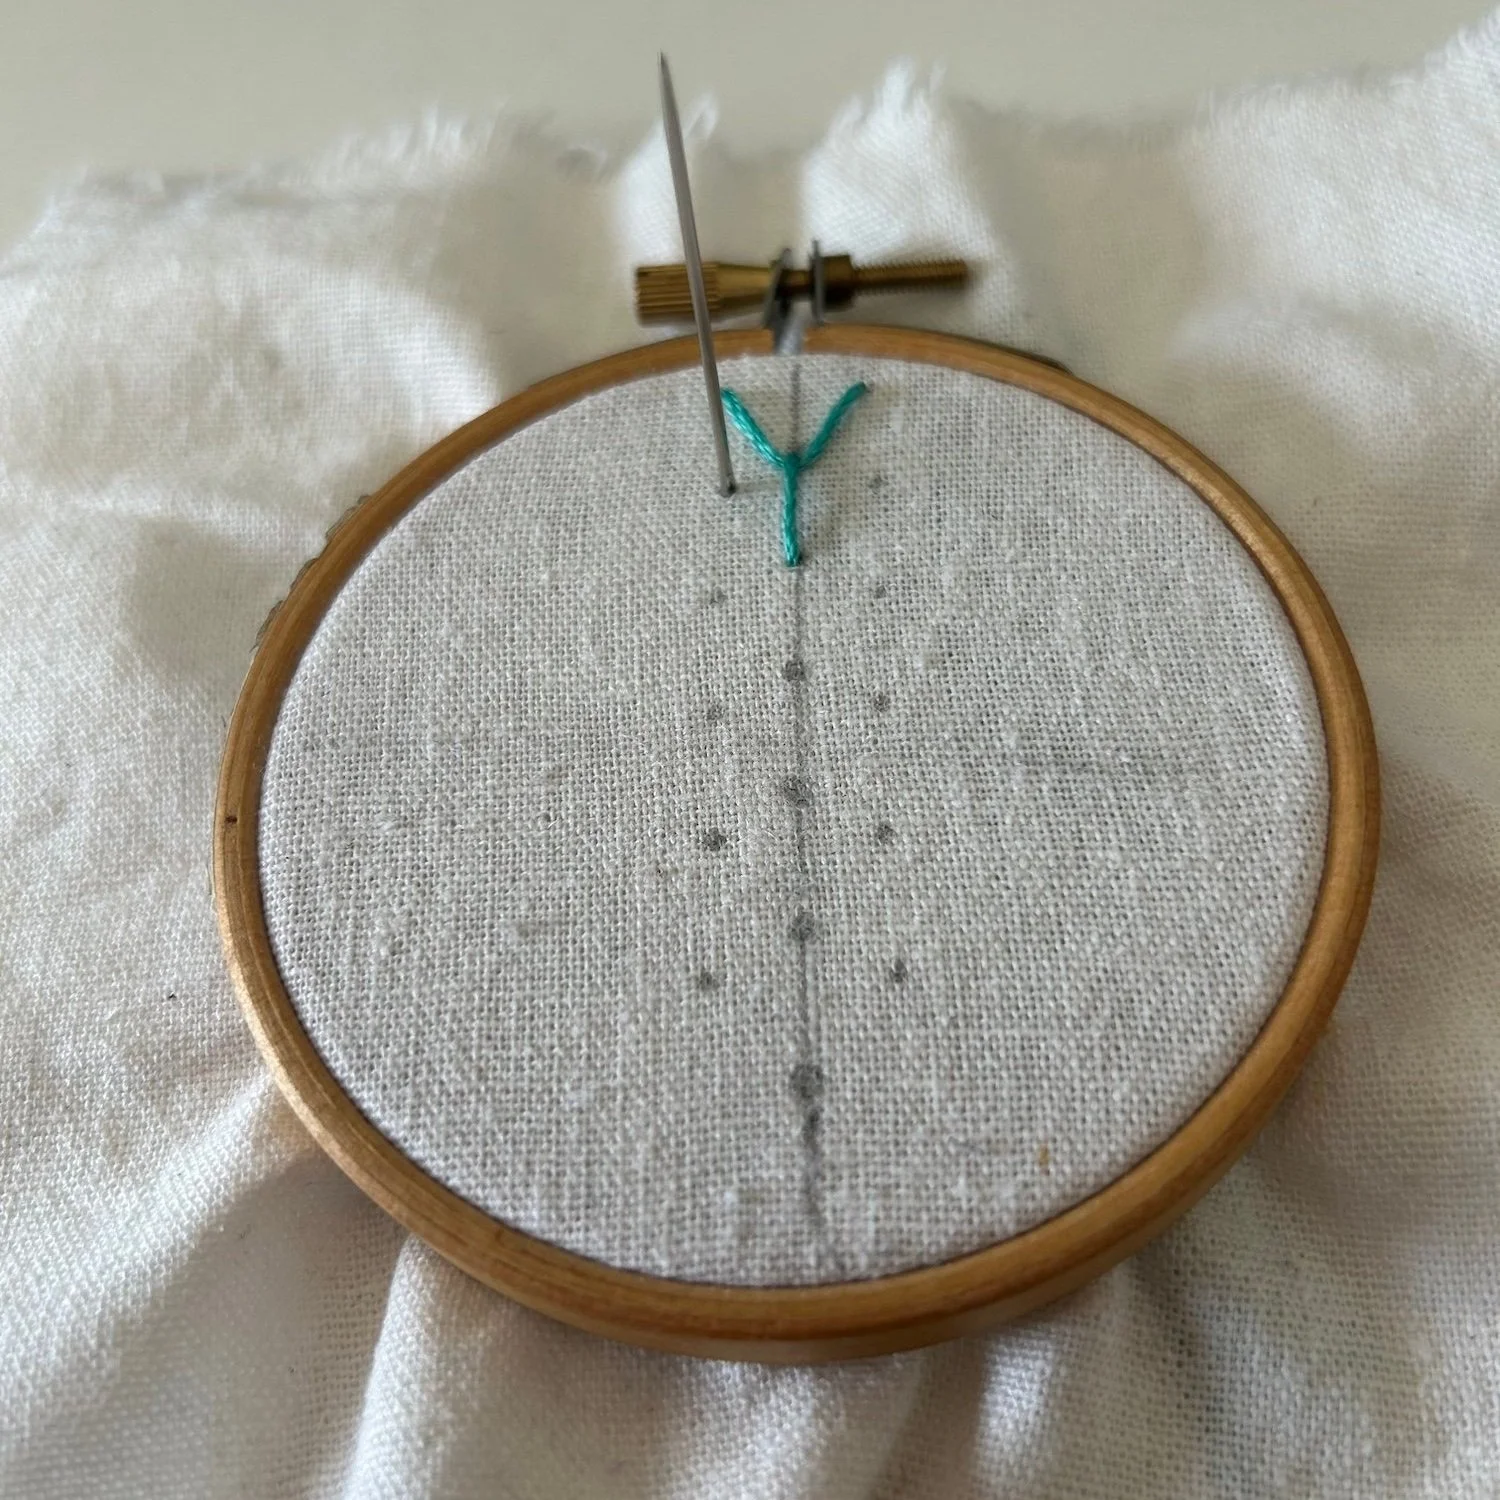
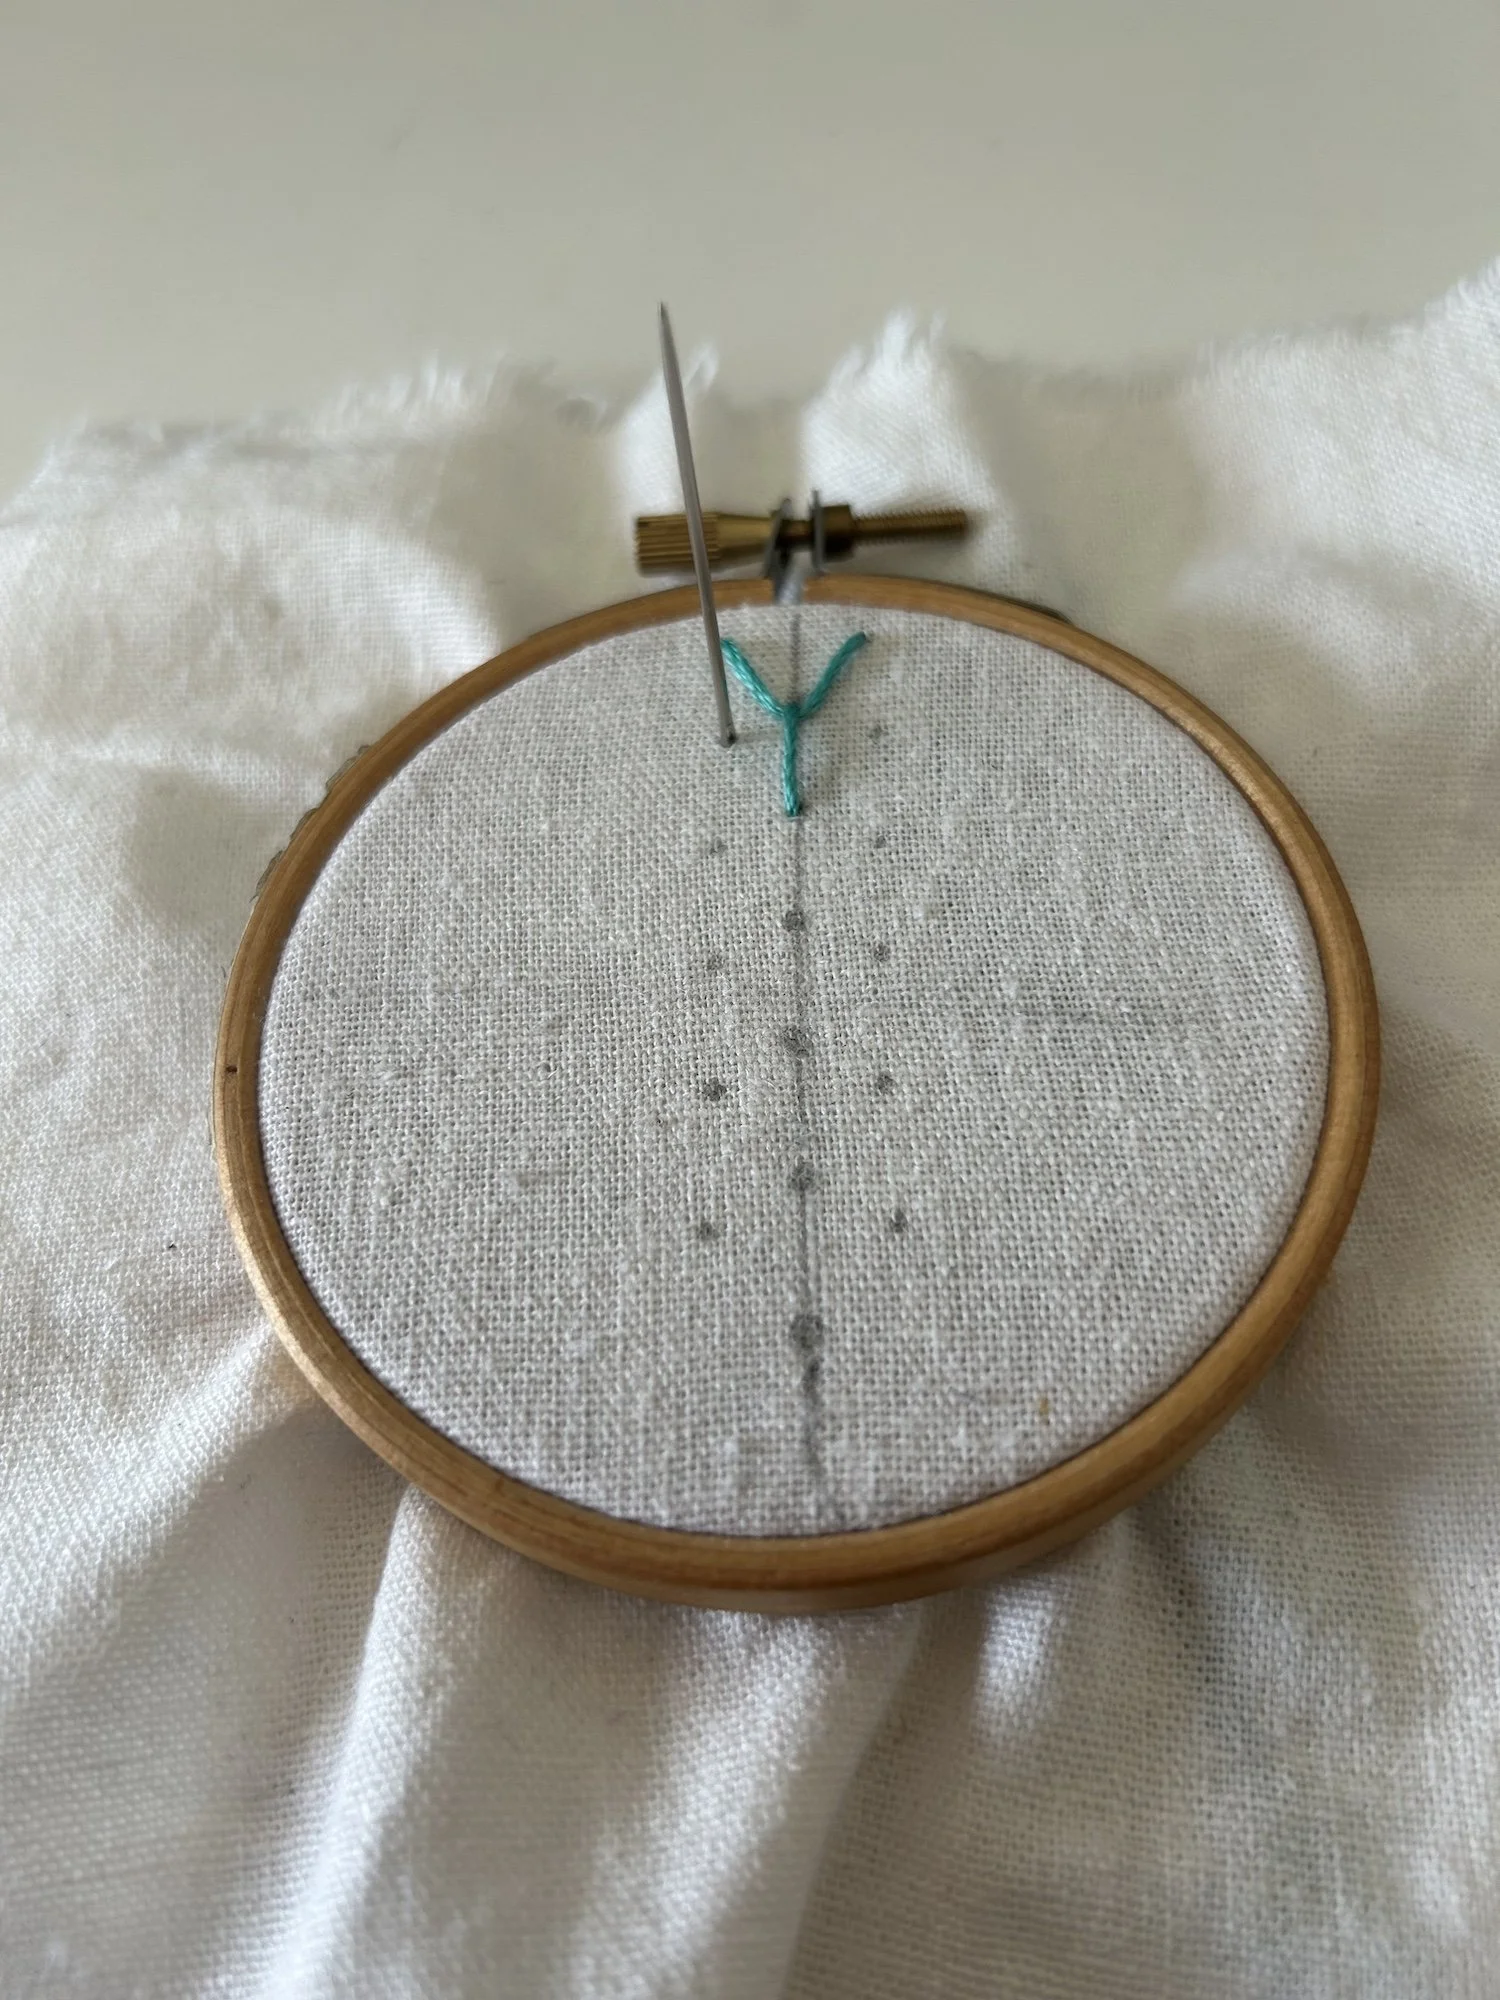
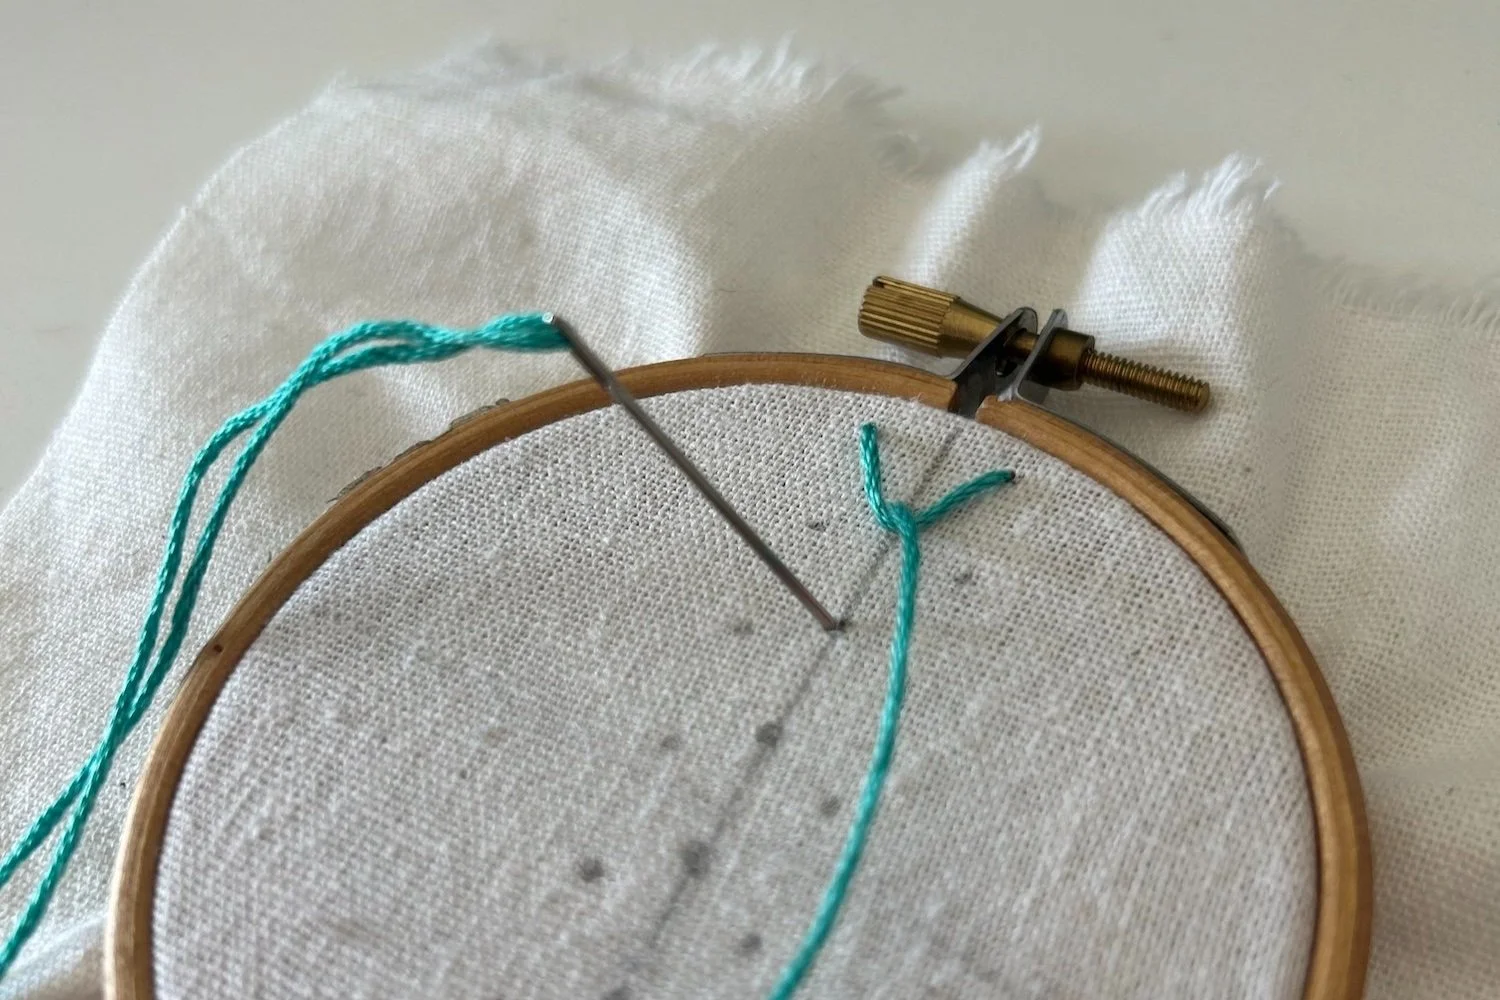
Step 1 Prepare the fabric: Place your fabric in the embroidery hoop to keep it tight and steady. Draw your stitch design on the fabric with evenly spaced marks in three columns. The marks that flank the center marks should be even with each other. The center marks should start just below the two flanking marks. See my photo below.
Plotted marks for creating a fly stitch
Step 2 Thread your needle: Thread your embroidery needle with about 18-24 inches of floss and tie a small knot at the end of the thread to anchor it.
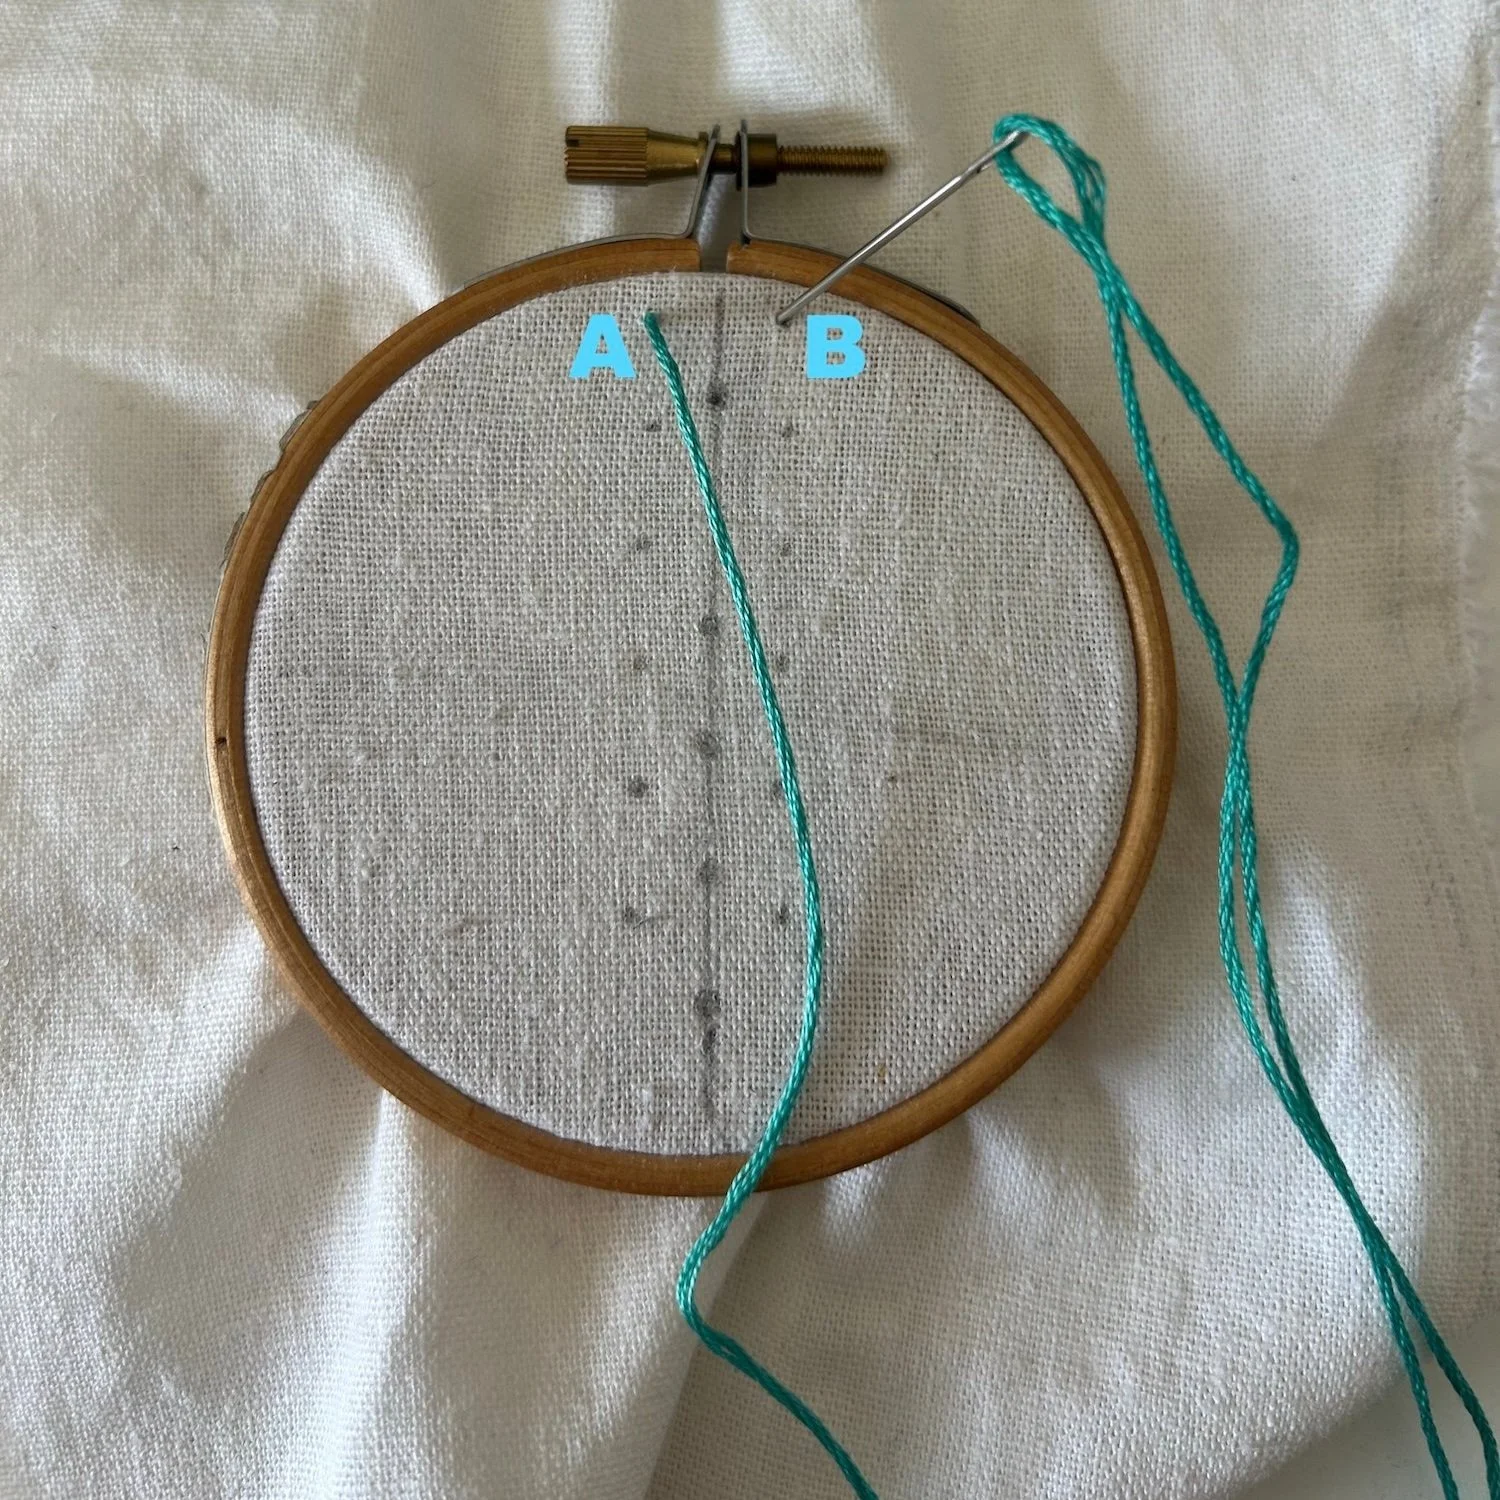
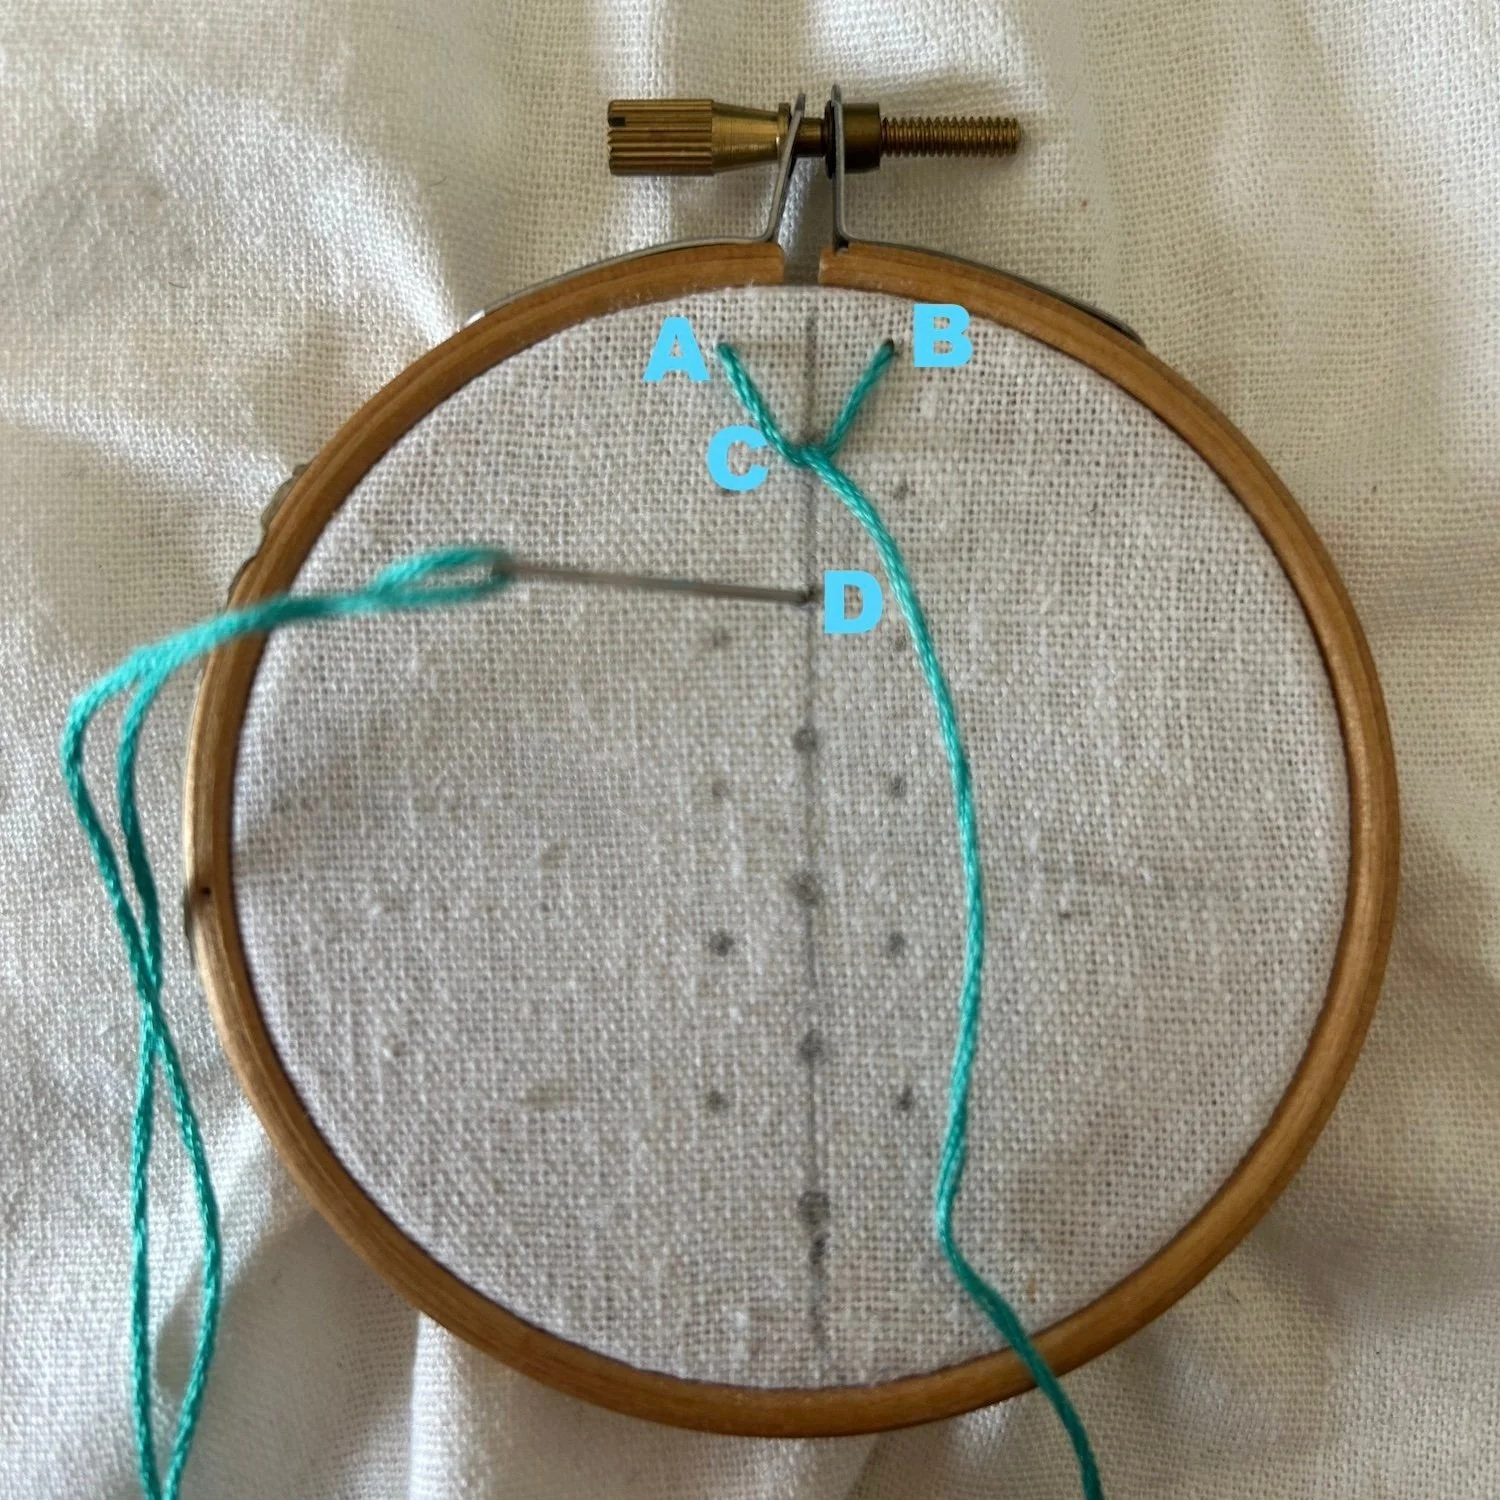
Step 3 Make the first stitch: Bring the needle up at Point A. This is your starting point.
Step 4 Form the loop: Insert the needle a short distance away at Point B. Before pulling it all the way through, leave a small loop of thread on the surface of the fabric.
Step 5 Anchor the stitch: Bring the needle up again at Point C, slightly below Point B, inside the loop. Pull gently, creating a small "V" shape.
Step 6 Secure the loop: Insert the needle at Point D, right below Point C, to secure the "V". You’ve made your first fly stitch!
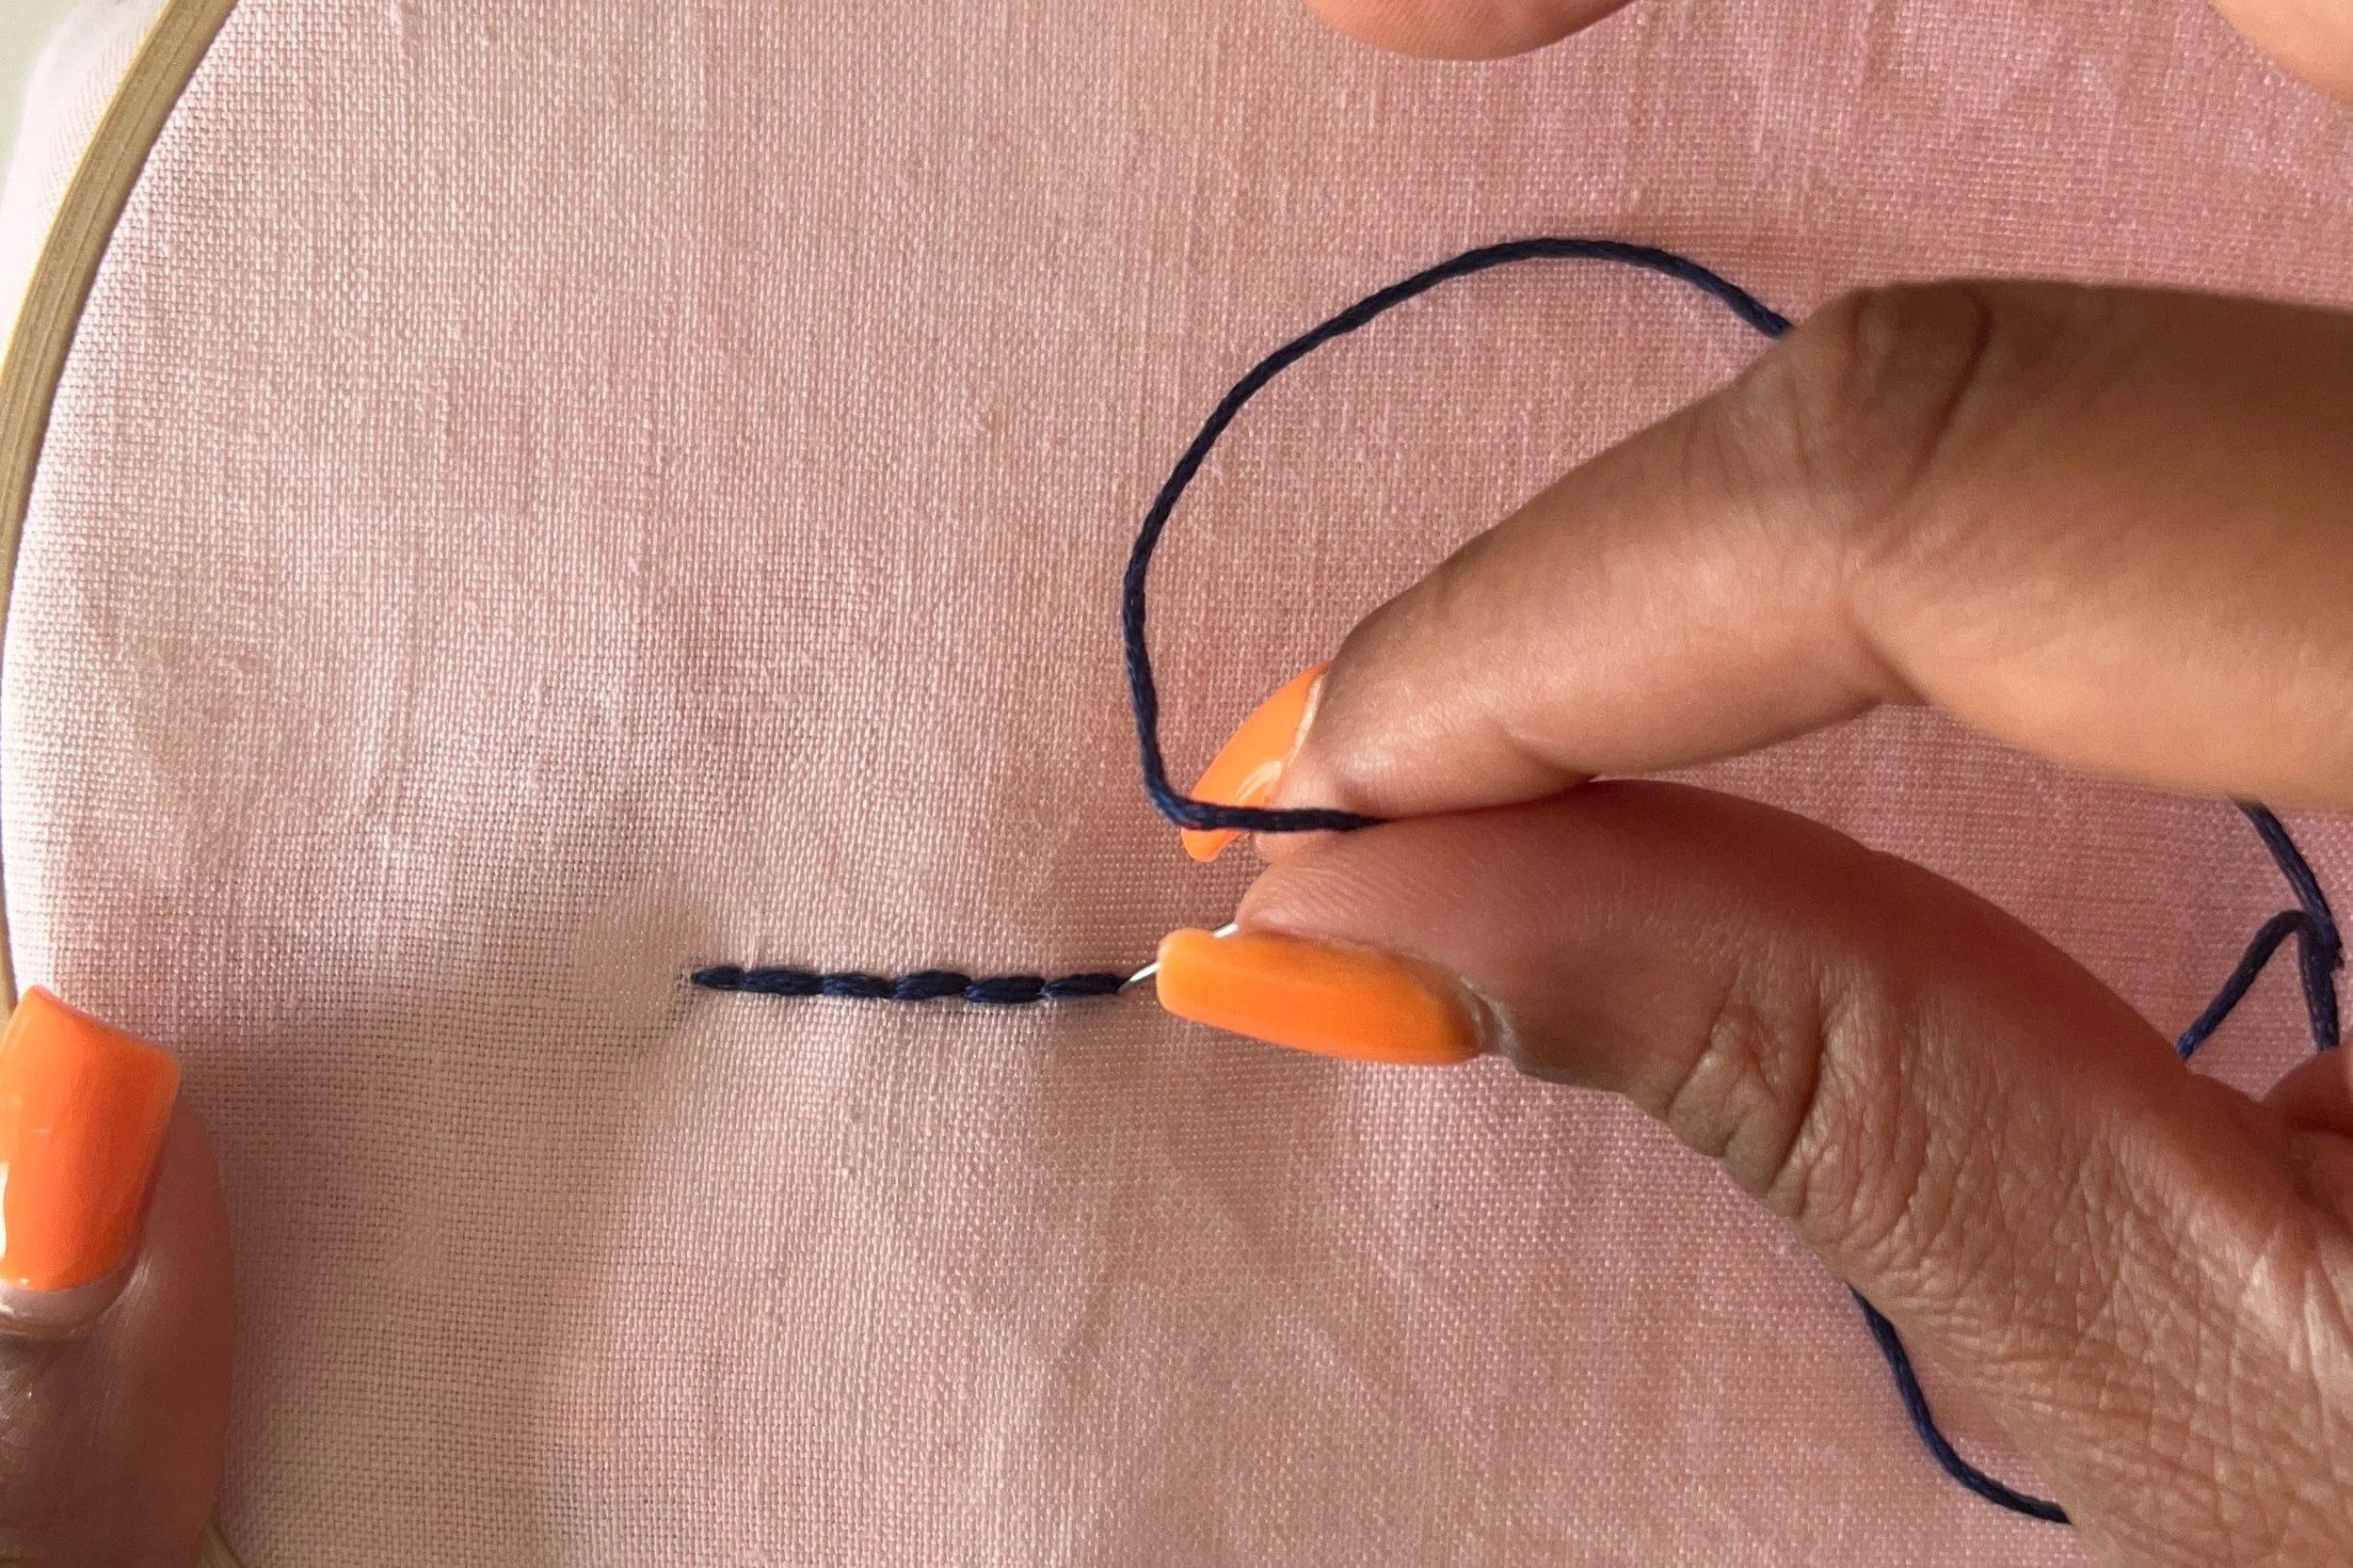
Step 7 Repeat: For continuous fly stitches, repeat the process, starting a new "V" where the previous one ends.
Tips & Tricks
While the satin stitch is straightforward, there are a few techniques and tips that can help you achieve a flawless finish and avoid common pitfalls. Here are some useful tips for mastering this stitch:
Keep your stitches consistent: Using fabric marking tools can help guide your stitches, and with practice, you’ll develop an instinct for even placement.
Use an embroidery hoop: Keeping your fabric taut with an embroidery hoop helps to create even stitches and prevents the fabric from puckering, which is particularly important when filling larger areas.
Common Problems with Fly Stitch (and How to Fix Them)
Every embroiderer, whether beginner or advanced, runs into occasional challenges. Here are a few common issues with the fly stitch and how to resolve them:
Problem 1: Uneven Spaces
If your fly stitches are unevenly spaced, your design may appear messy or inconsistent. Take the time to mark your fabric with small dots or lines to guide your needle placement. This will set you up for success.
Problem 2: Loose Loops
Loose loops occur when the thread isn’t pulled tightly enough, leading to a sloppy stitch. Be sure to pull the thread taut after forming each loop, but not so tight that it distorts the fabric.
Problem 3: Thread Tangling
Sometimes, your thread may become knotted or tangled while stitching, which can make your design look uneven. Use shorter lengths of thread. Pause frequently to untwist the thread to prevent tangles.
History of the Fly Stitch
The fly stitch has roots in traditional embroidery techniques and has been used in various cultures across centuries. Historically, embroidery has been both a decorative art form and a practical craft. Stitches like the fly stitch were often used for embellishing clothing, home textiles, and even religious garments.
In regions like Europe and Asia, embroidery flourished as an expression of cultural identity. The fly stitch, due to its simplicity and adaptability, became a popular stitch for creating floral designs, nature-inspired patterns, and elegant borders. Today, it continues to be a favorite among modern embroiderers for its ease and aesthetic appeal.
Ways To Use Fly Stitch
The beauty of the fly stitch lies in its versatility. Below are some creative ways to incorporate the stitch into your designs:
Nature-Inspired Designs
Fly stitches used to create a leaf.
The fly stitch is perfect for creating leaves, stems, and floral patterns. By adjusting the size and angle, you can mimic the natural curves of leaves or the veins in flower petals.
Tip: Use various shades of green to create depth when stitching leaves.
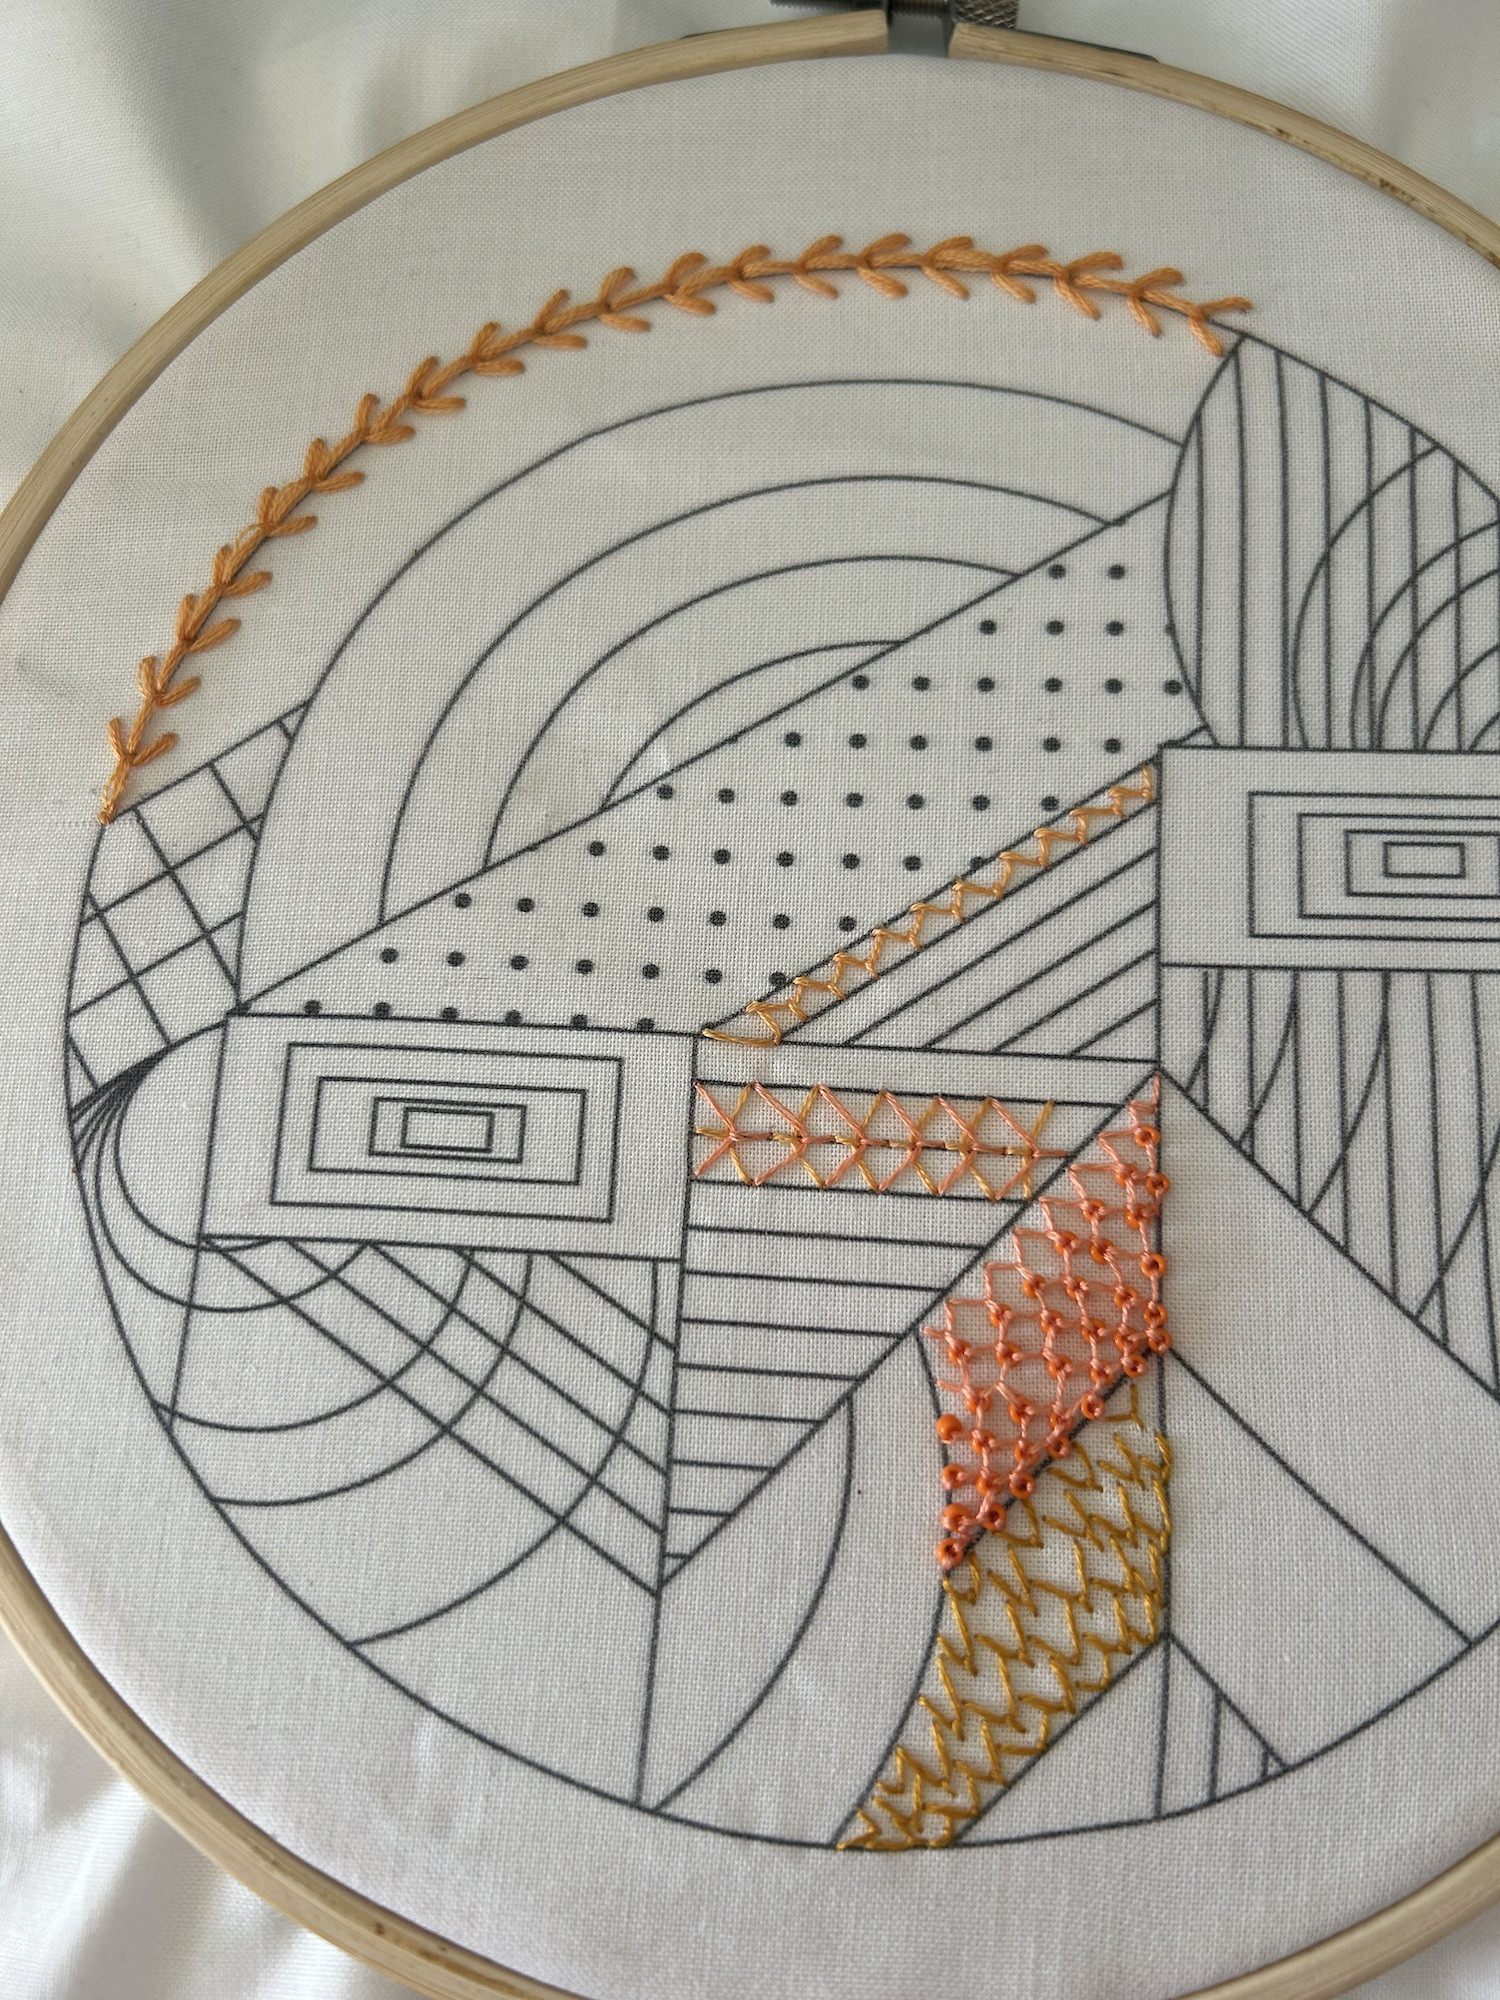
Fly stitch as a border and as a textured filling.
Borders & Outlines
You can create delicate borders around your designs using evenly spaced fly stitches. This works beautifully in geometric patterns or around floral motifs.
Filling Techniques
When used closely together, the fly stitch can be an effective filler for larger areas. Experiment with varying the length of the stitches to create different textures.
Textured Backgrounds
For a more abstract design, you can scatter fly stitches randomly across your fabric. This creates a dynamic, textured background that adds dimension to your embroidery.
Embellishing Clothes
Many embroiderers use the fly stitch to add details to clothing, such as embellishing collars, cuffs, or even along hems. The delicate and symmetrical nature of the stitch lends itself well to wearable embroidery.
Level Up Your Fly Stitch
While the basic fly stitch is simple, its potential for variation is vast. Below are a few ways to modify the fly stitch to suit different projects:
Long-Tailed Fly Stitch
This variation involves extending the lower anchor stitch to create an elongated, elegant effect. This can be particularly useful for creating plant stems or abstract patterns.
Detached Fly Stitch
In this variation, you space out the fly stitches rather than stitching them continuously. It’s perfect for scattered designs or for creating light, airy textures.
Shaded Fly Stitch
By gradually changing the length of each stitch, you can create a shading effect that adds depth to your embroidery. This technique is often used in more advanced patterns to replicate natural light and shadow.
Fly Stitch with Beads
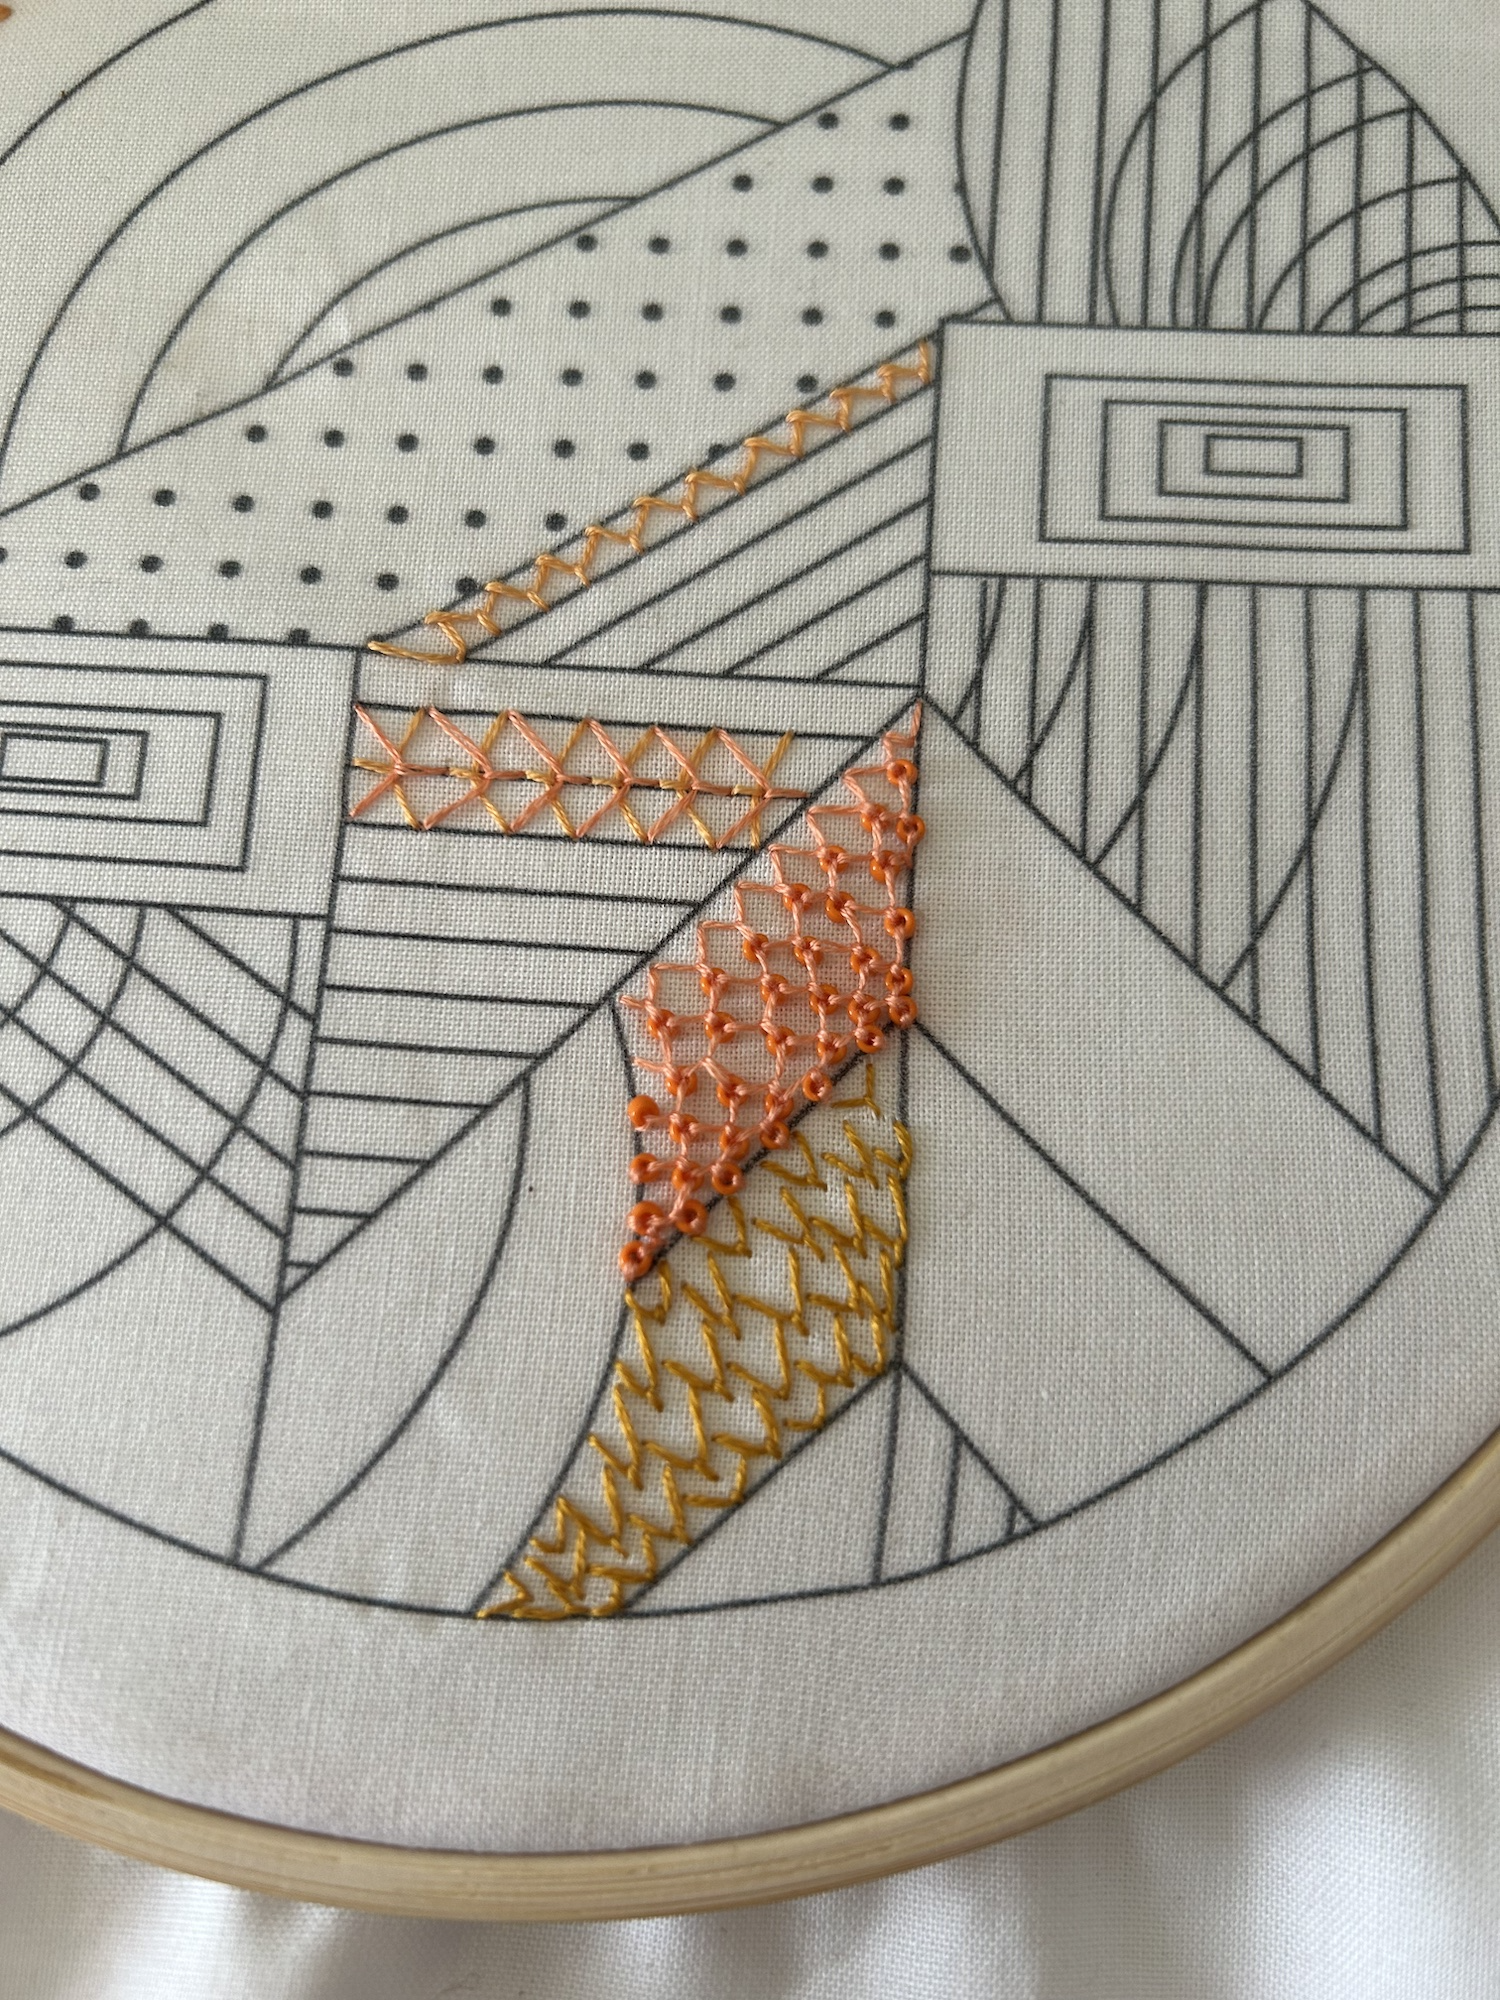
Four different ways to use a fly stitch (from top):
Plaited fly stitch, layered fly stitches create diamond shapes, beaded fly stitch filling the shape, detached fly stitch as a filling stitch.
To take your design up a notch, you can add beads at the tip of each "V". This creates a decorative, almost jewelry-like appearance, perfect for embellishing eveningwear or accessories.
Layered Fly Stitch
Layering fly stitches on top of one another can add an incredible sense of depth and texture. This is especially effective for creating floral designs or abstract compositions with complex textures.
Color Blending
Color blended fly stitch in a triangle shape
Instead of using a single color for your fly stitches, try blending multiple shades together. You can create beautiful gradients by subtly transitioning from one color to the next. This is particularly useful for creating realistic nature scenes.
Fly Stitch in Modern Embroidery
While the fly stitch has been around for centuries, it’s still widely used in modern embroidery designs. Its clean lines and flexibility make it perfect for contemporary projects, whether you’re working on minimalistic designs or intricate patterns.
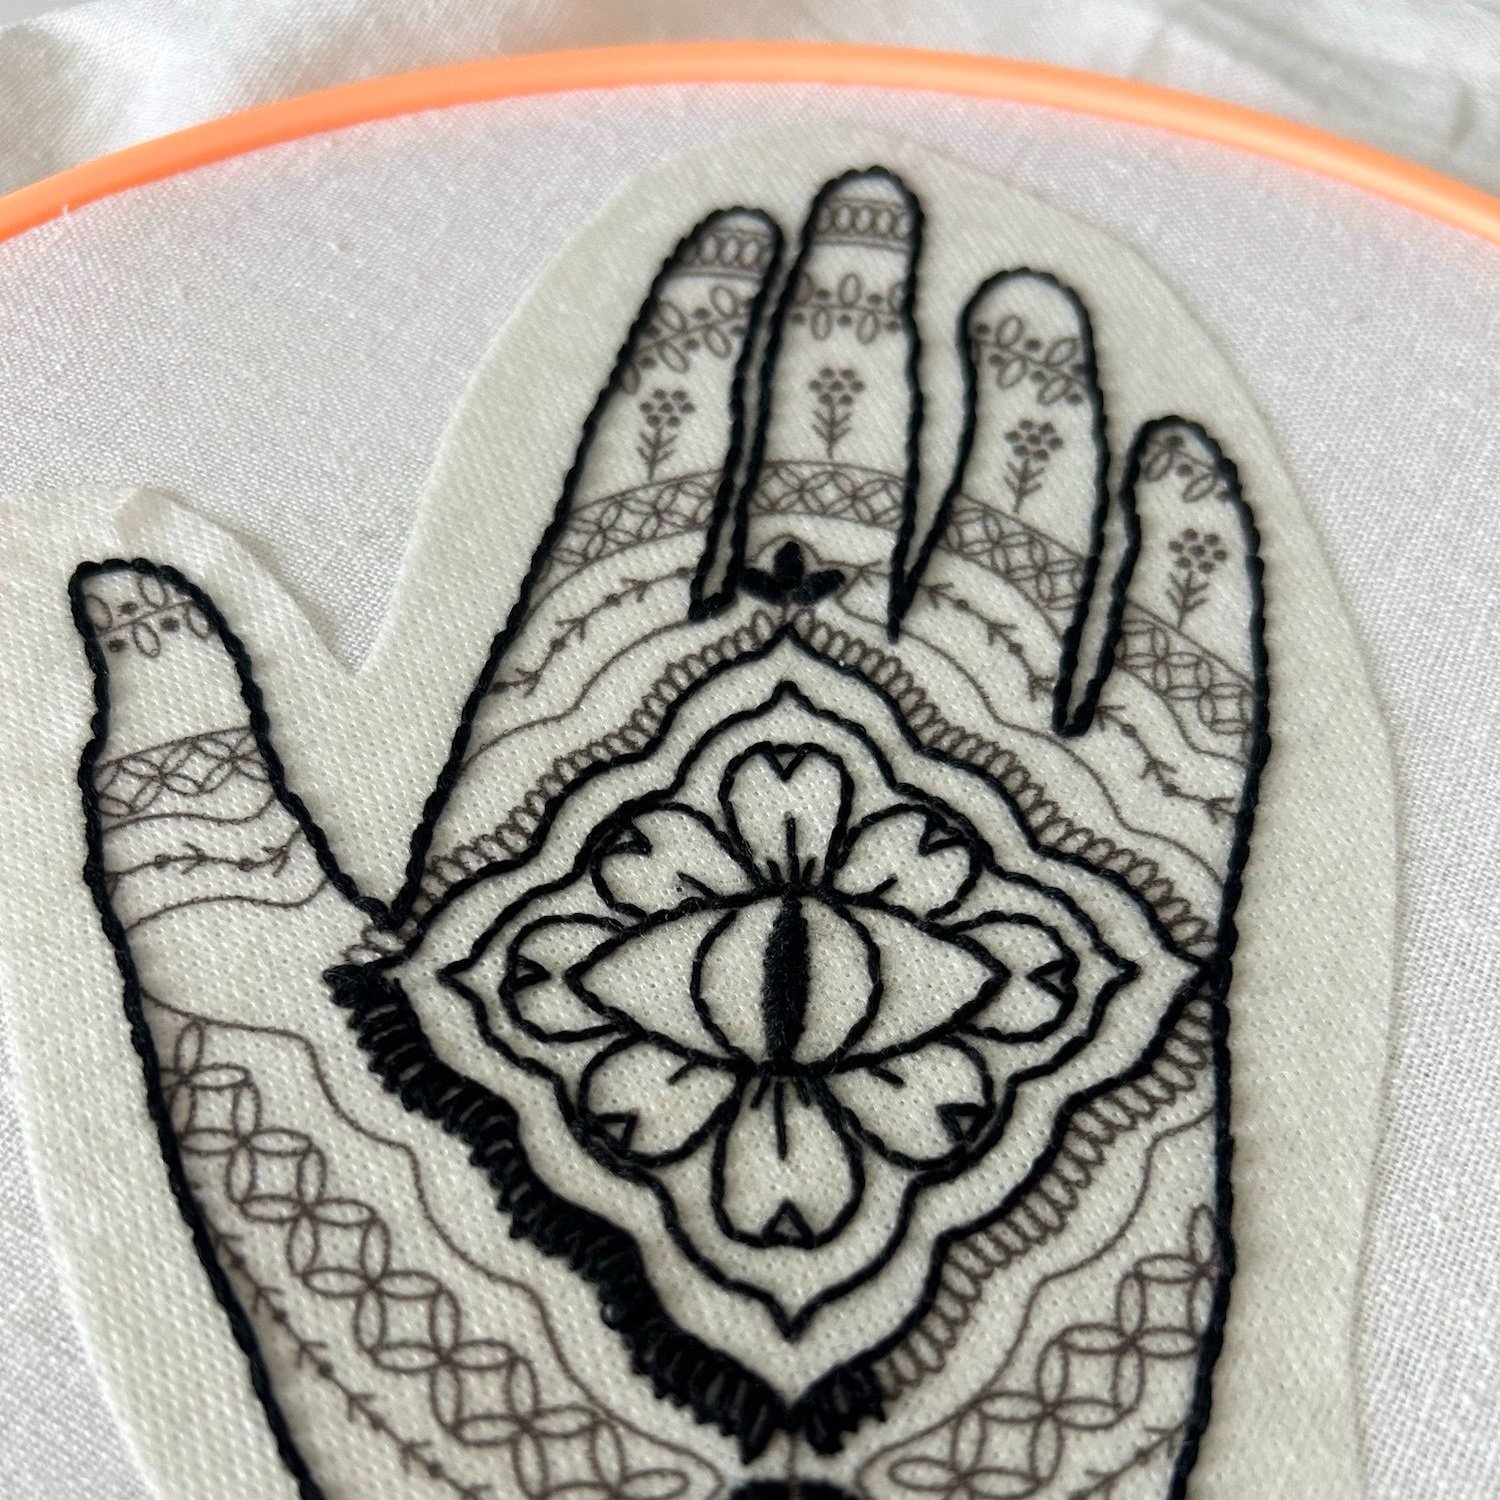
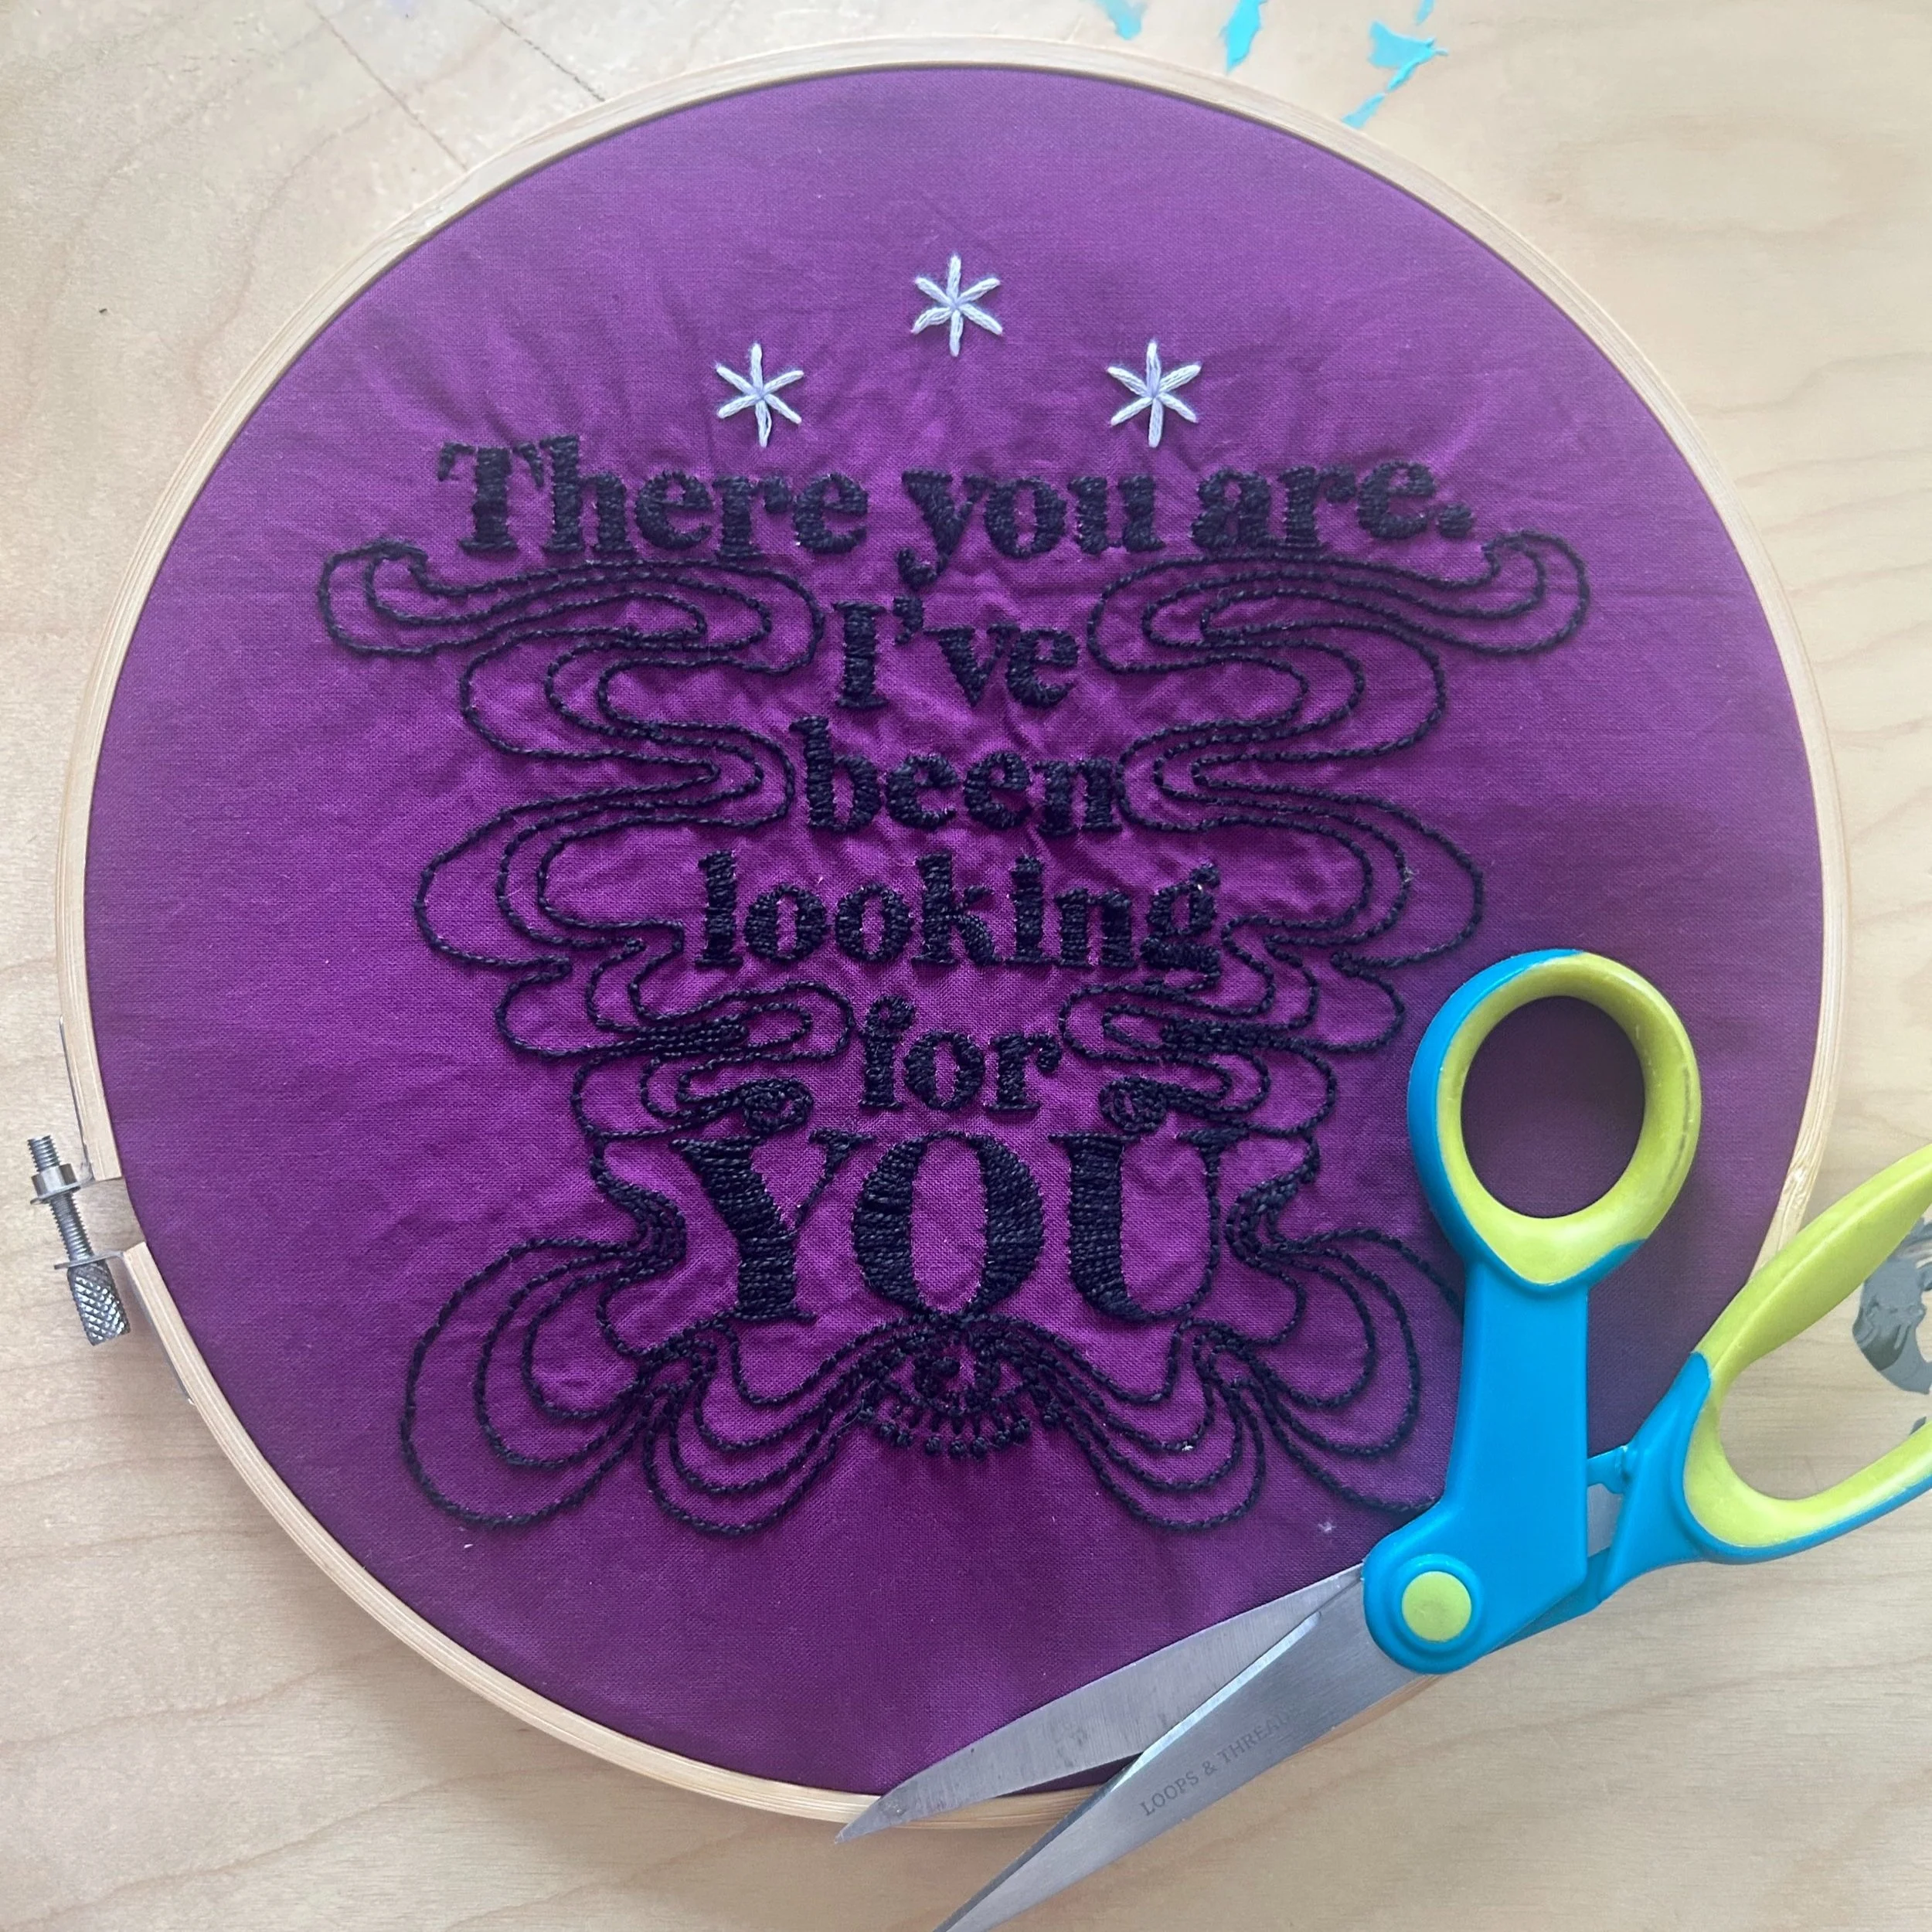
Examples of Fly Stitch in Modern Embroidery
In the world of embroidery, the fly stitch stands out for its combination of simplicity and versatility. Whether you’re creating a delicate border, adding texture to a floral design, or experimenting with abstract patterns, the fly stitch offers endless possibilities. With a little practice and creativity, you’ll find that this stitch is an essential tool in your embroidery toolkit.
For more inspiration and patterns featuring the fly stitch, explore our collection of embroidery patterns [*insert link*]. Each pattern is designed to help you practice and perfect your skills while creating something beautiful. Happy stitching!
